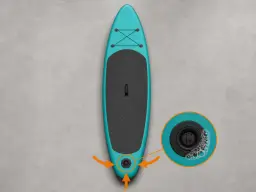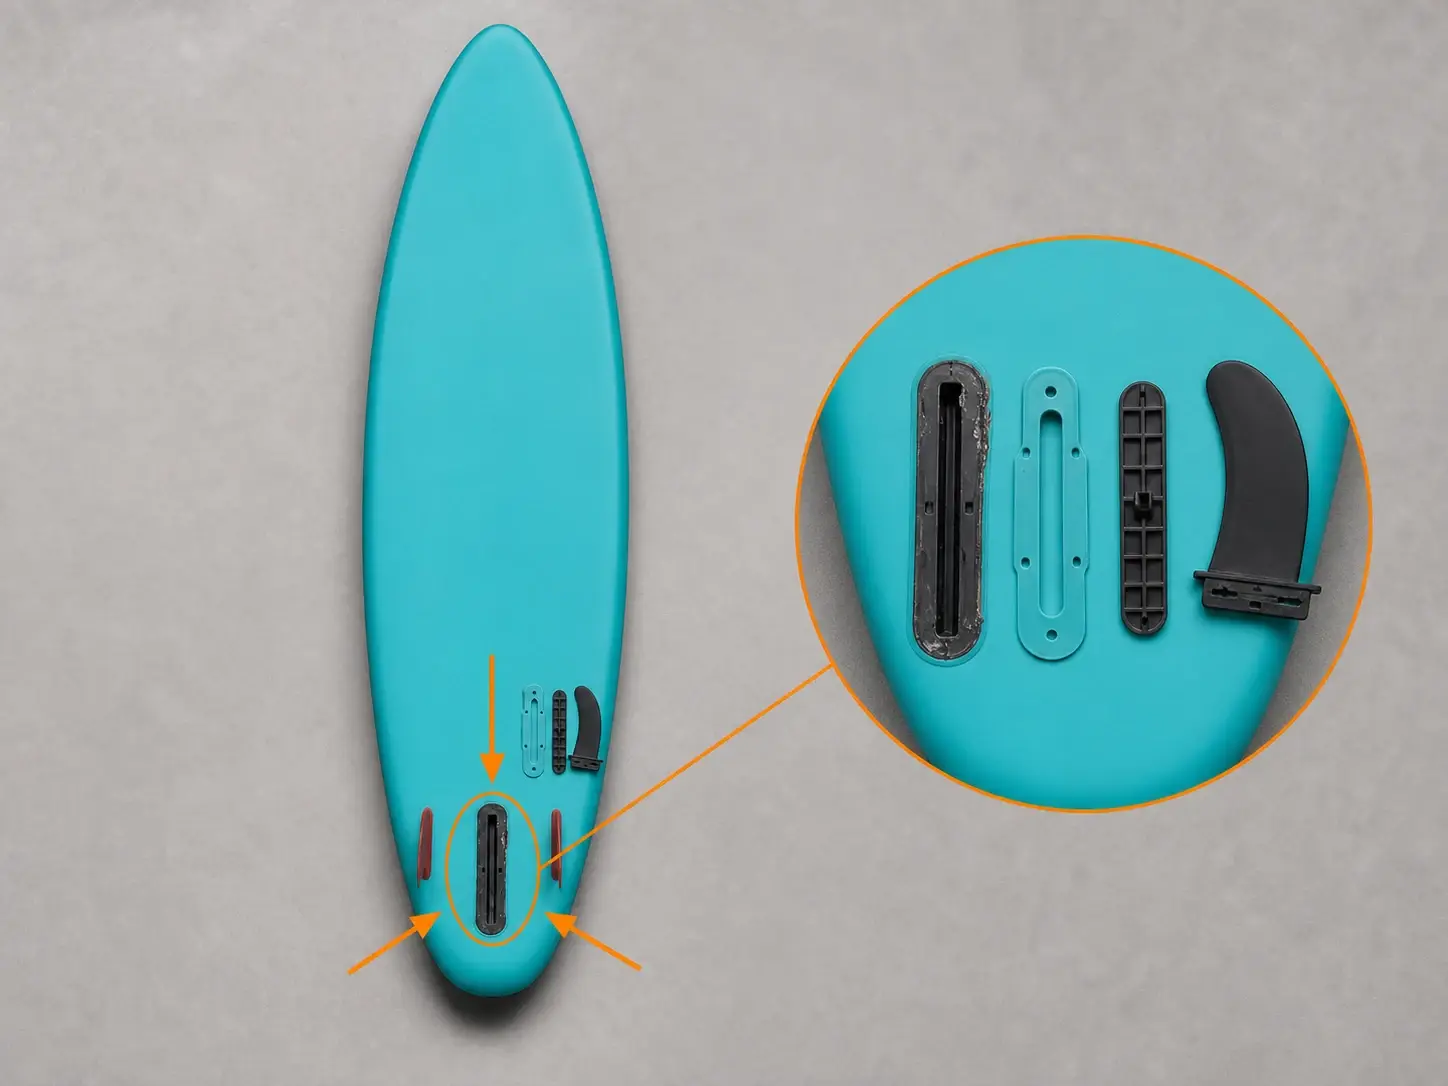
How to replace a damaged SUP fin box

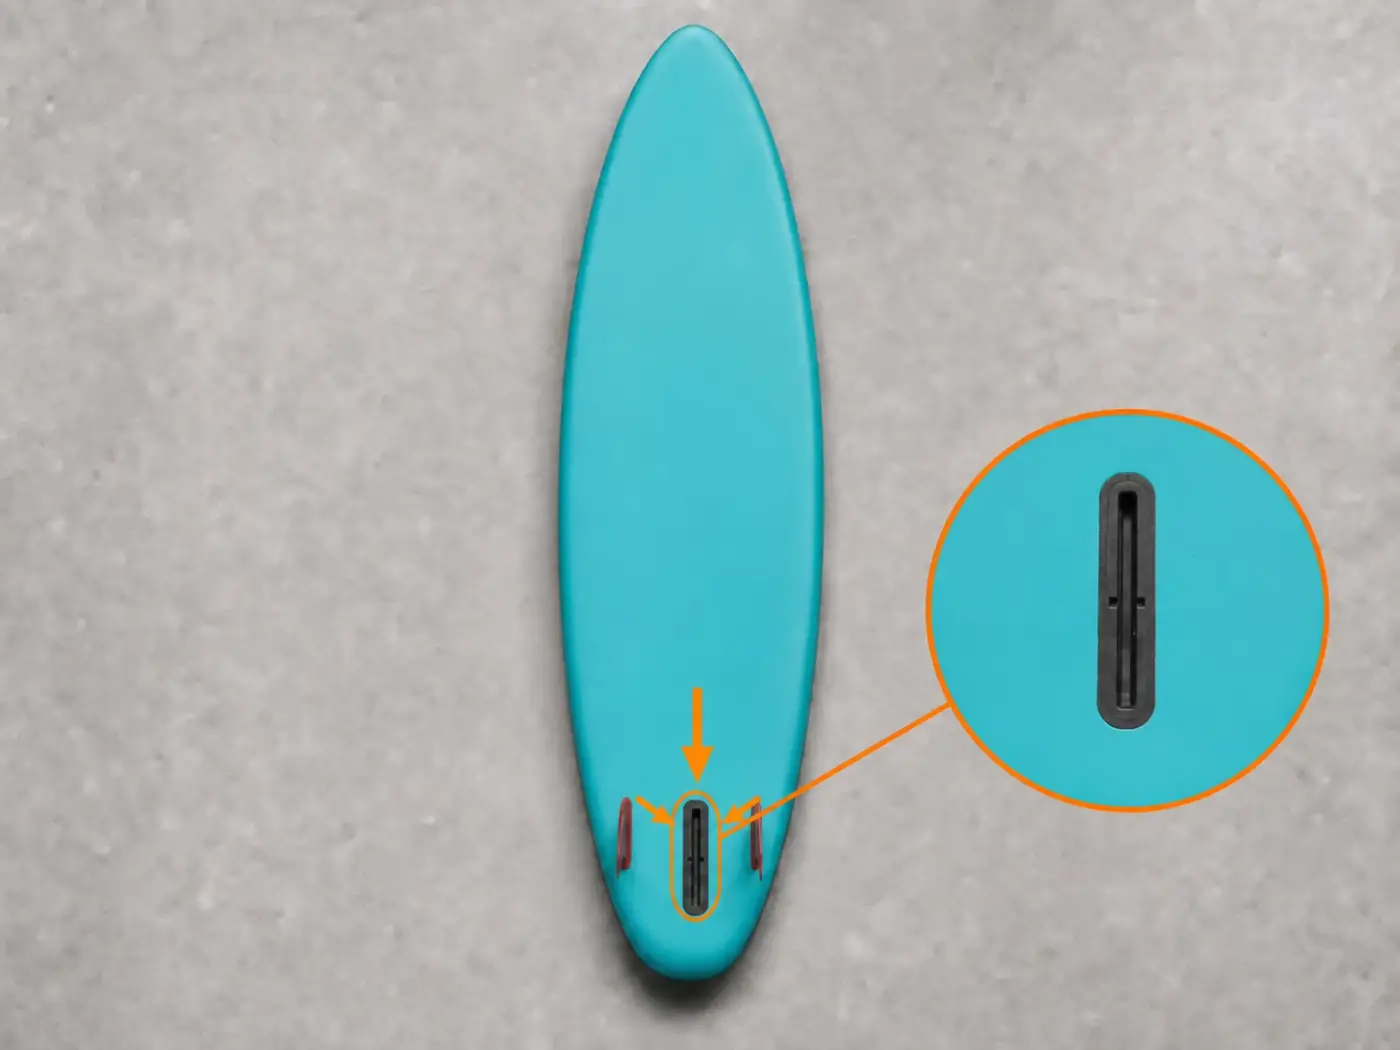
The fin box is the fitting that holds the fin. Some replacements change the whole outer part; others attach to a plate that stays inside the board. Identify which type you have before cutting.

  • 9 steps
  • Identify the system first
  • Stop for structural damage
Start by identifying the system
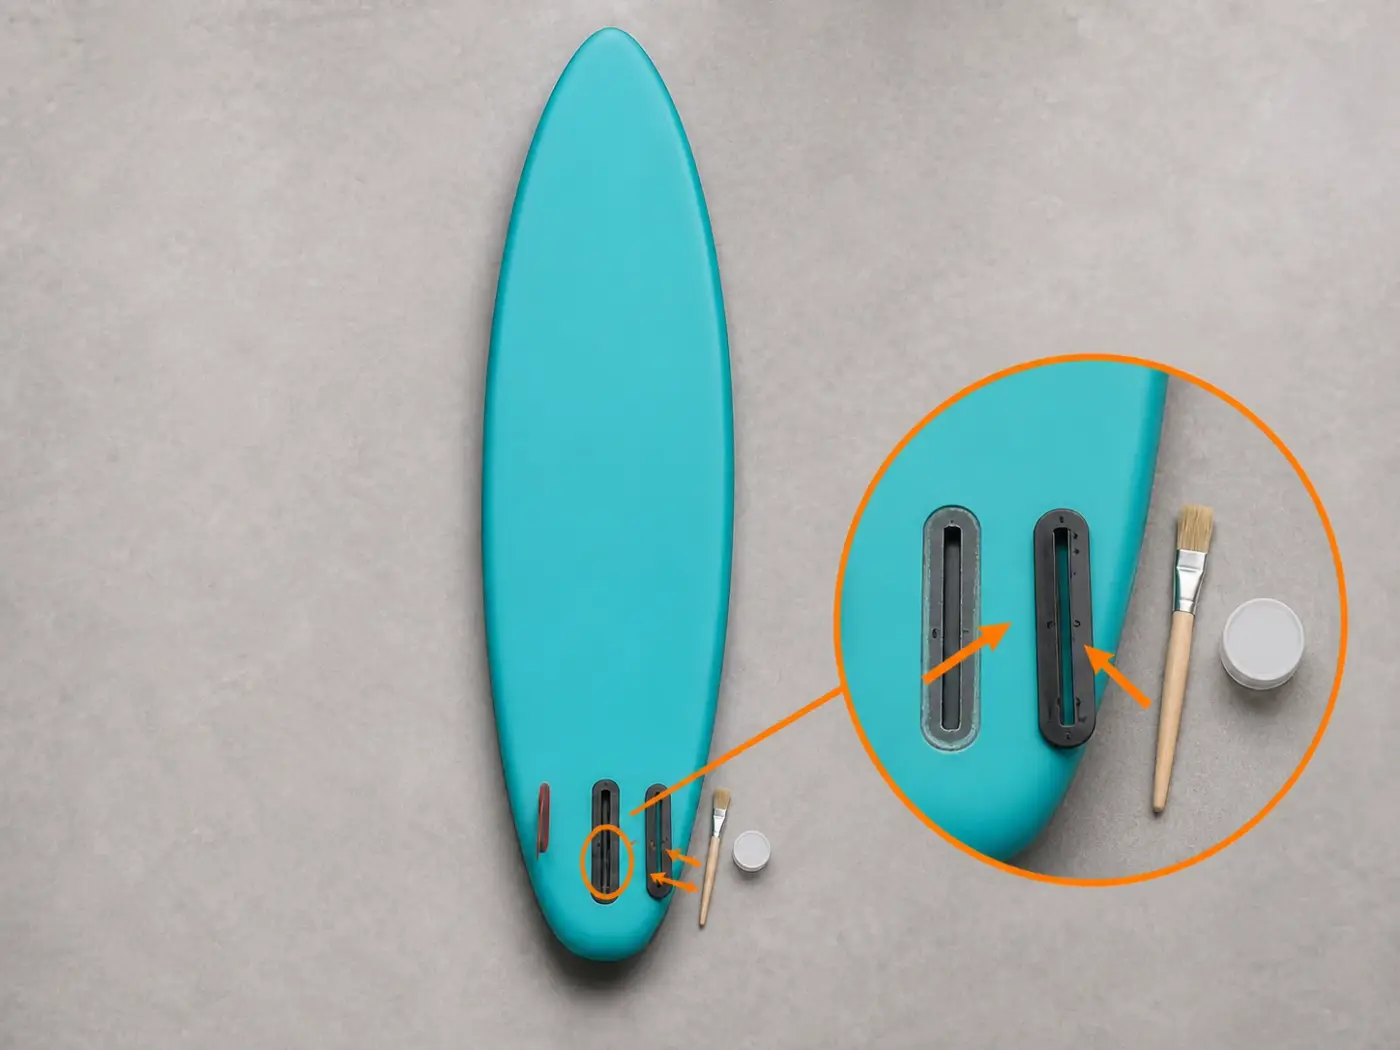
Damaged black fin box under a light-grey SUP beside two distinct replacement systems

Use the kit designed for that fin box

Do not mix parts, cleaners, pressures or waiting times from different systems. The replacement must match the shape, base and fin type.

  • Compatible complete kit or a box compatible with the retained base plate
  • Pump and gauge for only the pressure specified by the manufacturer
  • Patch supplied with the replacement, with the bonding side clearly identified
  • Controllable blade and protection, only for the system that requires cutting
  • Controlled heat only when the kit requires it and after solvents and vapours have been removed
  • Sandpaper specified by the kit
  • Expressly specified cleaner or solvent
  • Adhesive from the selected system with no improvised substitution
  • Roller, rounded spatula, protected weights or clamps when specified
  • Gloves suitable for the product and eye protection

When the fin box requires a professional

Stop before cutting or bonding if any of these cases applies:

  • cracked, moving, distorted or inaccessible base plate
  • cut board skin, air leak, separated layers or damage inside the board
  • replacement that will not seat, unidentified system or mixed kit components
  • no safe blade control, fresh air, gloves, eye protection or readable label

The steps, one by one

  1. Identify the construction and replacement

    Compare shape, measurements, fittings and replacement instructions. Find out whether you must replace the whole outer part or attach the new box to a plate that stays inside the SUP.

    Do not buy by visual similarity. Dimensions, base, finish and adhesive compatibility must belong to the same system.
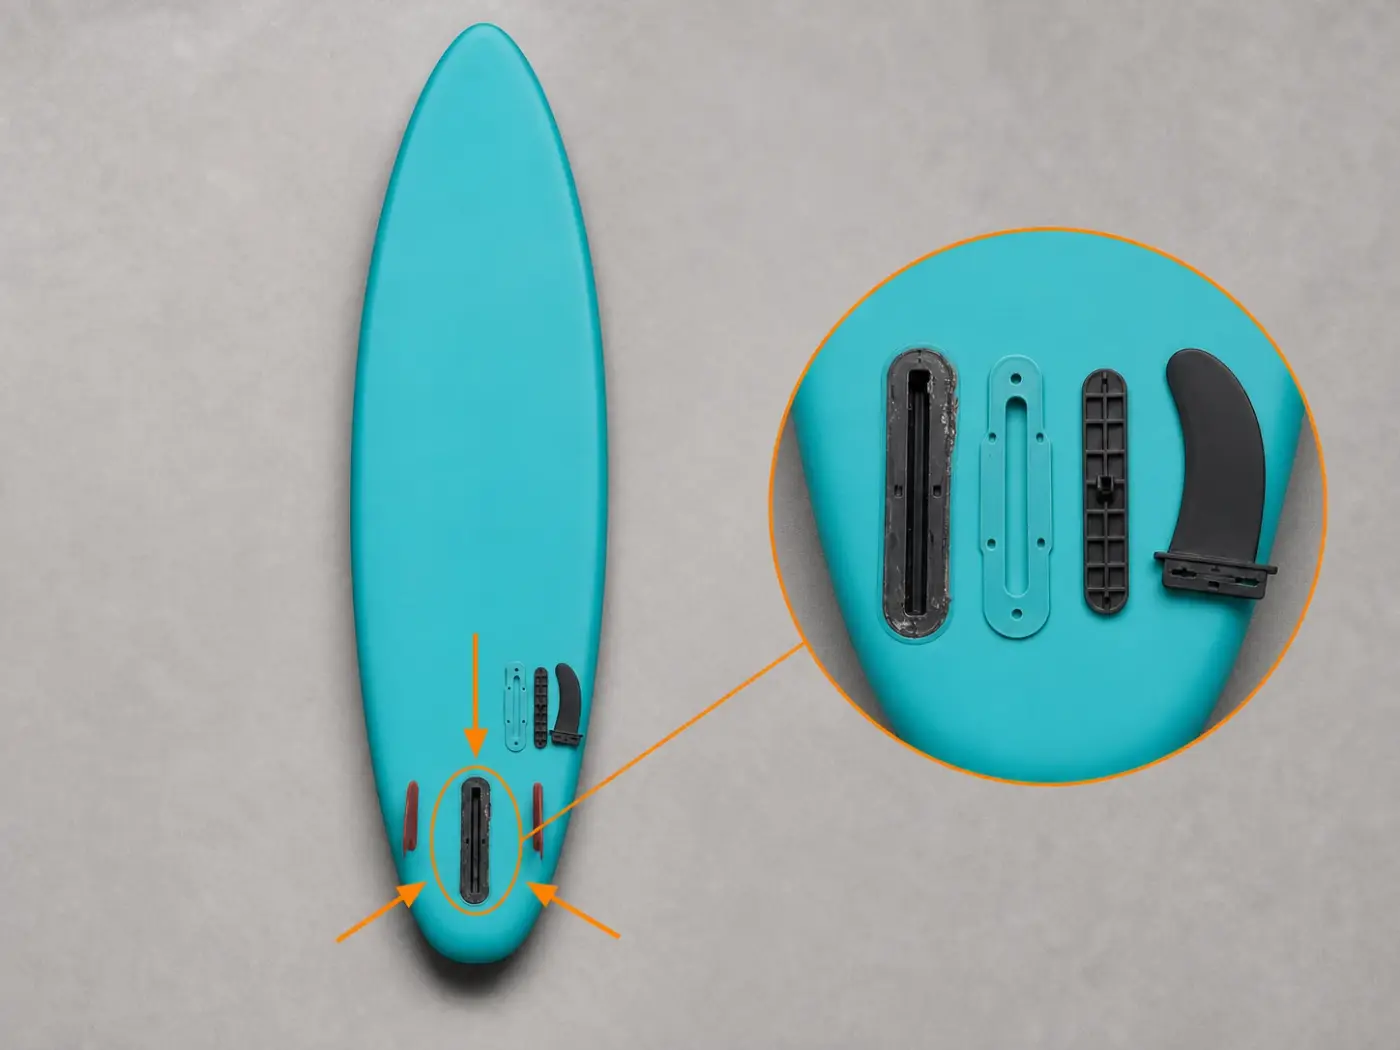
    Broken fin box compared with a complete kit and a retained-base replacement on a technical bench
  2. Stabilise at the pressure specified for the system

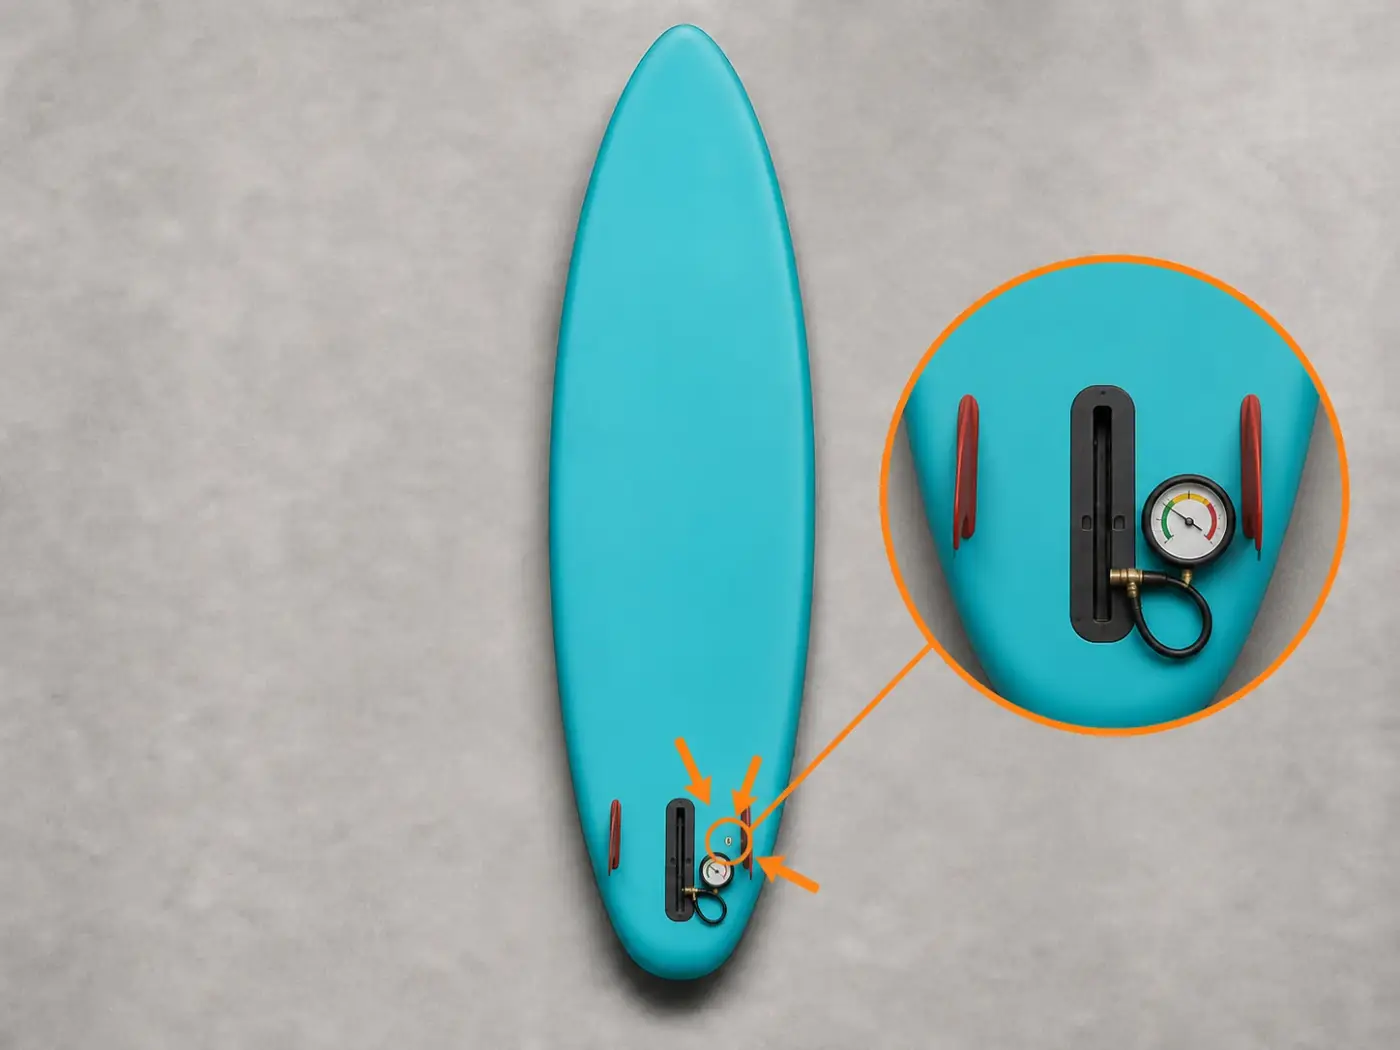
    Follow the replacement manual. Some systems require a deflated board; others require a precise pressure. Do not choose a pressure by imitation.

    If the manufacturer requires a deflated board or another pressure, its instruction prevails. Secure the SUP without loading the damaged area.

    Gauge beside a damaged fin box on a secured and stable SUP
  3. Remove only the intended component

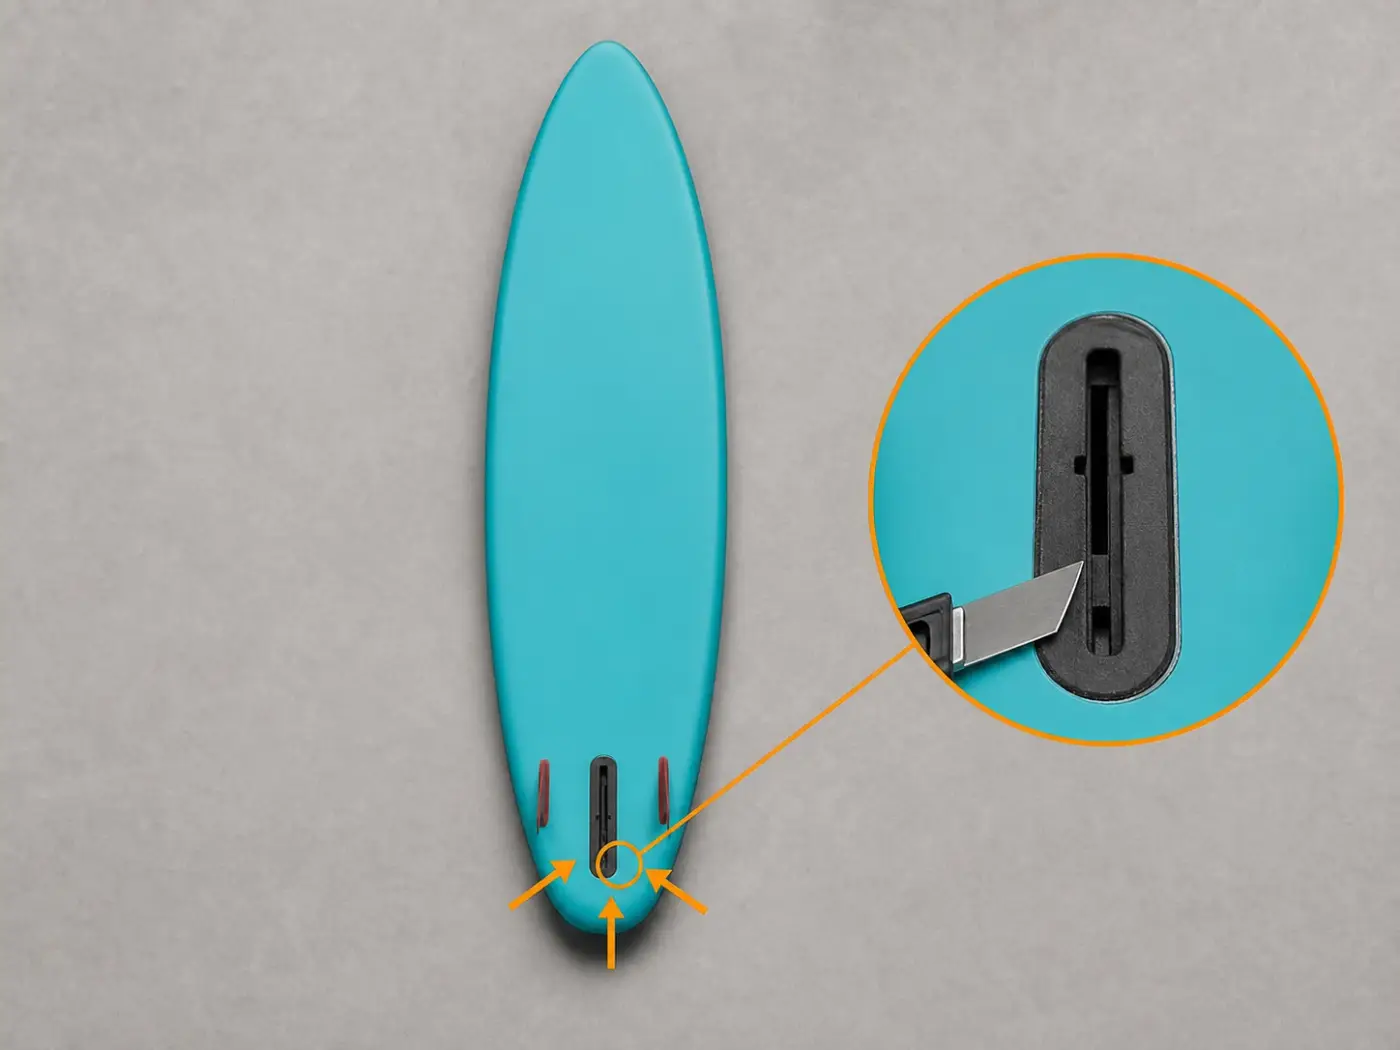
    Use only the method stated for your replacement. If the whole outer assembly is replaced, lift it as described in the manual. If the plate must remain inside the board, keep the blade almost flat and make shallow cuts around the broken box.

    Before warming, close and remove every solvent and wait until the vapours have gone. Always point the blade away from your body and the air chamber. Stop if you cannot control the shape and depth of the cut or identify the system.

    Box from an internal-base system separated along its edge with a protected blade and limited cutting depth
  4. Inspect the skin and base plate

    After removing the part, check that the skin is not cut, distorted or separated from the layers below. When the plate stays inside the board, it must be firmly attached, flat and free from cracks.

    A moving plate or damage beneath the box changes the repair. Do not conceal it beneath the new component.

    Intact black base plate exposed inside the clean fin-box area
  5. Prepare only the surfaces to be joined

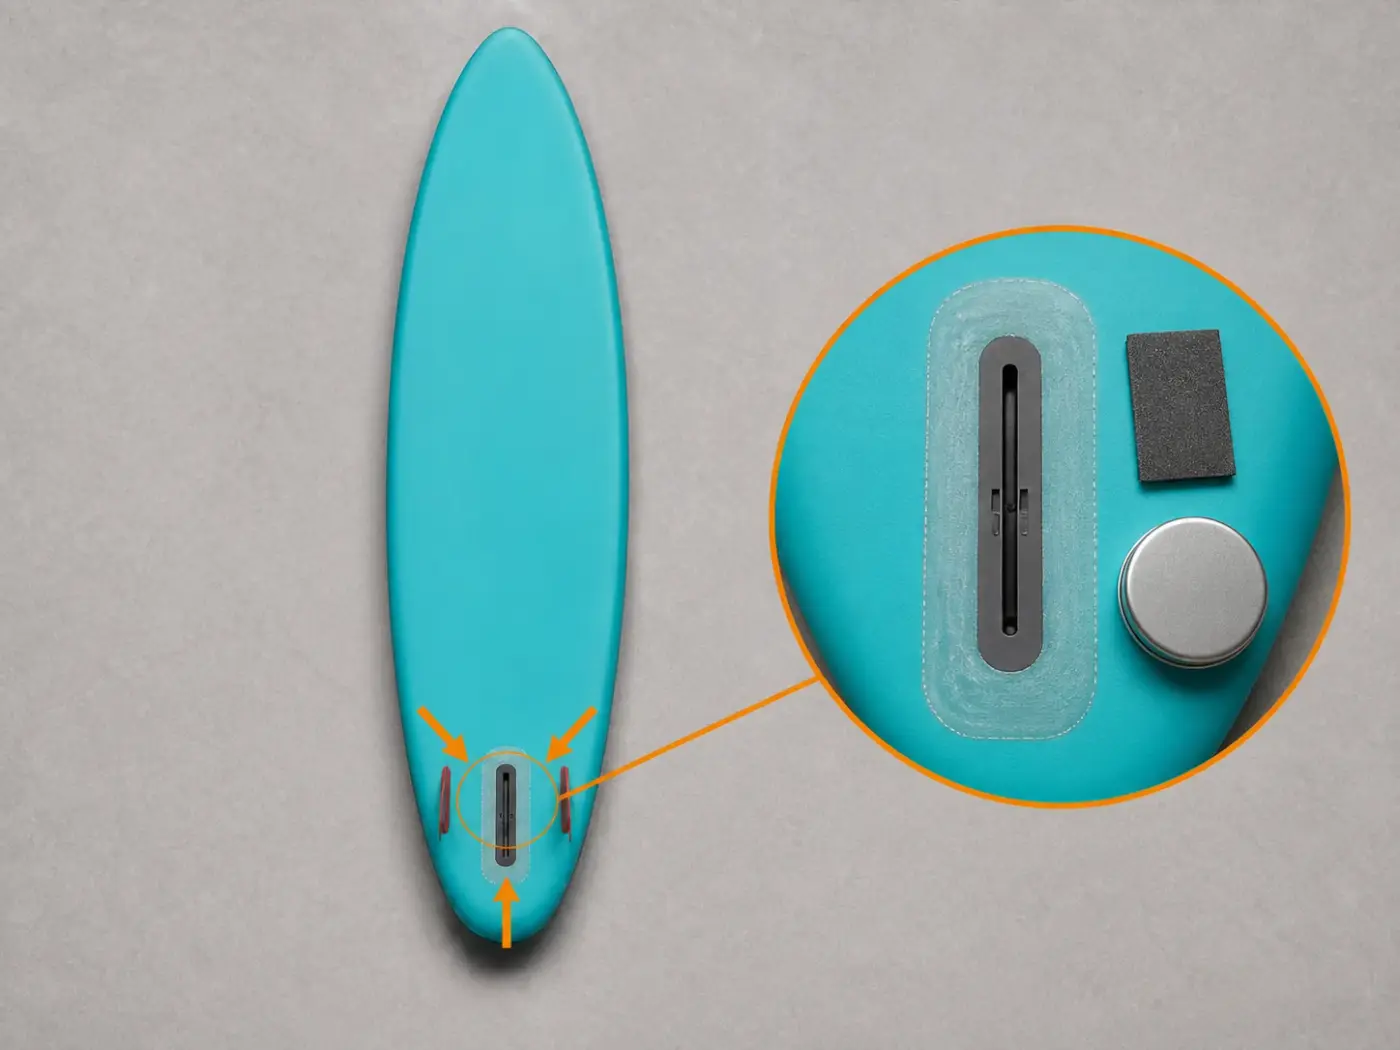
    Remove loose adhesive without thinning the support. Then sand and clean as stated by the kit. Protect graphics and allow every solvent to evaporate fully.

    The two replacement types may require different preparation. Use only the sandpaper, cleaner and heat stated in your kit manual.

    Fin-box area and replacement prepared with fine sandpaper, protected outline and closed cleaner bottle
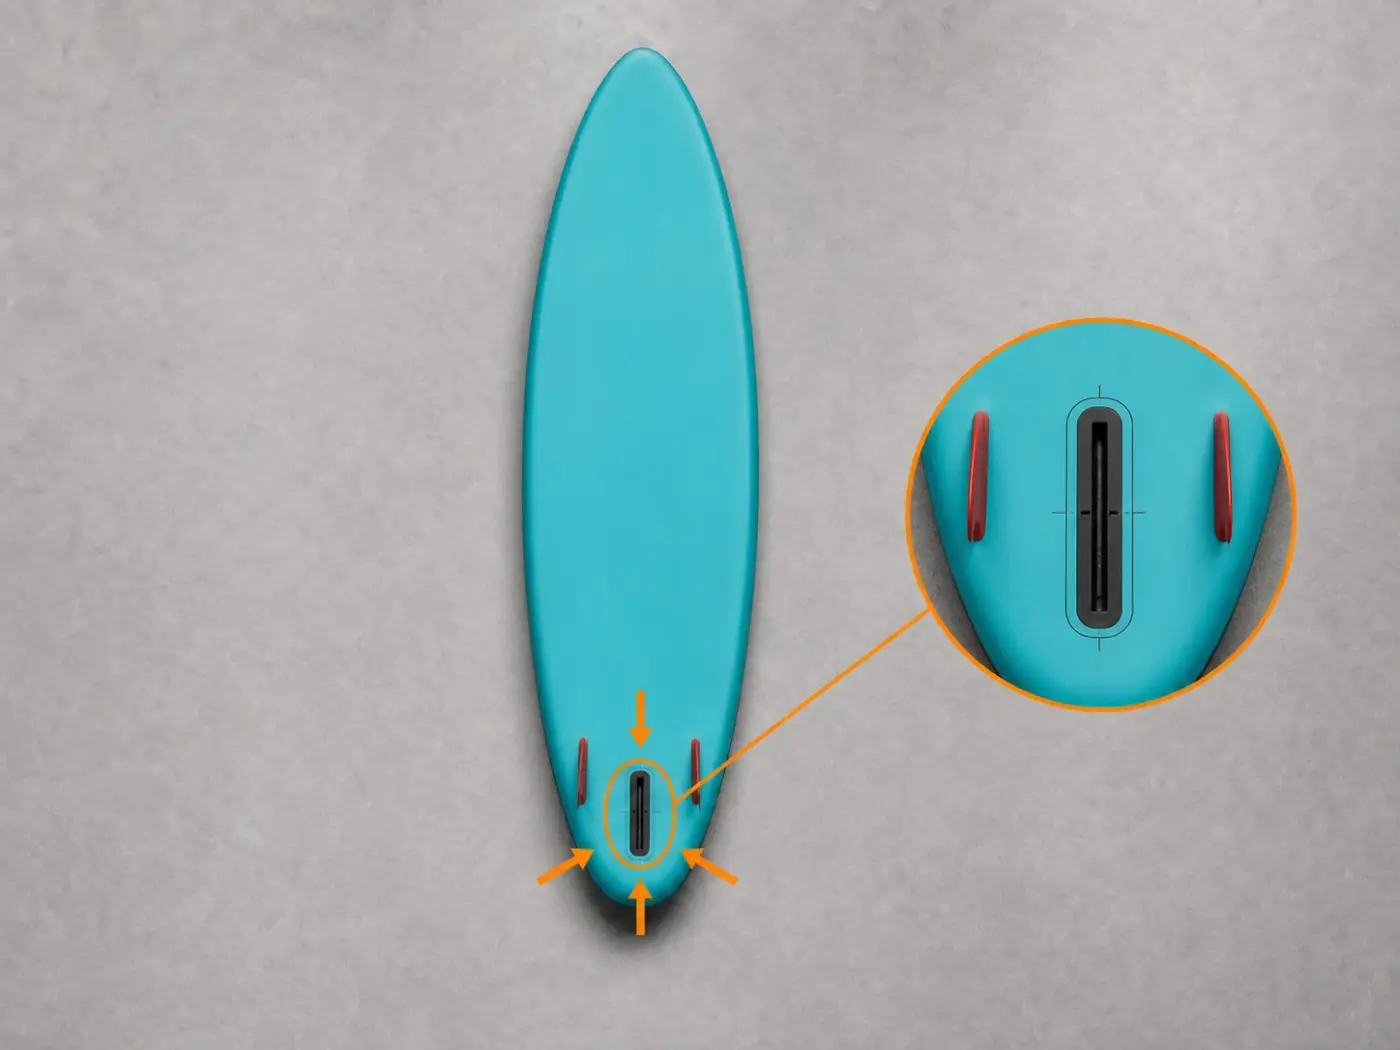
  6. Place it without adhesive and mark the centre

    Try the replacement without adhesive. For a complete assembly, check that it sits flat. When keeping the inner plate, try the box and patch together, identify the bonding side and align the fin slot with the centre of the board.

    The box and patch must not rock, force the plate or require improvised filler. Stop if the textured side or axis is uncertain.

    New fin box placed without adhesive and aligned to the centre with small reference marks
  7. Apply only the selected kit's cycle

    Spread adhesive only on the surfaces stated by the kit. Make thin, even layers and join the parts when the label says they are ready. Do not mix instructions from different systems.

    The number of coats, waiting time, temperature and use of heat depend on the adhesive. Follow the label on the product you are using.

    Kit adhesive spread in a thin layer over the replacement and seat with the container closed
  8. Align and press without leaving bubbles

    Follow the marks and keep the box aligned. Lower the complete assembly a little at a time or centre the patch on the plate, depending on the replacement type. Press from the centre to the edge and use weights or clamps only when the kit requires them.

    Never use heat near open solvents. If the system requires heat, close and remove everything and ventilate until vapours have completely dispersed before warming.

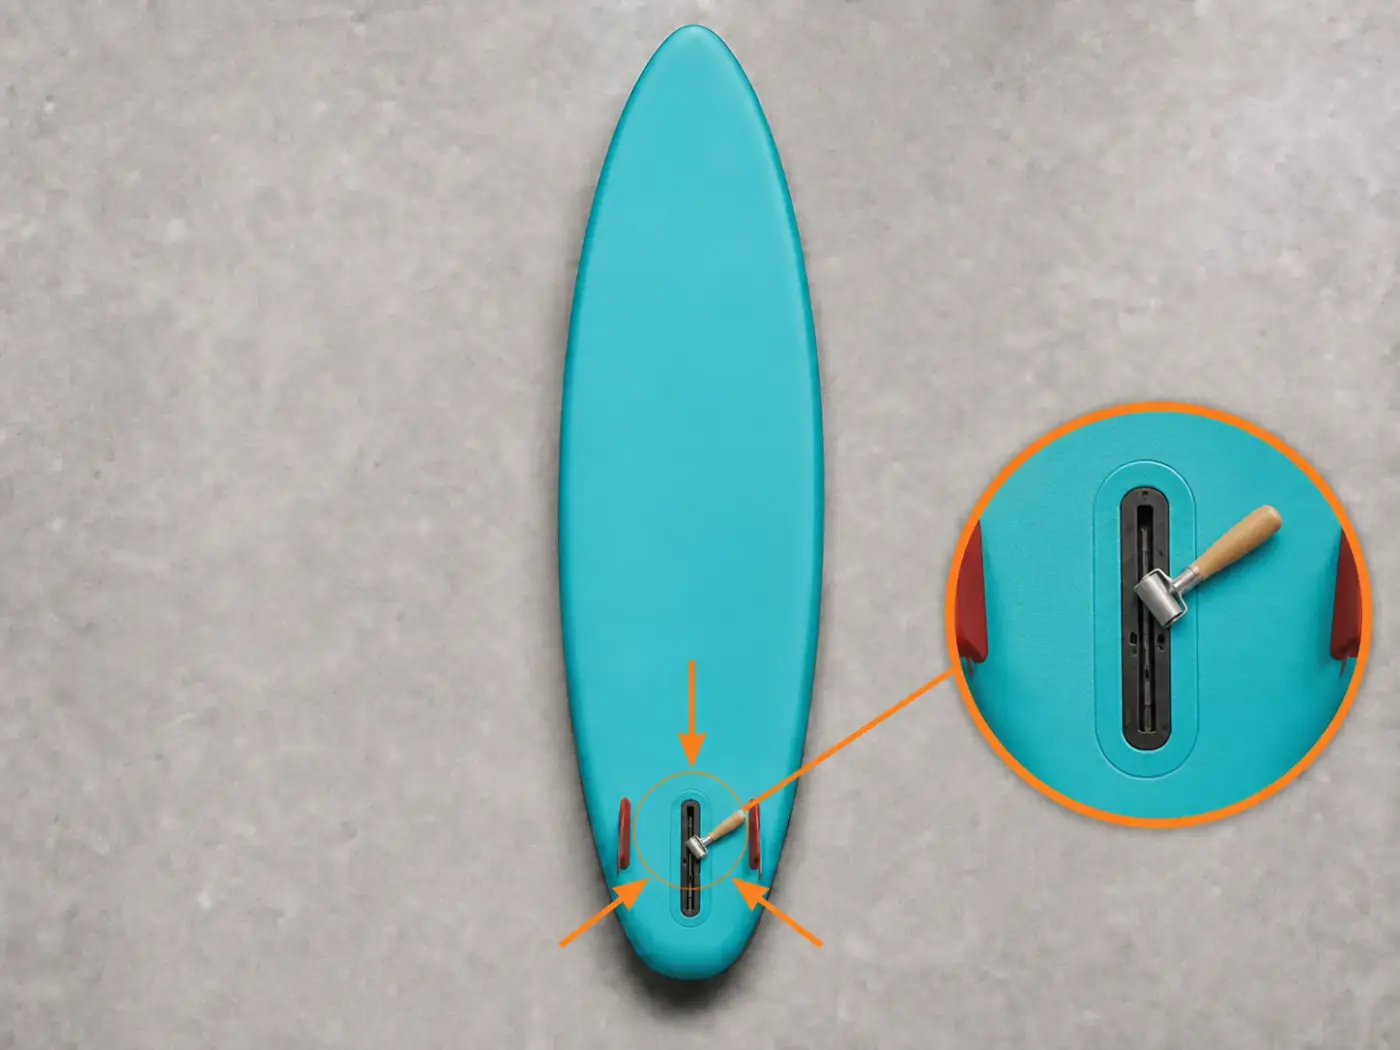
    New black fin box aligned and pressed with a roller from the centre towards the edge
  9. Let it dry and test in stages

    Keep the replacement still for the full time stated in the instructions. Then inflate little by little, inspect the edge and fit the fin without forcing it.

    When the adhesive is fully dry, inflate little by little to the pressure stated for the board. Check the edge and alignment, then fit the fin without force. Movement, bubbles or air loss require assistance.

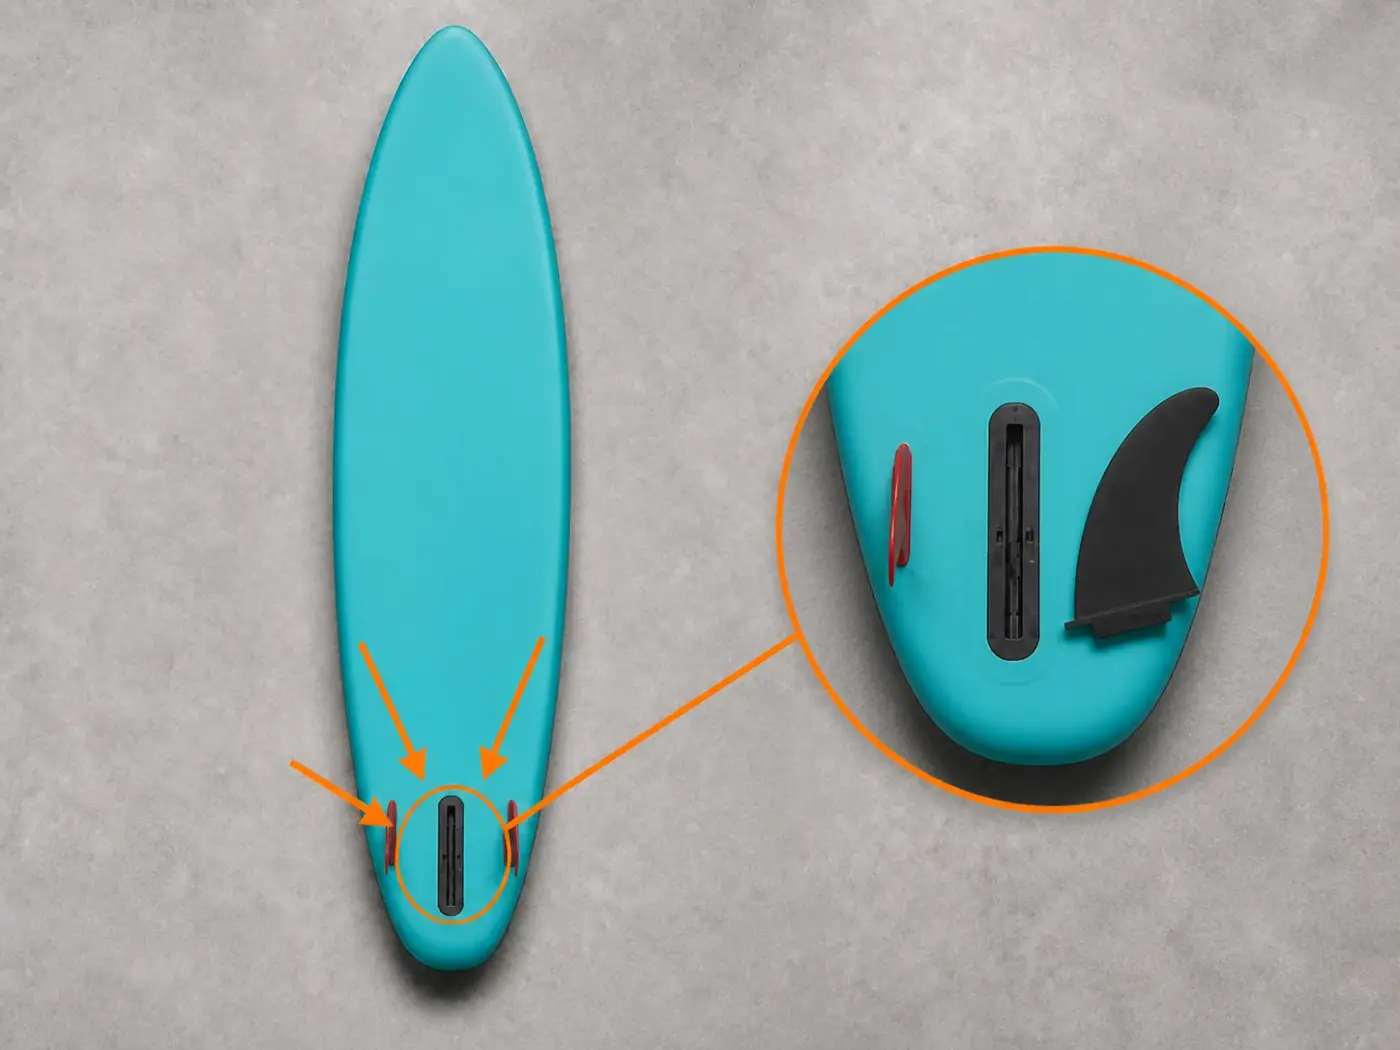
    Replaced fin box stable and aligned after drying, with the fin beside it for the final check

Is the plate or skin beneath the box damaged?

Send RiparoSUP photographs of the box, exposed area and replacement before cutting further or applying an unverified adhesive.