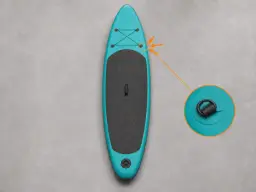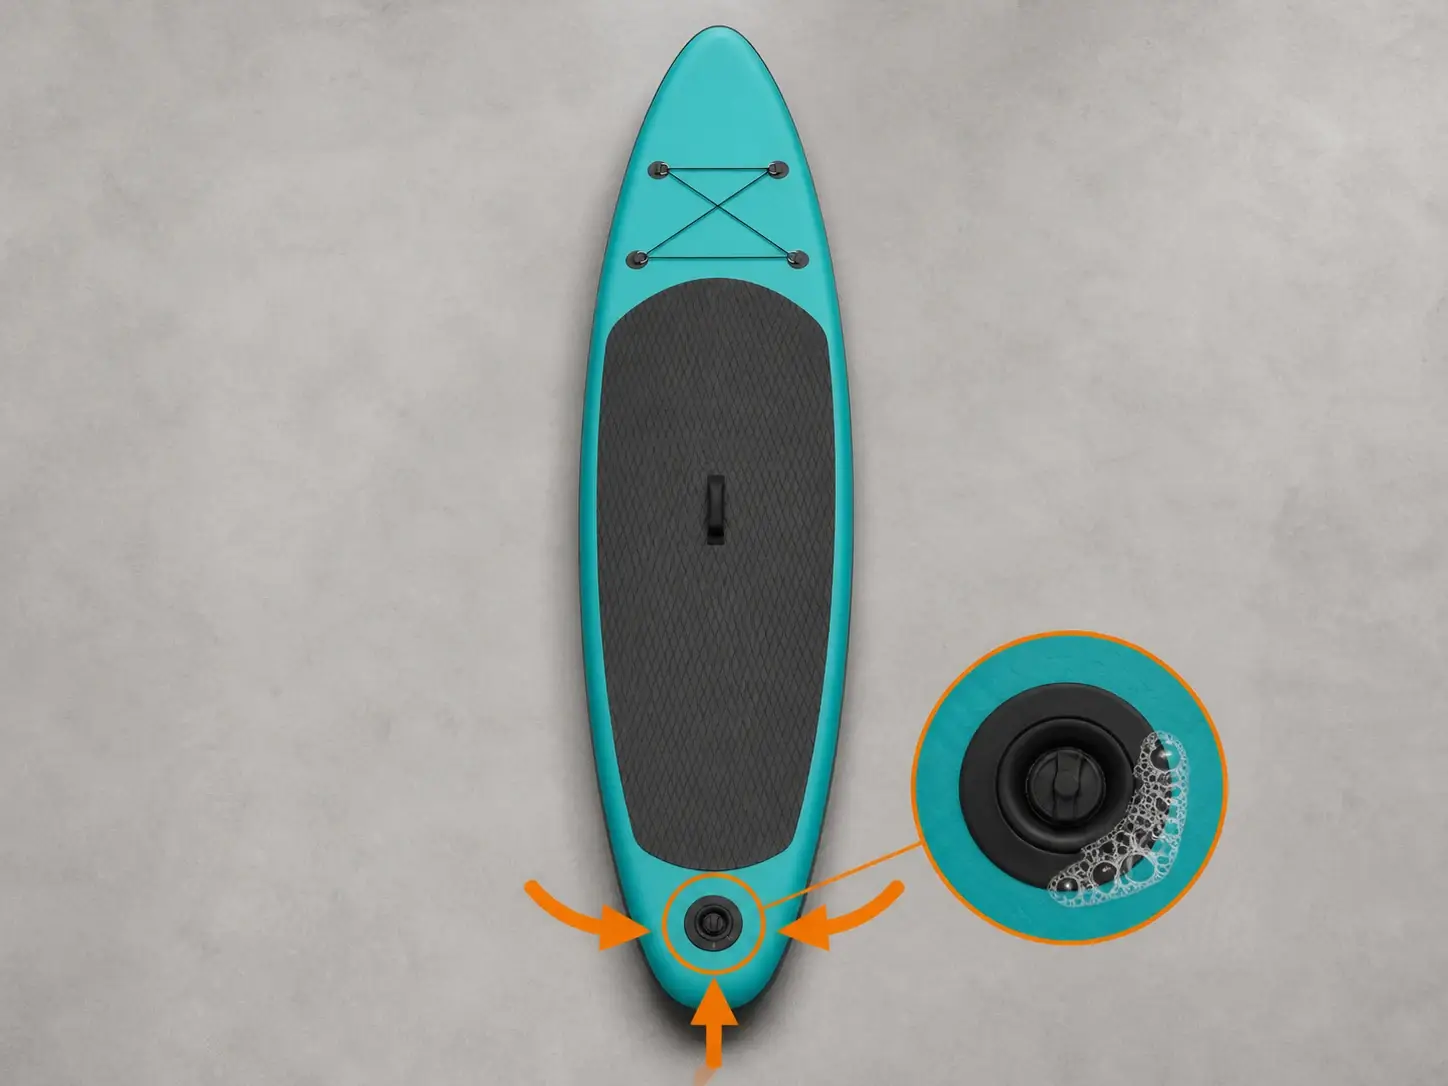
How to repair a leaking SUP valve

A progressive procedure to find where air escapes, try a minimal tightening adjustment and move to replacement only when the valve is genuinely faulty.

  • 9 steps
  • Locate the leak first
  • From checking to adapting
Start with the soapy-water test
Gloved hands applying soapy water around a SUP valve

Prepare only what the diagnosis requires

A simple tightening attempt needs very few tools. The replacement, adapter ring and adhesive are needed only when the checks confirm that the valve must be replaced or converted.

  • Water with a little soap and a clean bottle for testing
  • A wrench shaped for the valve currently fitted
  • Compatible valve with its outer body and inner base
  • Thin cord to keep the inner base from falling inside the board
  • Caliper, scissors and template only when adapting a different type of valve
  • Compatible PVC fabric for an adapter ring when required
  • The adhesive system and cleaner specified for that PVC
  • Gloves suitable for the product and eye protection

The steps, one by one

  1. Locate the leak

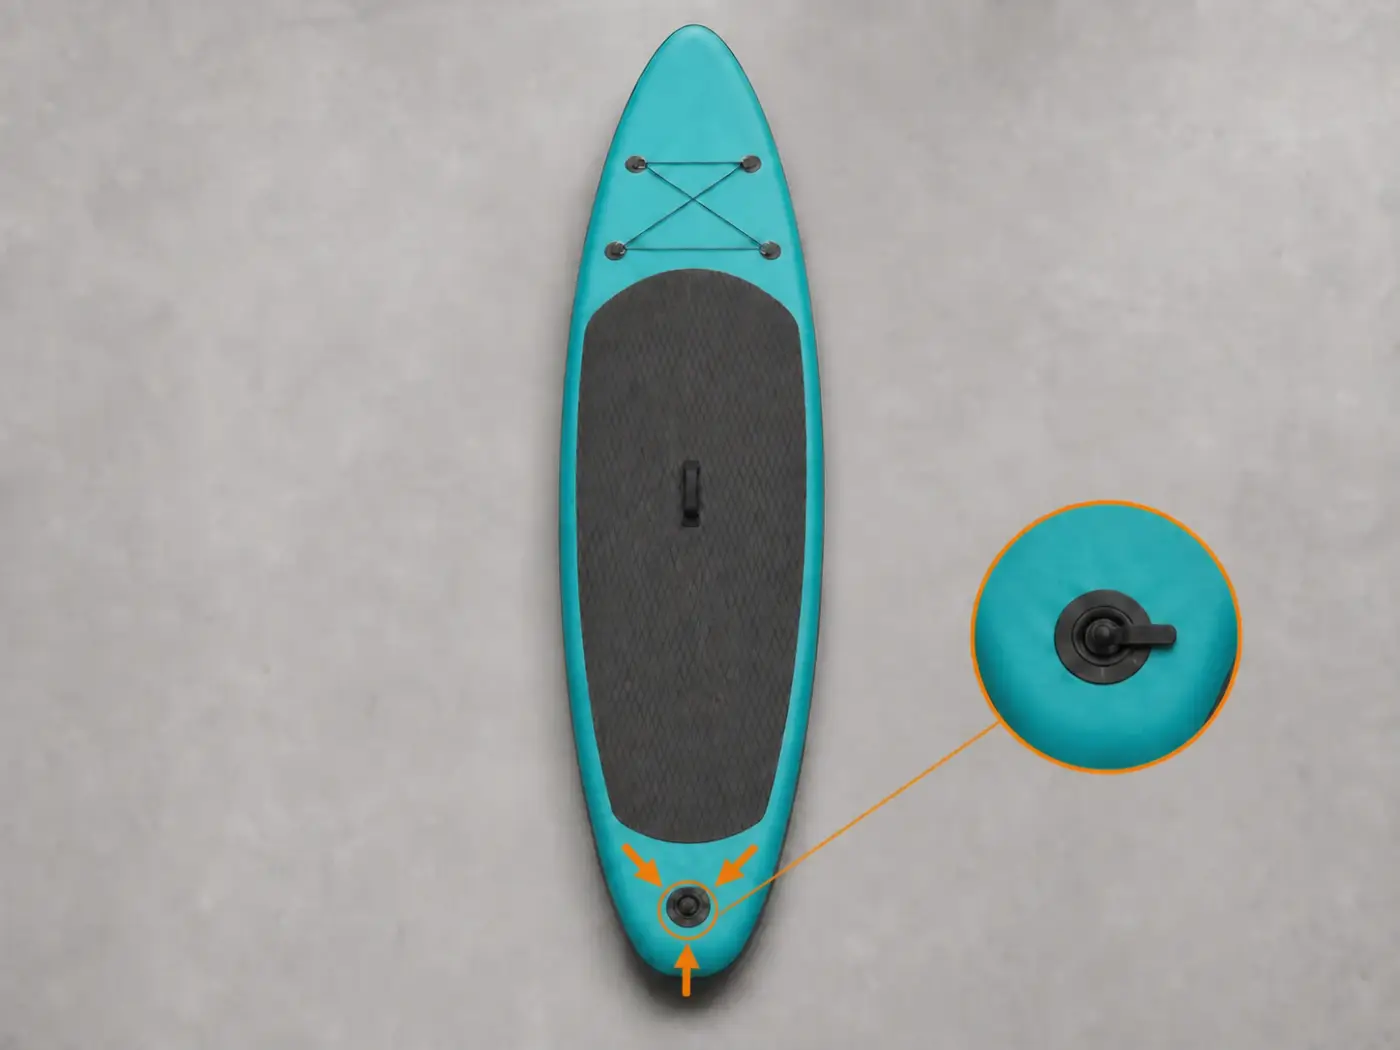
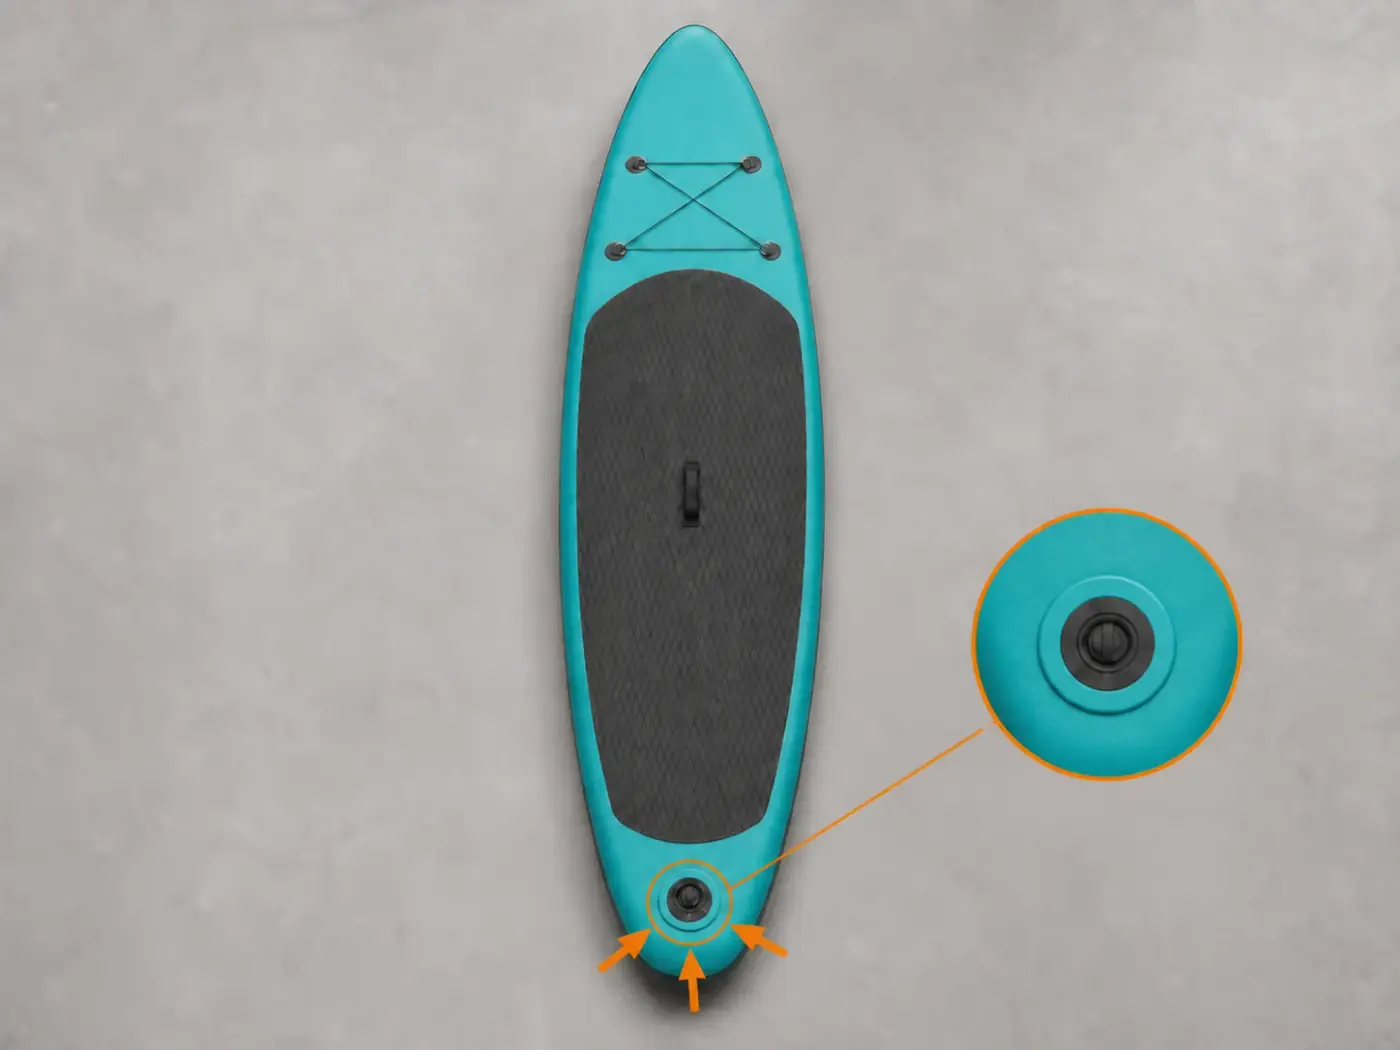
    Inflate the SUP to its stated pressure and spread a little soapy water around the valve edge and centre. Watch for a few moments without pressing the pin.

    Bubbles that continue to grow reveal escaping air; foam left behind by the bottle alone is not enough to diagnose a leak.
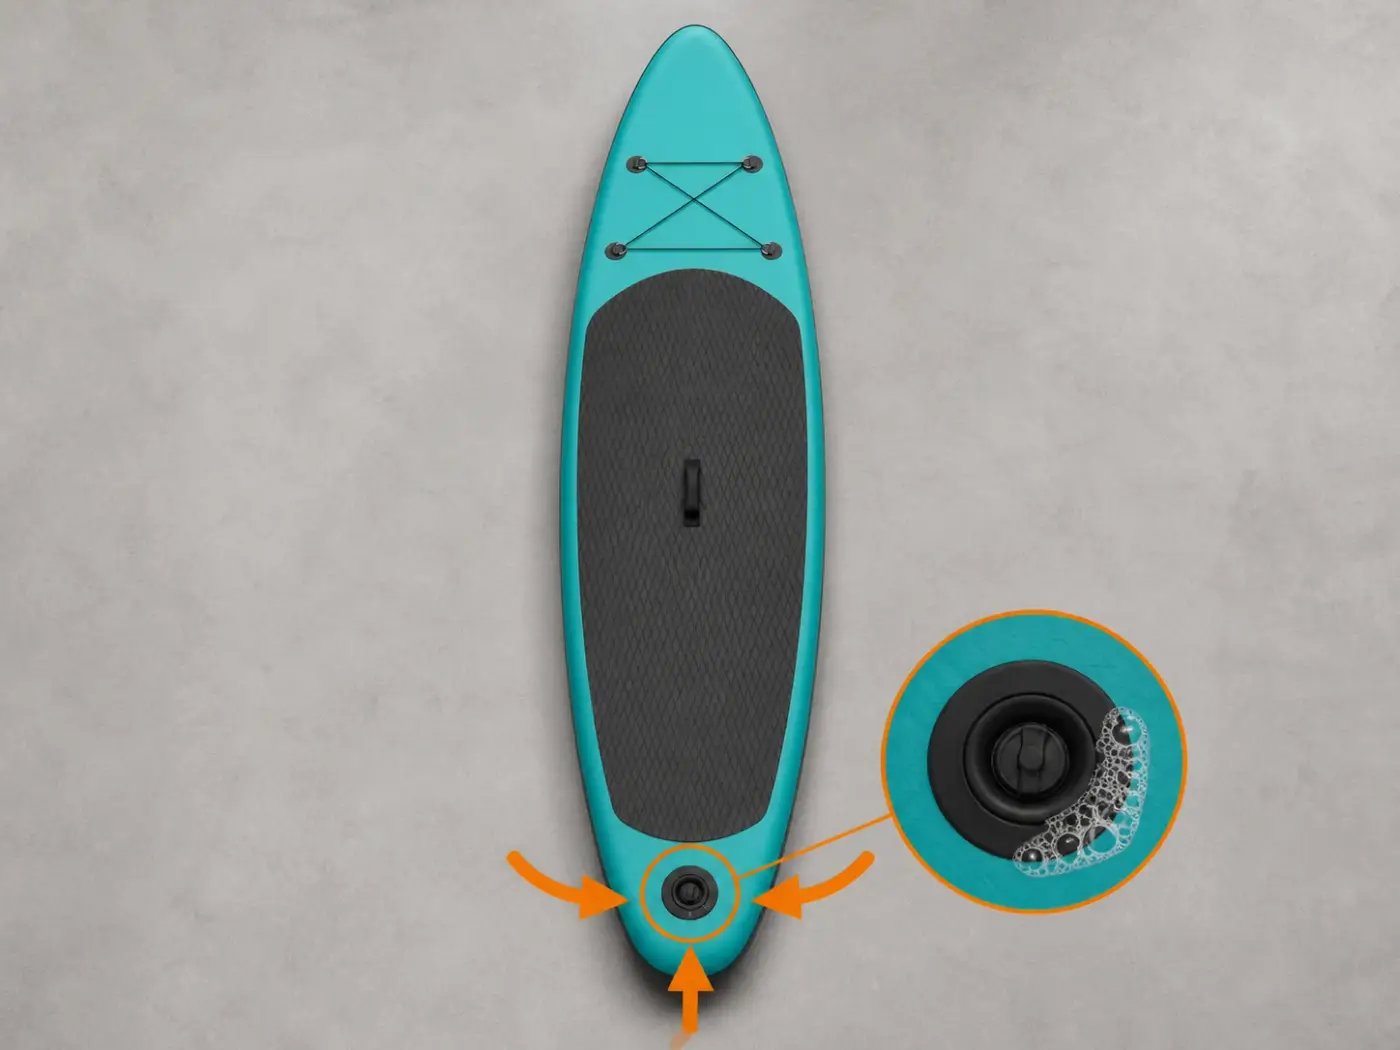
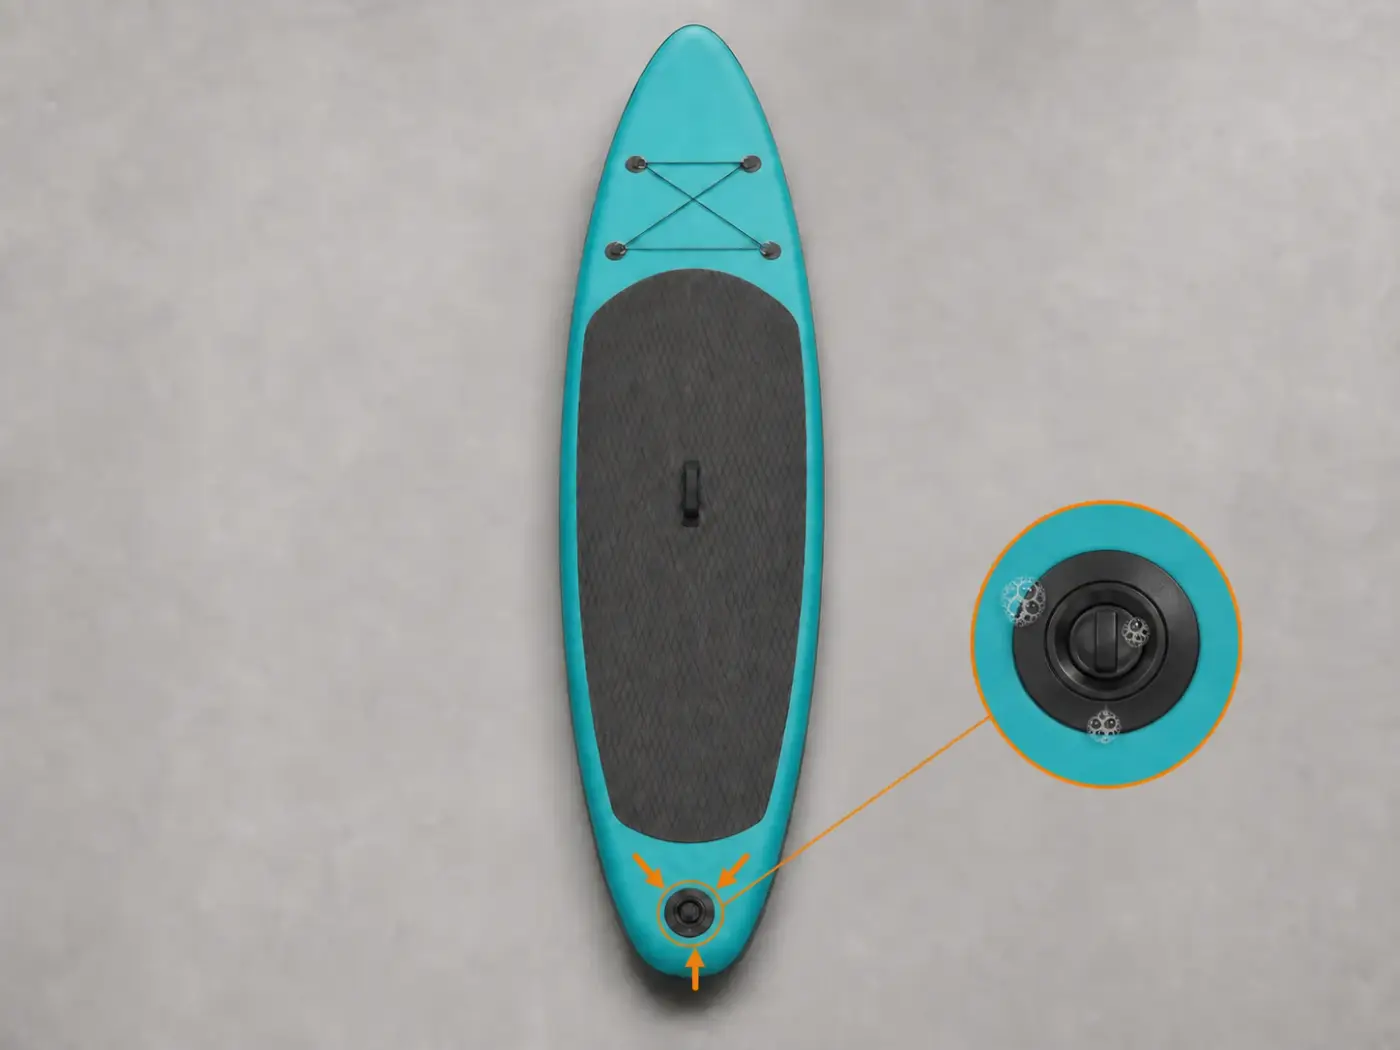
    Soapy water forming bubbles along the valve edge of an inflated SUP
  2. Identify where the air escapes

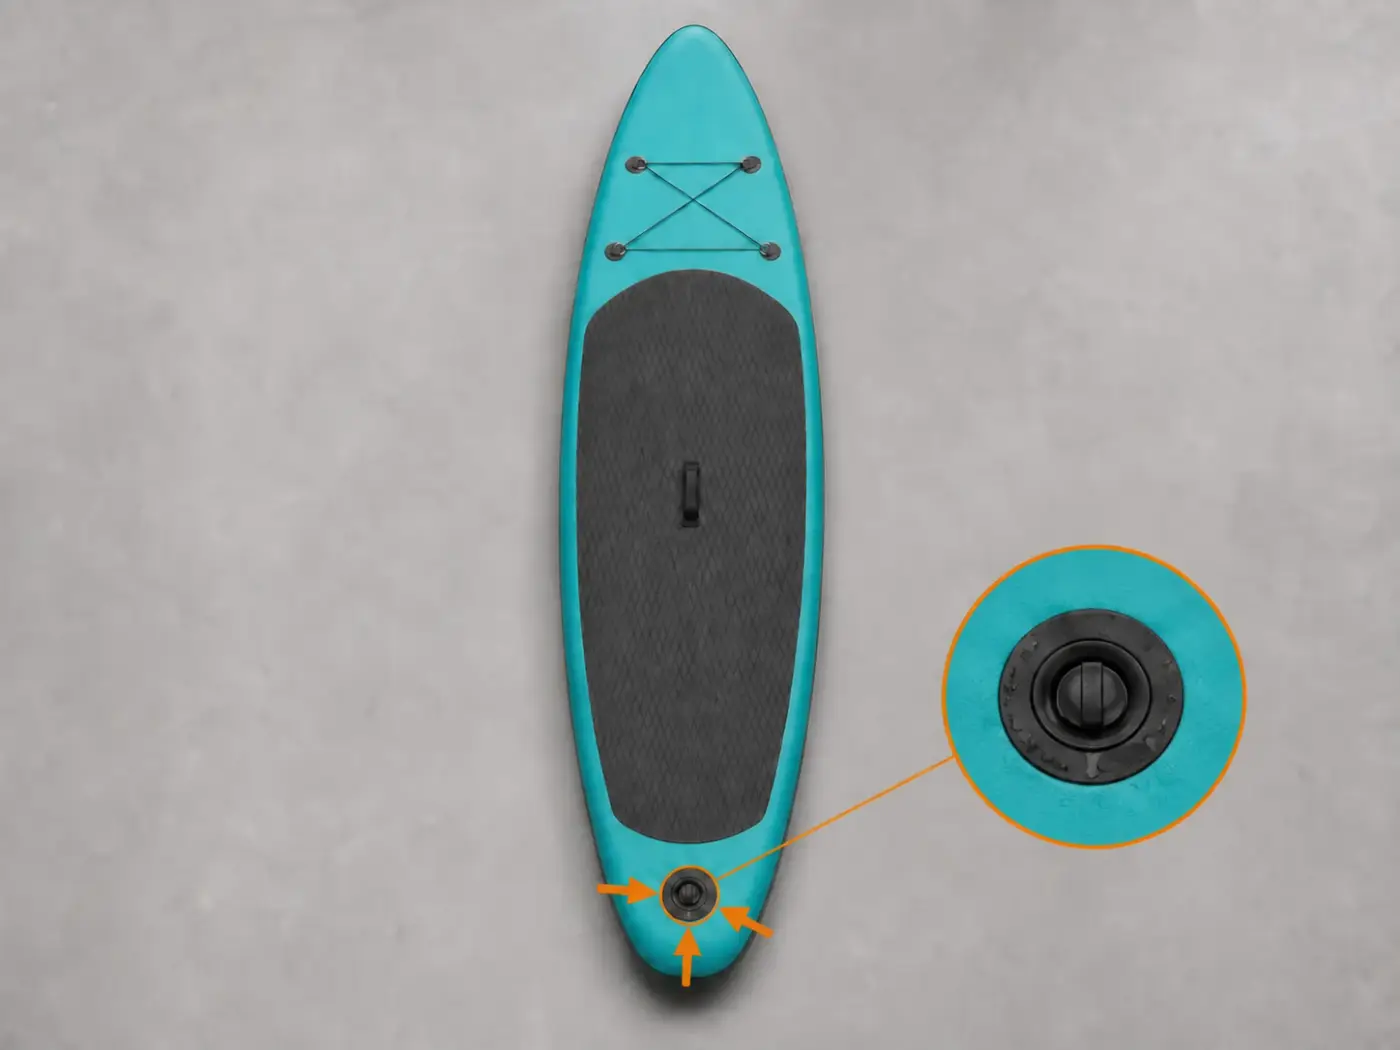
    Bubbles around the outer edge often mean the body and inner base no longer grip the PVC correctly. Bubbles from the centre may come from dirt or a damaged part. Bubbles from the fabric beside the valve require professional assessment.

    Also check that the pin is in its closed position and clean it only using methods approved by the valve manufacturer.

    Gloved hands comparing the valve centre with its outer edge during a soapy-water test
  3. Try a minimal tightening adjustment

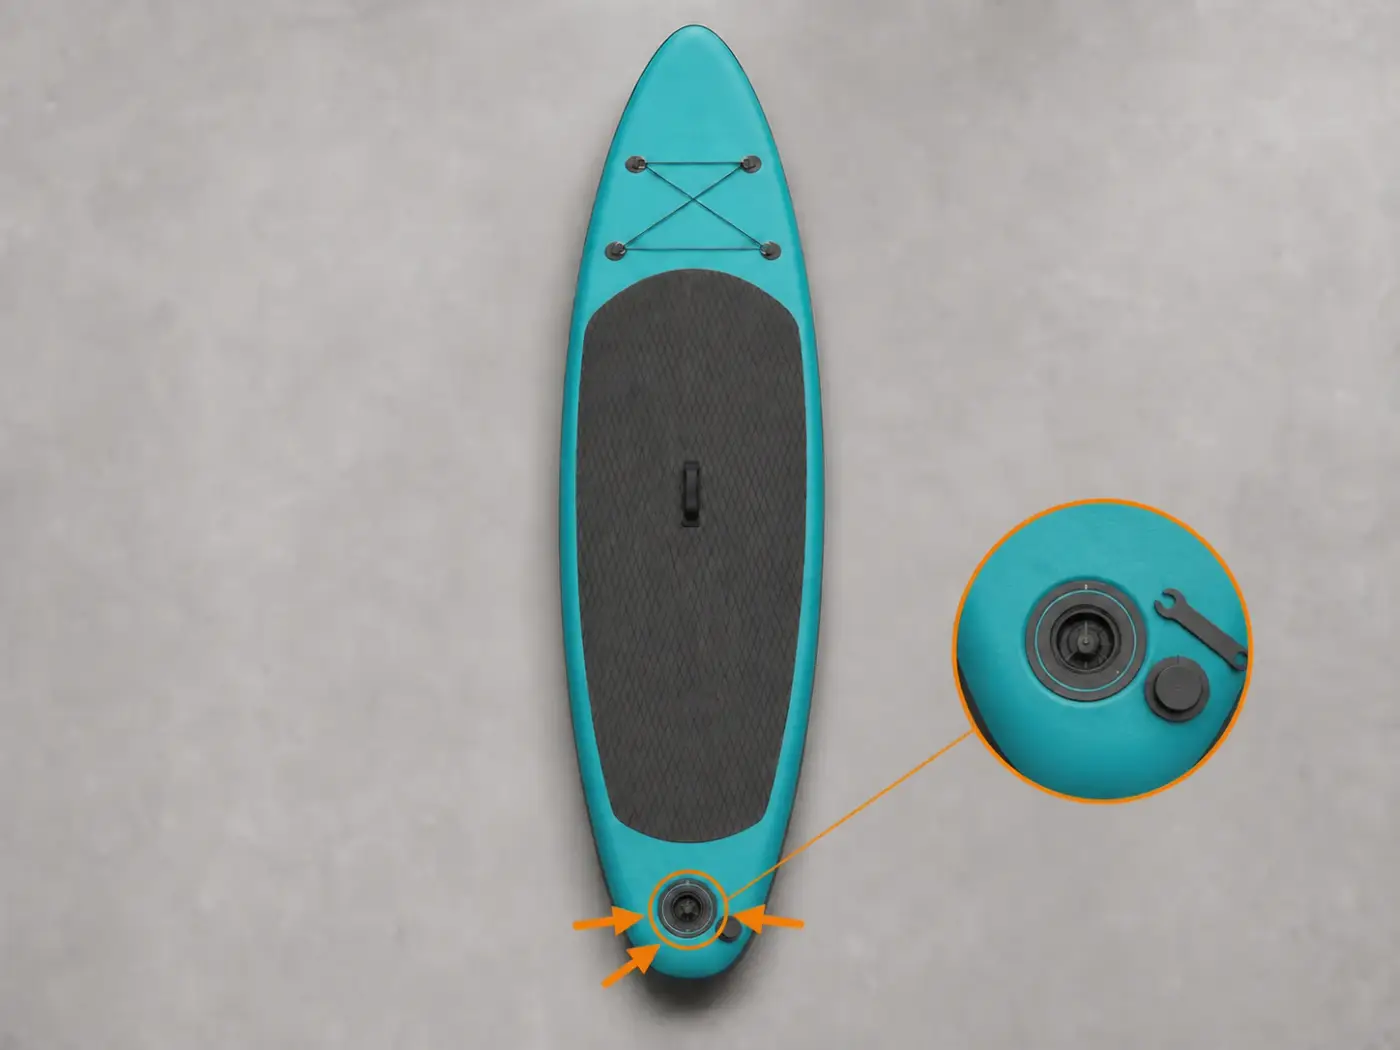
    Fully deflate the SUP. Use the exact wrench for the valve. Hold the inner base steady through the fabric and turn the body clockwise only a little, without jerking it.

    Inflation cycles and heat can loosen the body slightly over time. Do not force it: overtightening can deform the PVC, thread or valve seat.

    Valve on a fully deflated SUP being tightened slightly with the correct wrench
  4. Inflate and repeat the test

    Return the board to its prescribed pressure and repeat the soapy-water test in the same place. If no new bubbles form, dry the area and check the pressure again after the interval you normally use to verify a slow leak.

    If bubbles continue, do not add more force after every attempt: check the replacement or request a professional assessment.

    Tightened valve checked again with soapy water and no bubbles forming
  5. Identify a compatible replacement

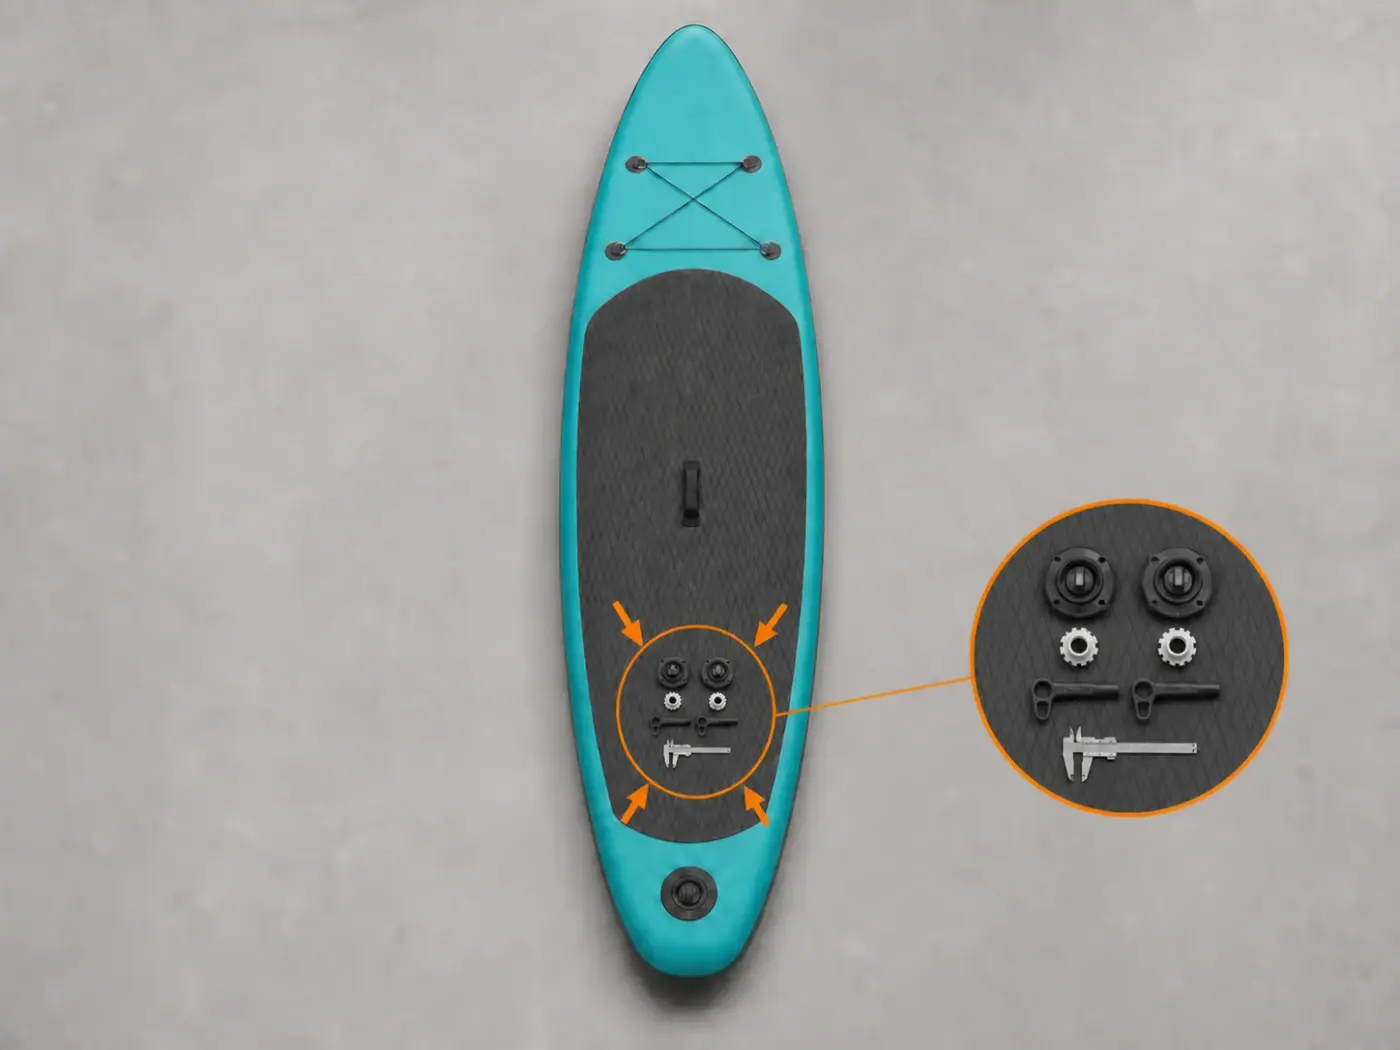
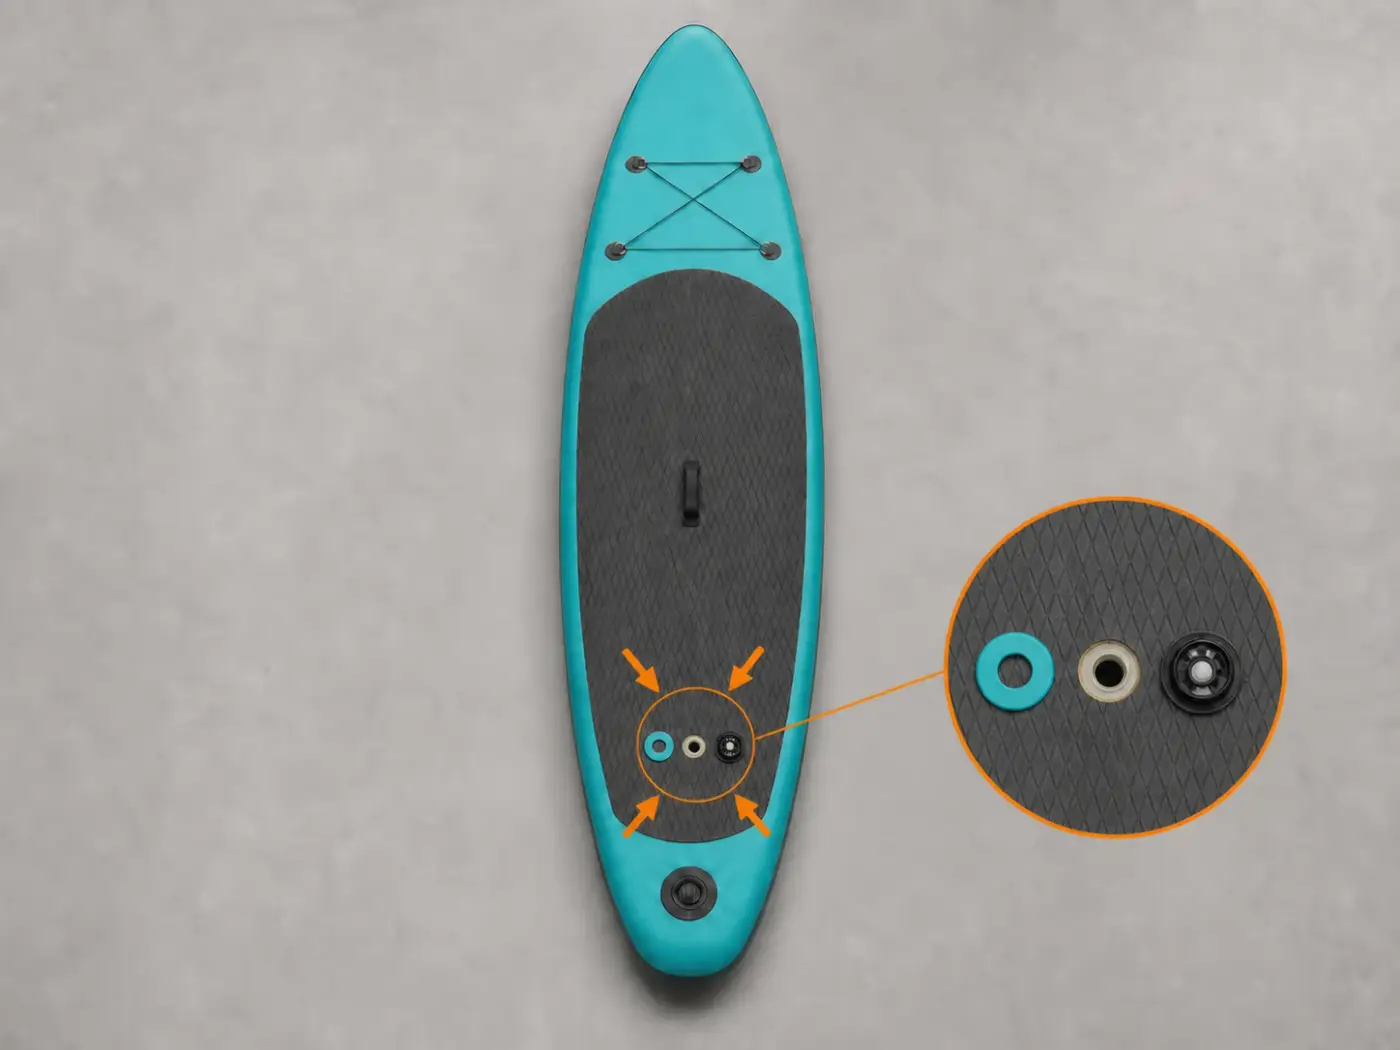
    Compare the thread, diameter, height, inner base, cap and wrench. The replacement must fit the existing opening and join the base without cutting the fabric.

    Two valves that look alike are not necessarily compatible. Proprietary valves may require a specific tool and replacement part.

    Two SUP valves compared on a bench with an inner base, wrench and caliper
  6. Remove the valve without losing the inner base

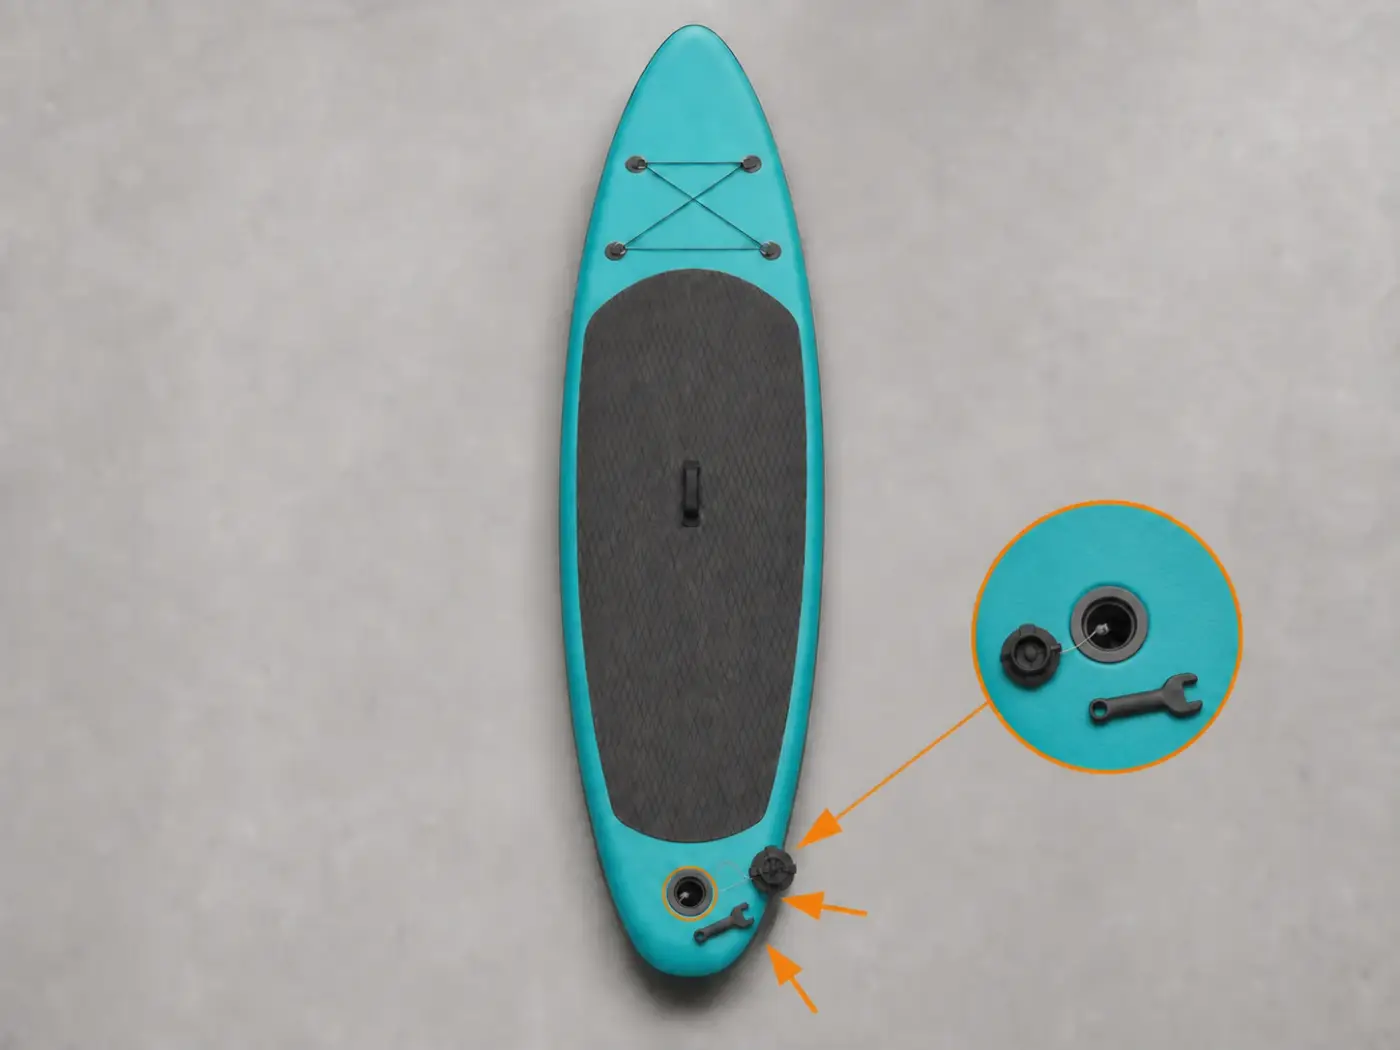
    With the board fully deflated, tie thin cord to the inner base when its shape allows. Hold it through the PVC and unscrew the outer body with the correct wrench.

    Protect the fabric from tools and sharp edges. Inside a large board, a loose base can slide away from the opening.

    Valve body removed from a deflated SUP with the inner base held by cord
  7. Assess whether an adapter ring is needed

    Skip this step when the replacement matches the old valve. Fitting a different type may require a PVC ring that covers the old opening and supports the new body.

    Enlarge the opening only when the replacement instructions require it. Stop if you do not have an exact template.

    PVC ring compared with the opening, new valve and inner base
  8. Prepare and bond the reinforcement

    This step is only for fitting a different type of valve. Prepare the board and ring as stated on the adhesive. Lay the ring without stretching it and press its whole surface.

    Do not sand, thin or heat by habit. Follow the label and safety instructions. Before using heat, remove solvents, containers and cloths and wait until the vapours have gone.

    PVC reinforcement ring pressed around the empty valve opening using a small hand roller
  9. Reassemble, let it dry and check

    Retrieve and centre the inner base. Start the body by hand, then finish with the wrench. If you glued a ring, wait for the time stated on the package before inflating. Then repeat the soapy-water test.

    The repair is complete only when no bubbles appear, the valve remains stable and the board holds pressure. Otherwise, do not take it onto the water.

    Reassembled SUP valve checked with soapy water after the adhesive has fully dried

When the valve needs professional help

Stop before cutting, bonding or applying more force if any of these cases applies:

  • uncertain material, material other than PVC or damage around the valve seat
  • inner base cannot be reached, thread is damaged or the replacement is not certainly compatible
  • bubbles from the fabric, a distorted opening, separating layers or an affected seam
  • solvent is needed but fresh air, gloves, eye protection or product instructions are unavailable

Does the leak continue, or is the adaptation unclear?

Send close-up photographs of the valve and surrounding area to RiparoSUP. We will assess the case before you cut the fabric or buy a replacement.