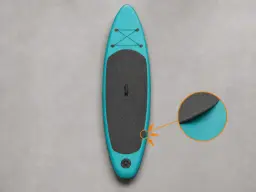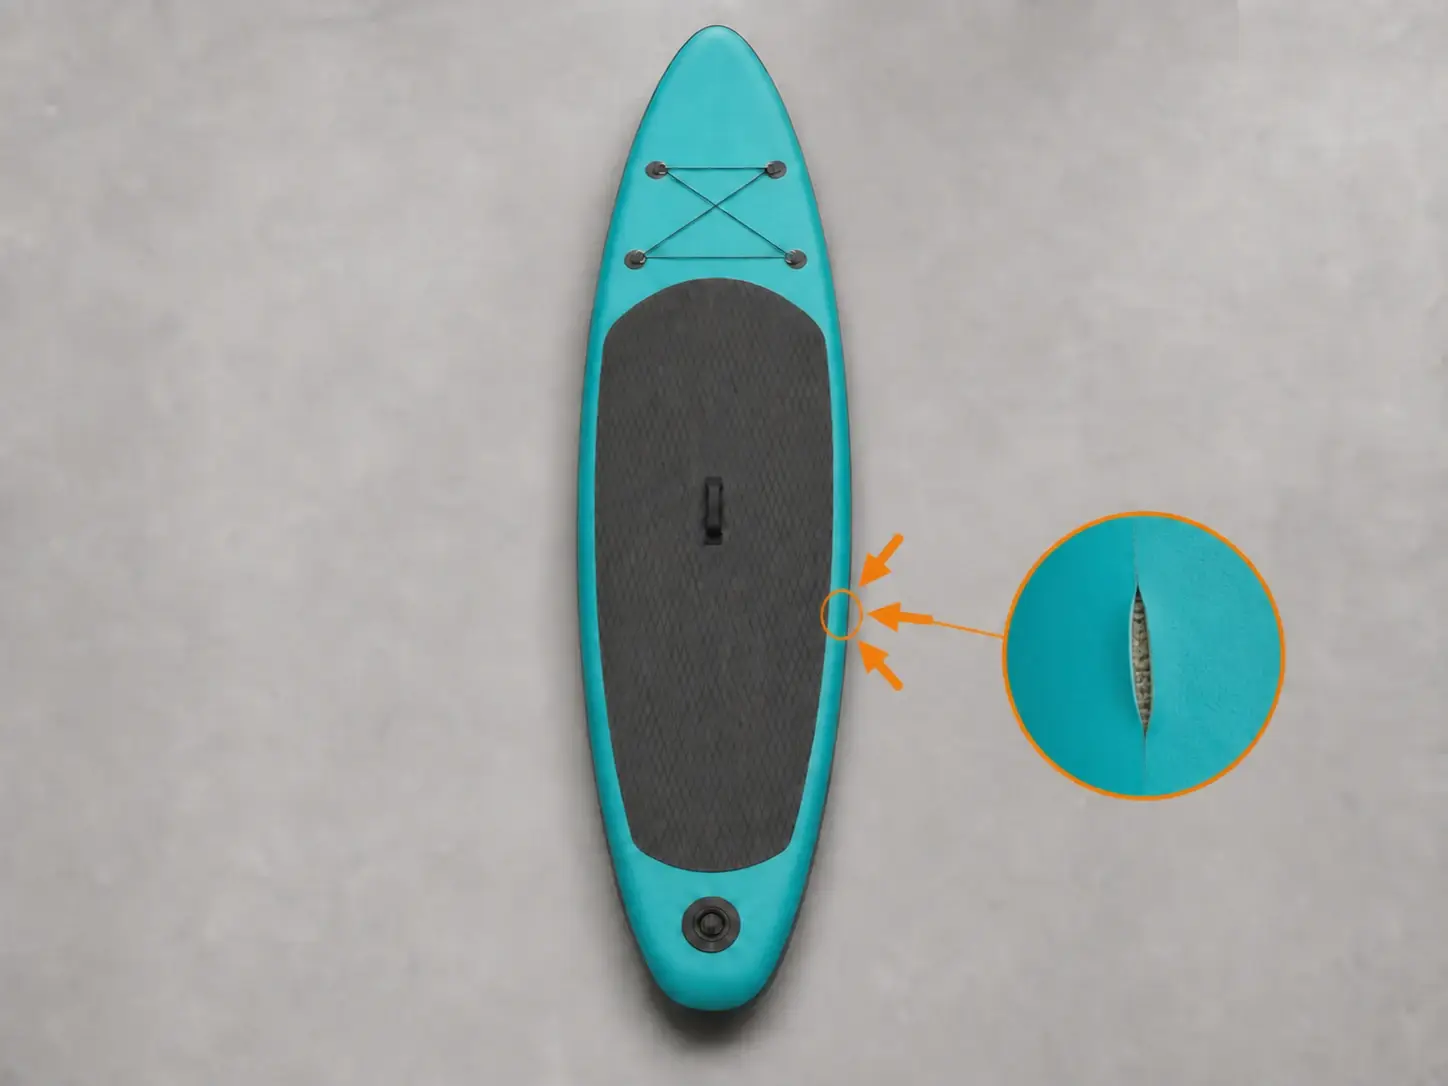
How to repair a SUP that burst along the seam

A cautious procedure for checking an opened side seam, closing it and protecting it. Stop if the internal threads that hold the SUP in shape are cut or distorted.

  • 9 steps
  • Check the structure first
  • Drying time stated on the adhesive
Start by assessing the damage
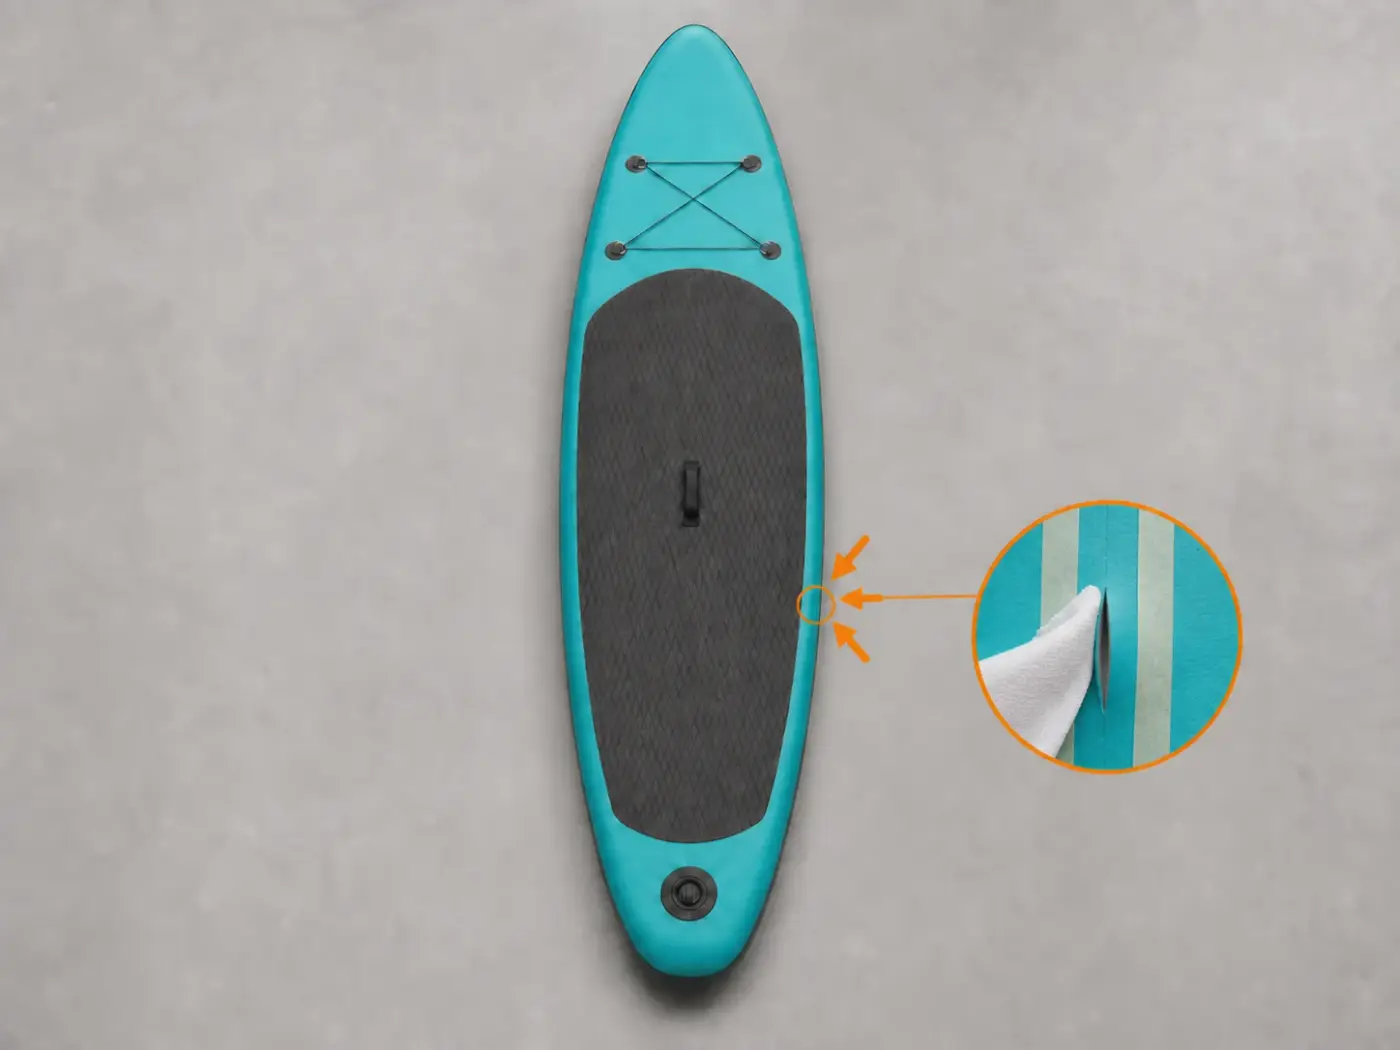
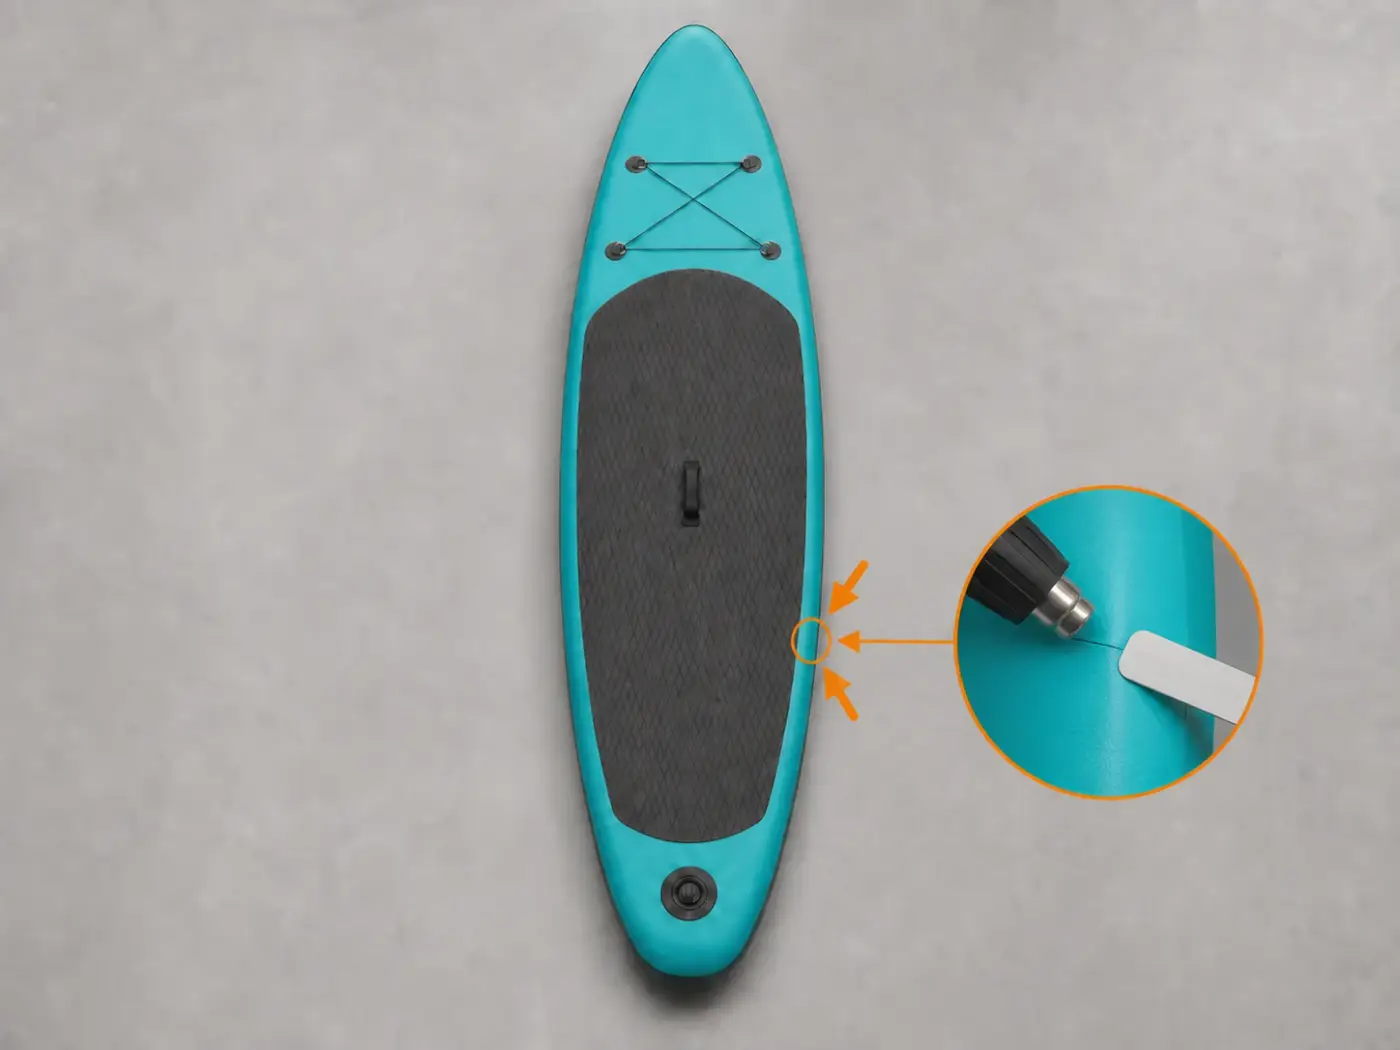
Opened seam along the rail of a deflated turquoise SUP with the internal fibres visible

Prepare a compatible system, not generic ingredients

Use a two-part adhesive stated to be compatible with the board’s PVC. Amounts, waiting times and use of heat must follow the label on the adhesive you actually have.

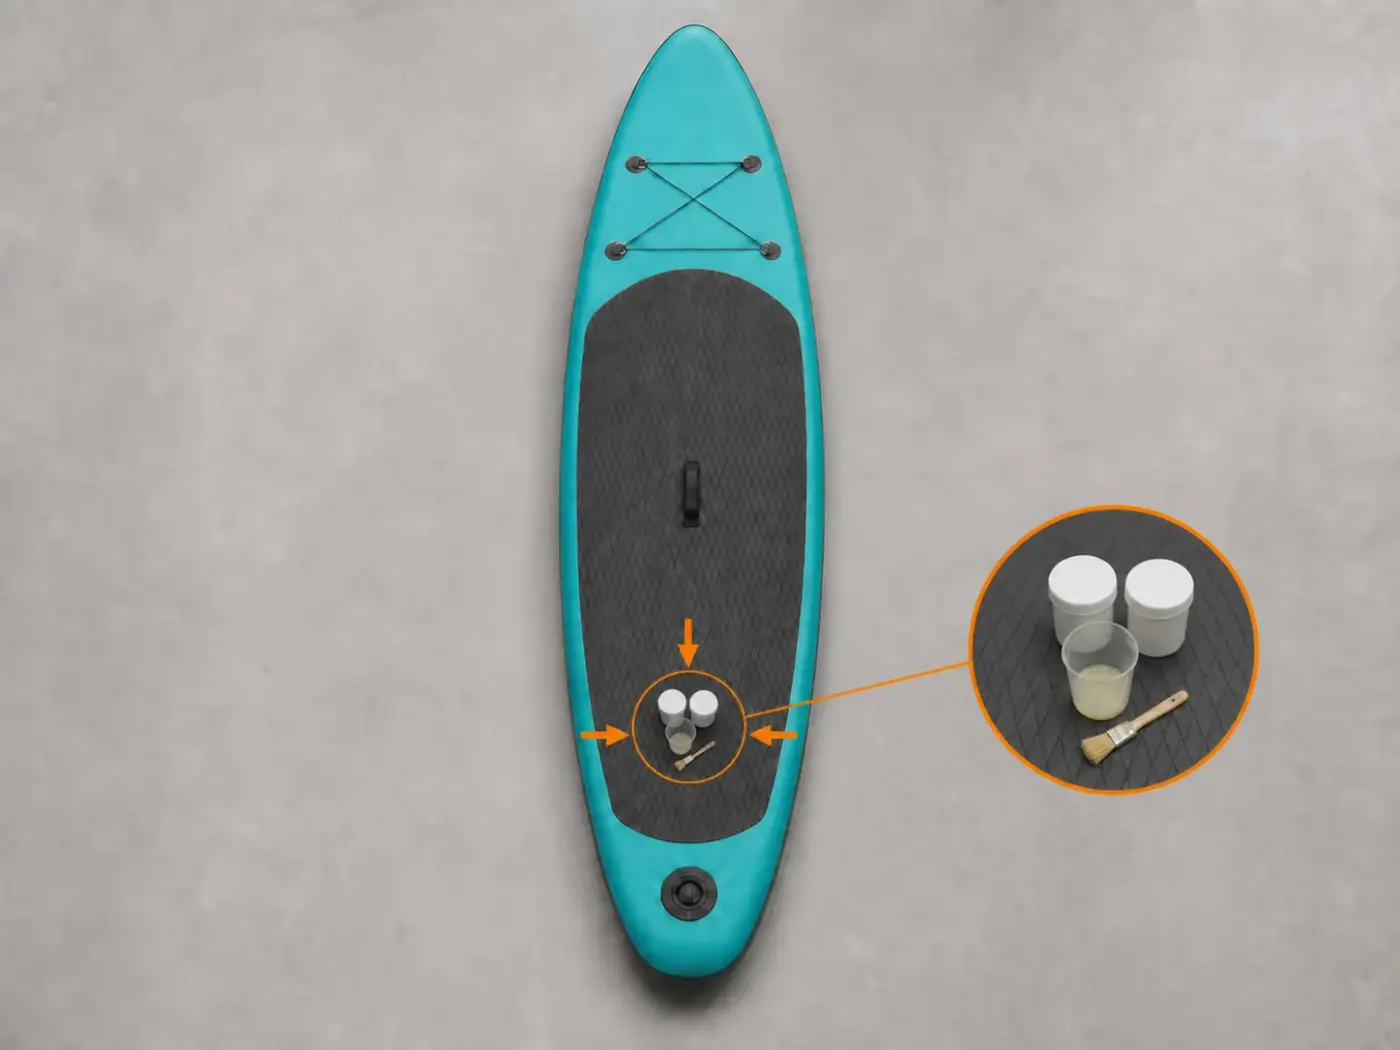
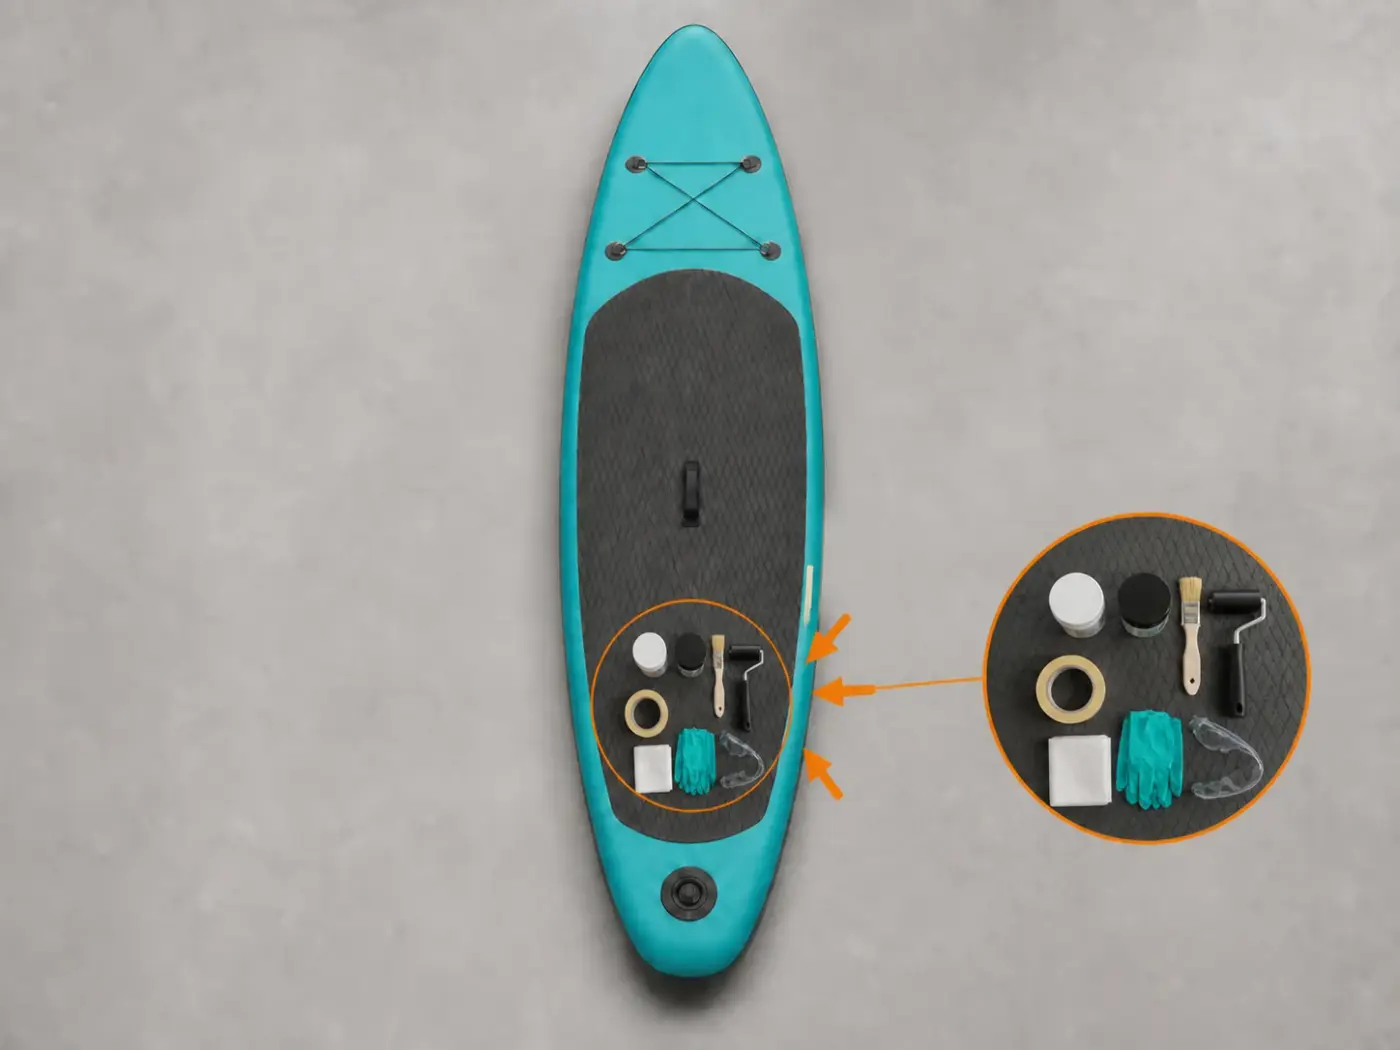
  • PVC adhesive made of two liquids to be mixed as stated on the package
  • MEK, the solvent used to clean PVC, only when stated for the chosen system
  • Compatible PVC fabric strip for external reinforcement
  • Short-bristle brush, graduated cup and mixing tool
  • Ruler, masking tape and scissors for shaping the reinforcement
  • Heat gun only when required by the adhesive instructions
  • Rounded spatula or roller for expelling air and excess adhesive
  • Gloves suitable for the solvent and eye protection

The steps, one by one

  1. Assess the opening before bonding

    Fully deflate the SUP and inspect the whole opened seam. Check whether only the side skin has lifted or whether the internal threads or pressure-holding fabric are cut. Inspect both ends of the opening as well.

    Continue only if the threads and fabric that give the board its shape are intact and the edge returns to its original position without force. Otherwise, request a professional assessment.
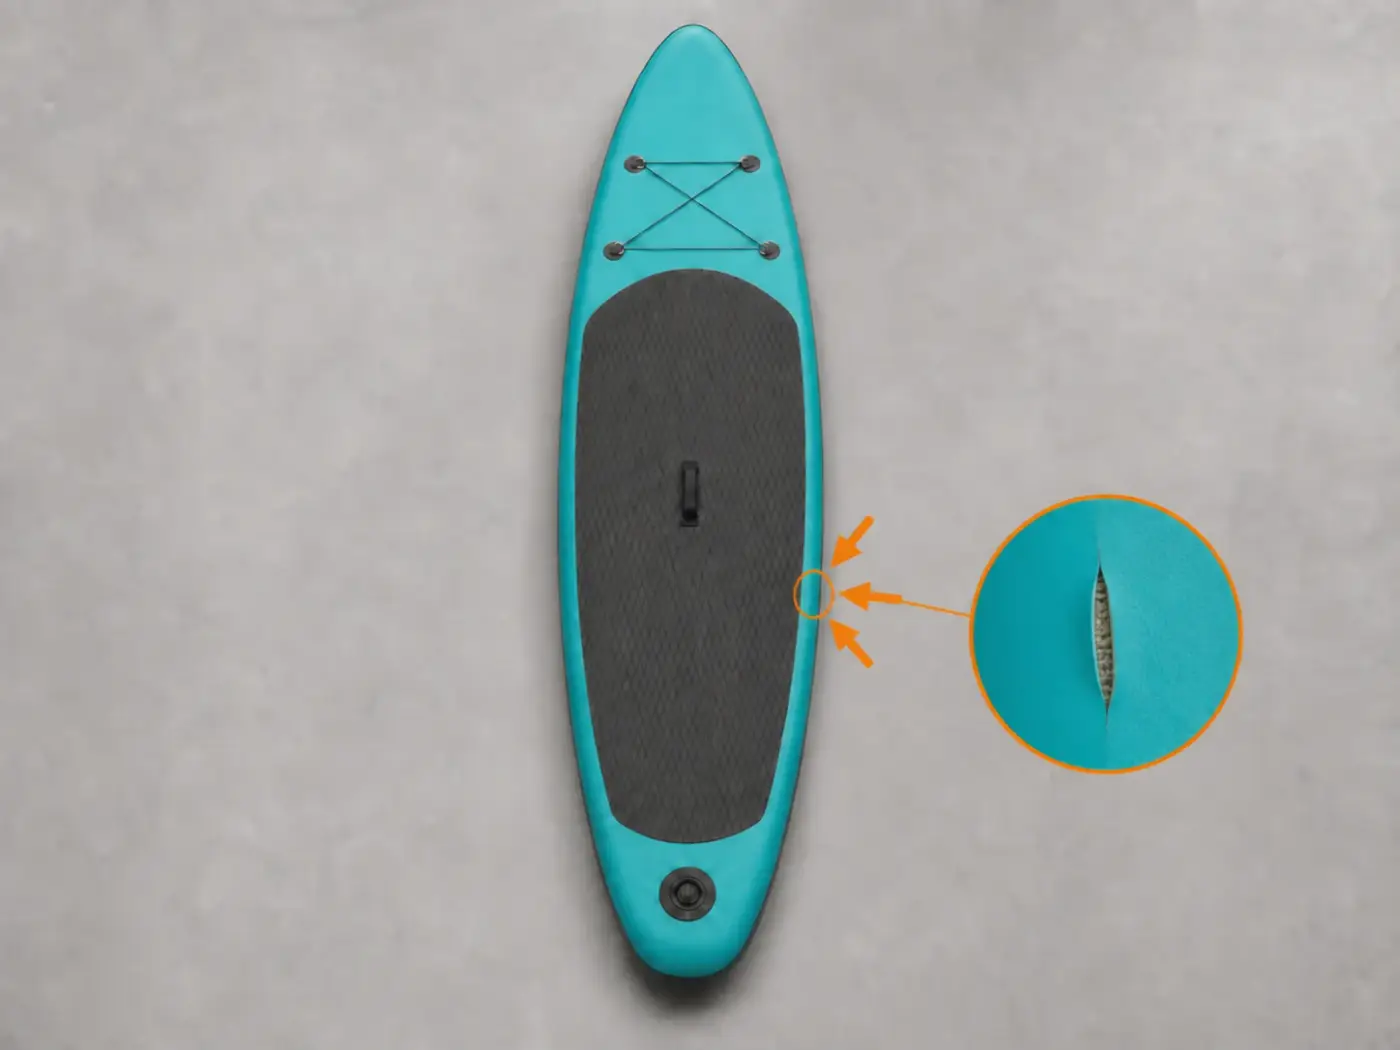
    Opened seam on a deflated SUP with its ends, outer material and internal fibres clearly visible
  2. Prepare a safe, dry workbench

    Place the deflated board on a clean, dry and well-ventilated surface. Read the adhesive label, remove flames and sparks and cover nearby graphics before opening the solvent.

    Work only when temperature, humidity and wind allow you to follow the adhesive instructions.

    Deflated SUP on a ventilated bench with gloves, safety glasses, organised tools and protected rail
  3. Clean and prepare the surfaces

    Carefully remove only old adhesive that is loose and unstable. Use a lint-free cloth to apply the approved preparer or MEK to both faces of the joint while avoiding printed graphics, then wait for the solvent to evaporate completely.

    Test it on a hidden area first. Surfaces must be dry, clean and even; do not sand or thin products by habit when the manufacturer does not require it.

    Gloved hand cleaning both seam faces while protecting printed graphics
  4. Activate only the amount you need

    Measure the two liquids in the amounts stated on the label. Prepare only what you will use and mix until the mixture is even.

    Use the mixture within the time stated on the package. Do not copy amounts or timing from another adhesive.

    Gloved hands mixing two-part adhesive in a graduated cup away from the SUP
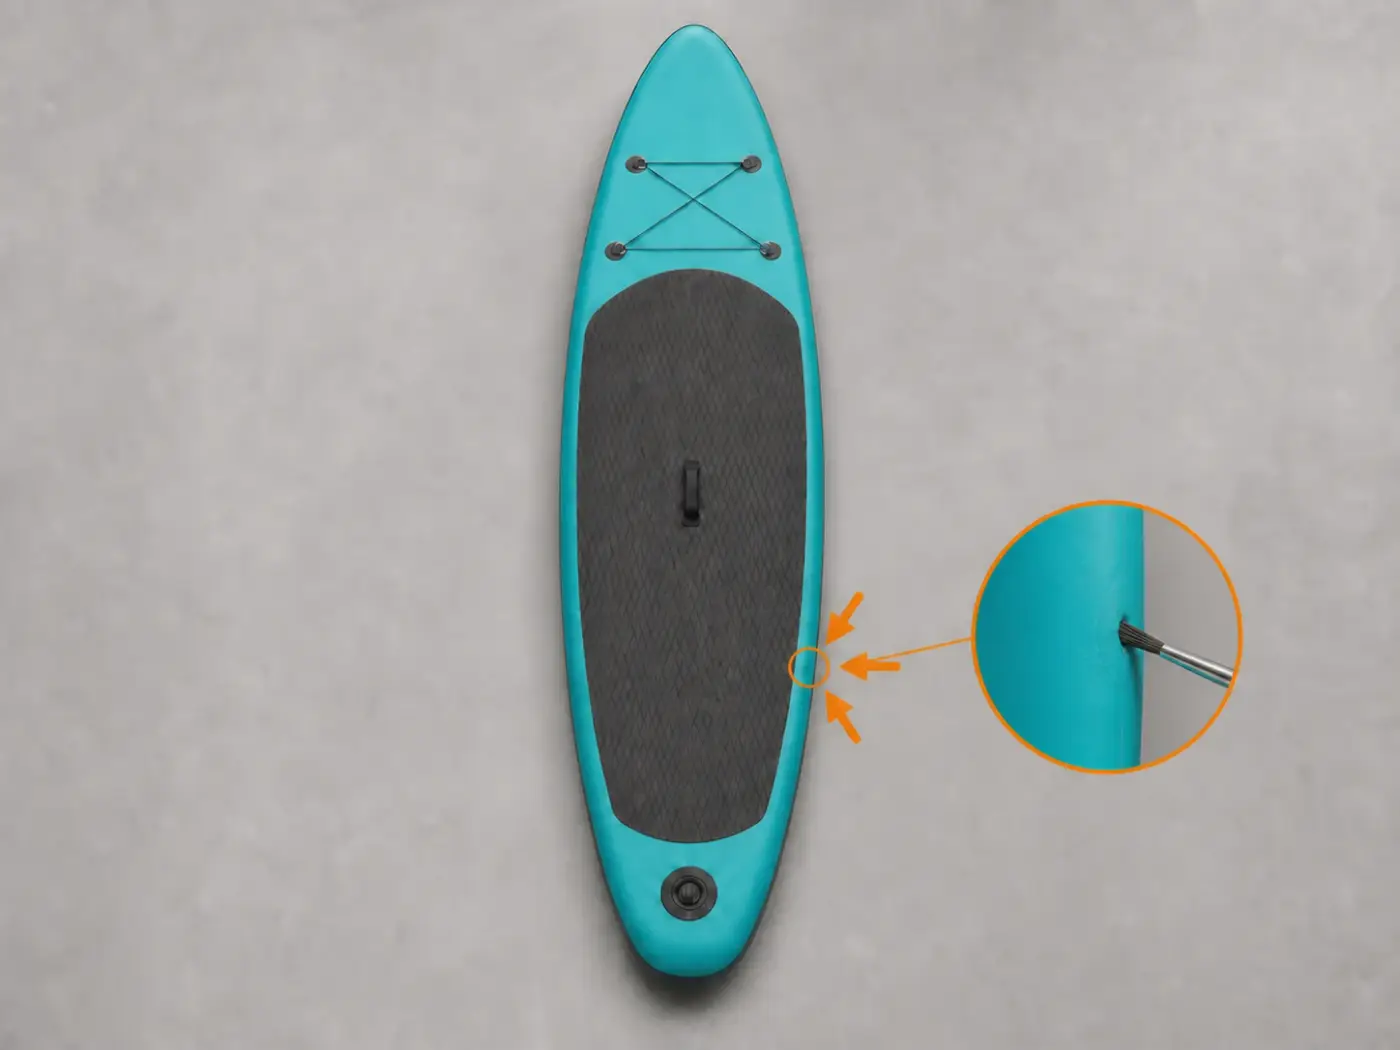
  5. Apply a very thin first coat

    Use a short brush to spread a thin, continuous layer over both faces. Cover the corners without leaving thick deposits.

    Wait for the time stated on the label before adding another coat.

    Very thin first coat of adhesive brushed onto both faces of the opened seam
  6. Apply the second coat and wait

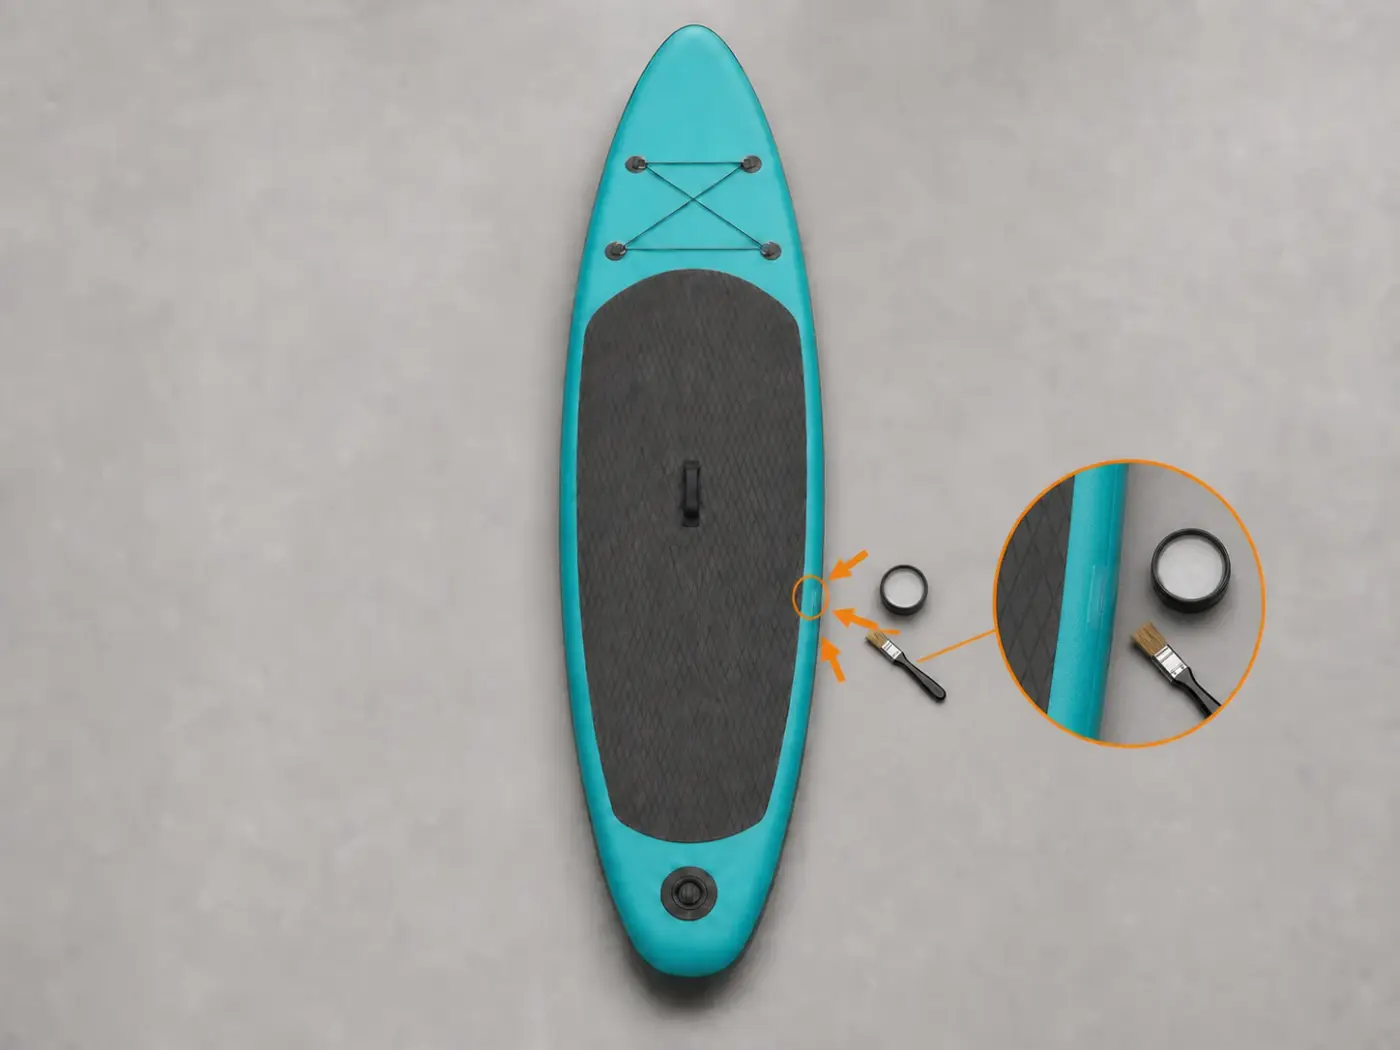
    If the instructions require it, spread a second thin, even coat. Cover the corners without creating lumps.

    Join the parts only when the adhesive is in the state described on the package. Do not shorten the wait.

    Even second adhesive coat applied to the rail surfaces using a short-bristle brush
  7. Use heat only when required and close the seam

    Close and remove solvents, containers and cloths. Let plenty of fresh air through the area. Only when the label requires it, warm both surfaces while keeping the tool moving. Return the rail to its original shape and join the seam a little at a time.

    Do not guess a temperature. Press from the centre outwards to remove air and excess adhesive.

    SUP seam warmed from a distance and closed little by little with a rounded spatula
  8. Add the external reinforcement

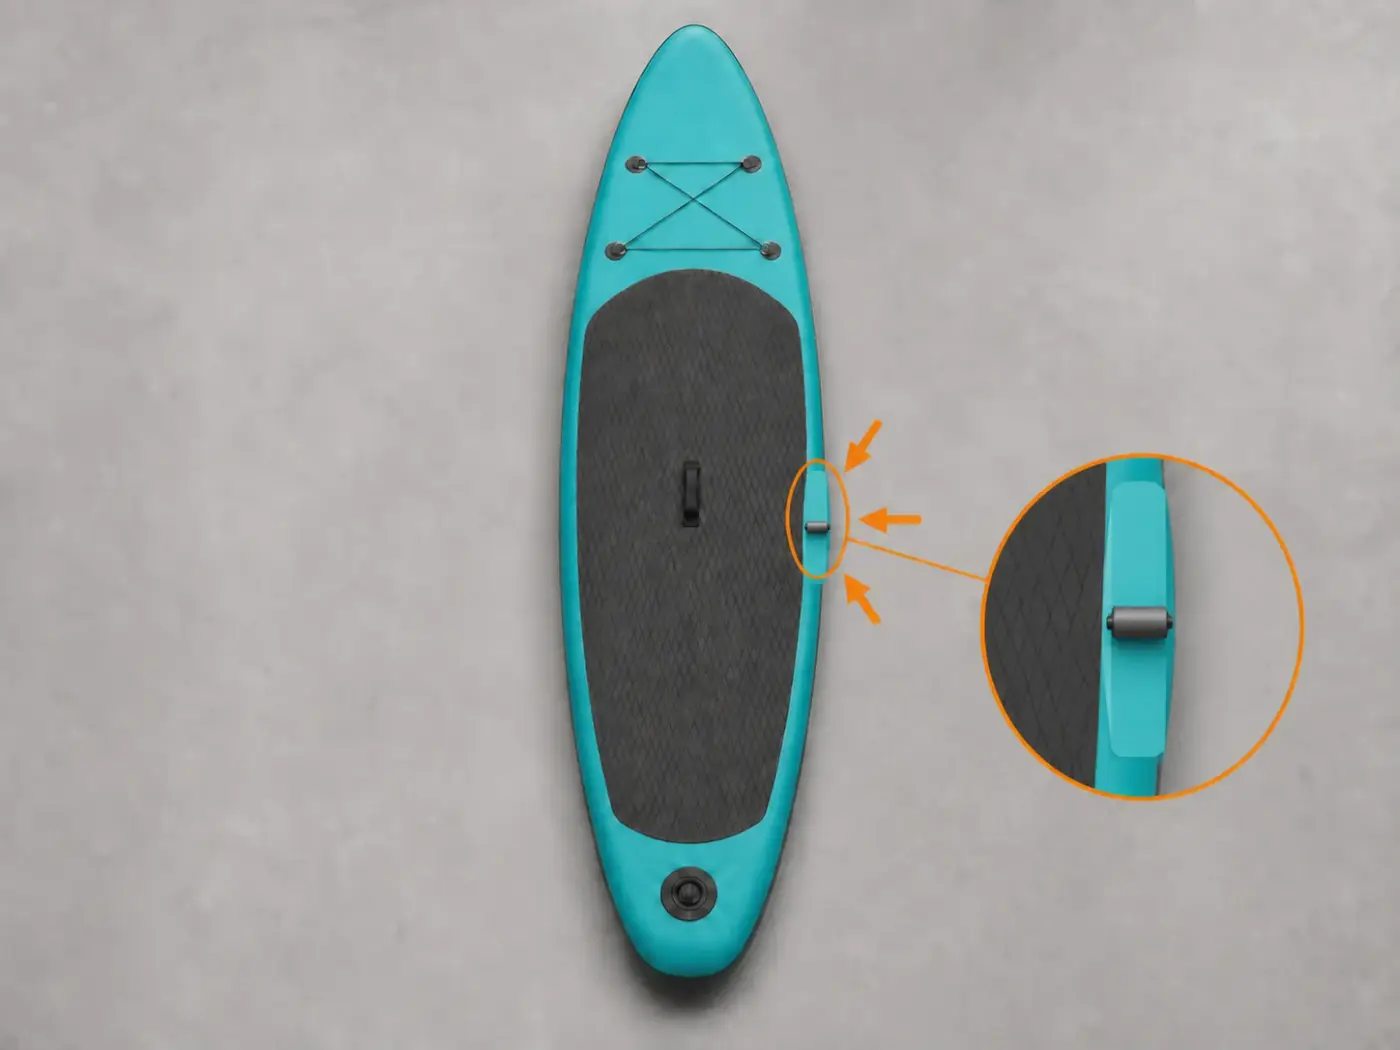
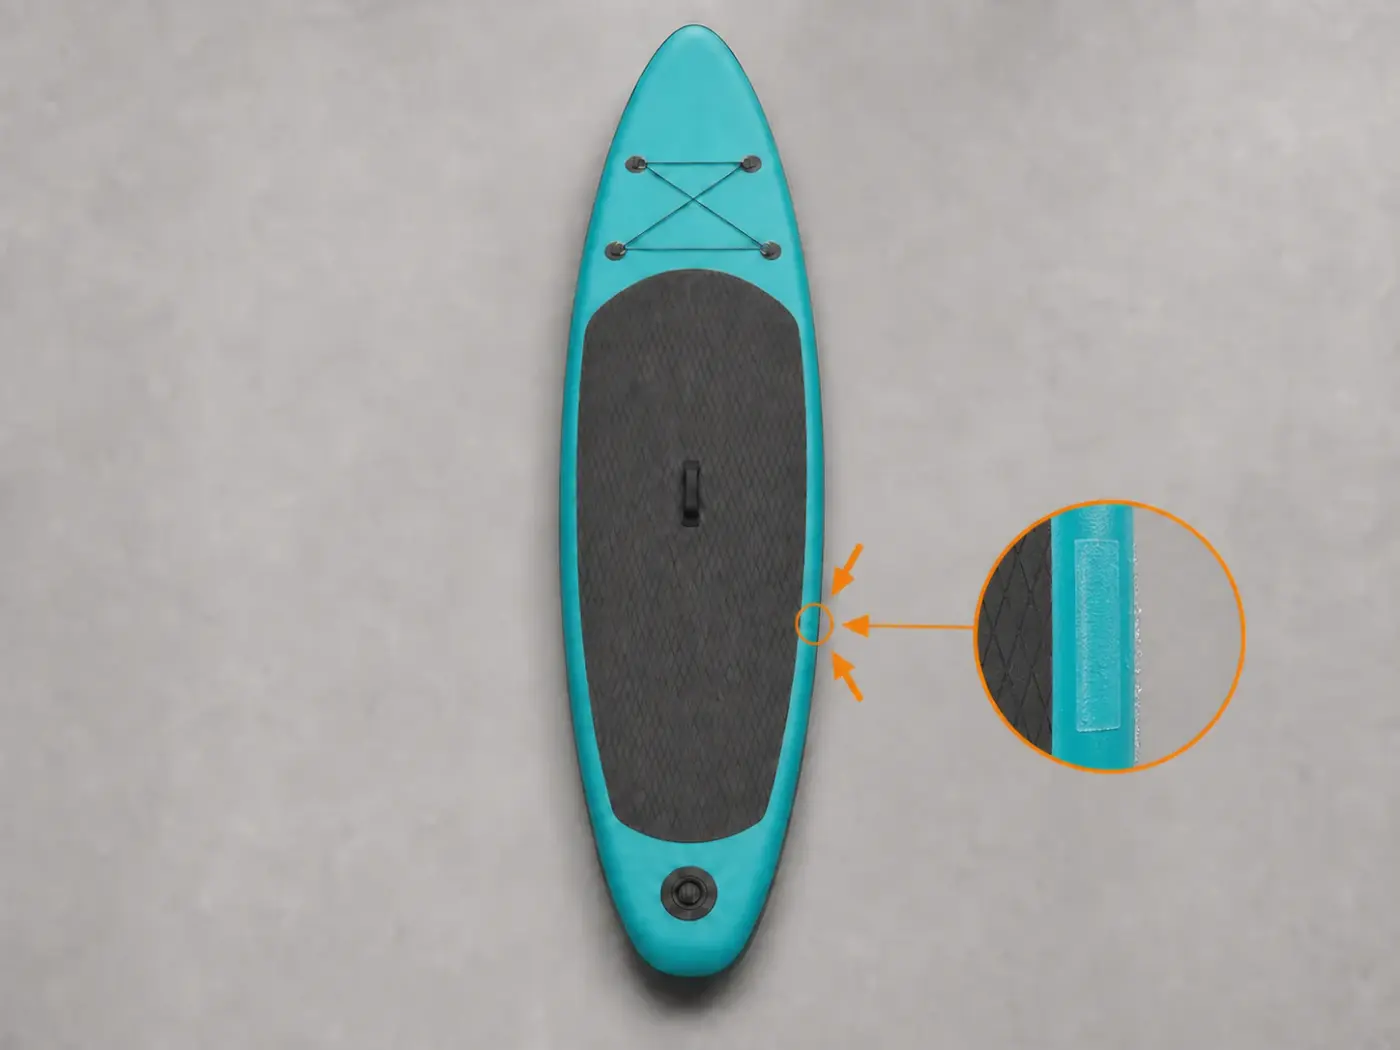
    Cut a compatible PVC strip long enough to extend well beyond both ends of the opening. Round the ends. Prepare it as stated on the adhesive and place it without stretching.

    Carefully press the step over the old seam and then the whole strip from its centre towards the edges. Do not hide bubbles, creases or lifted ends: correct them before the adhesive dries.

    PVC reinforcement strip with rounded ends being pressed over the repaired side seam
  9. Let it dry and test in stages

    Protect the repair from movement, water, sunlight and heat. Wait for the full time stated on the package before inflating or using the SUP.

    Inflate gradually in the shade to the SUP manufacturer's prescribed pressure, check the seam with soapy water and monitor pressure. In future, do not leave the board highly inflated in the sun: reduce pressure when necessary while remaining within the manufacturer's operating limits.

    Repaired SUP inflated gradually in the shade while its seam is checked with soapy water

When the seam needs a professional

Stop before using solvent, heat or pressure if any of these cases applies:

  • cuts or tears in the internal threads, pressure-holding fabric or inner wall
  • several separated layers, a distorted rail or ends that continue to open
  • degraded or uncertain material, or a joint that does not return to position without force
  • not enough fresh air, gloves, eye protection, a readable label or confirmed material compatibility

Is the structure involved, or is the opening extensive?

Send RiparoSUP photographs of the full opening, both ends and the board profile. We will assess the case before you apply solvent, heat or adhesive.