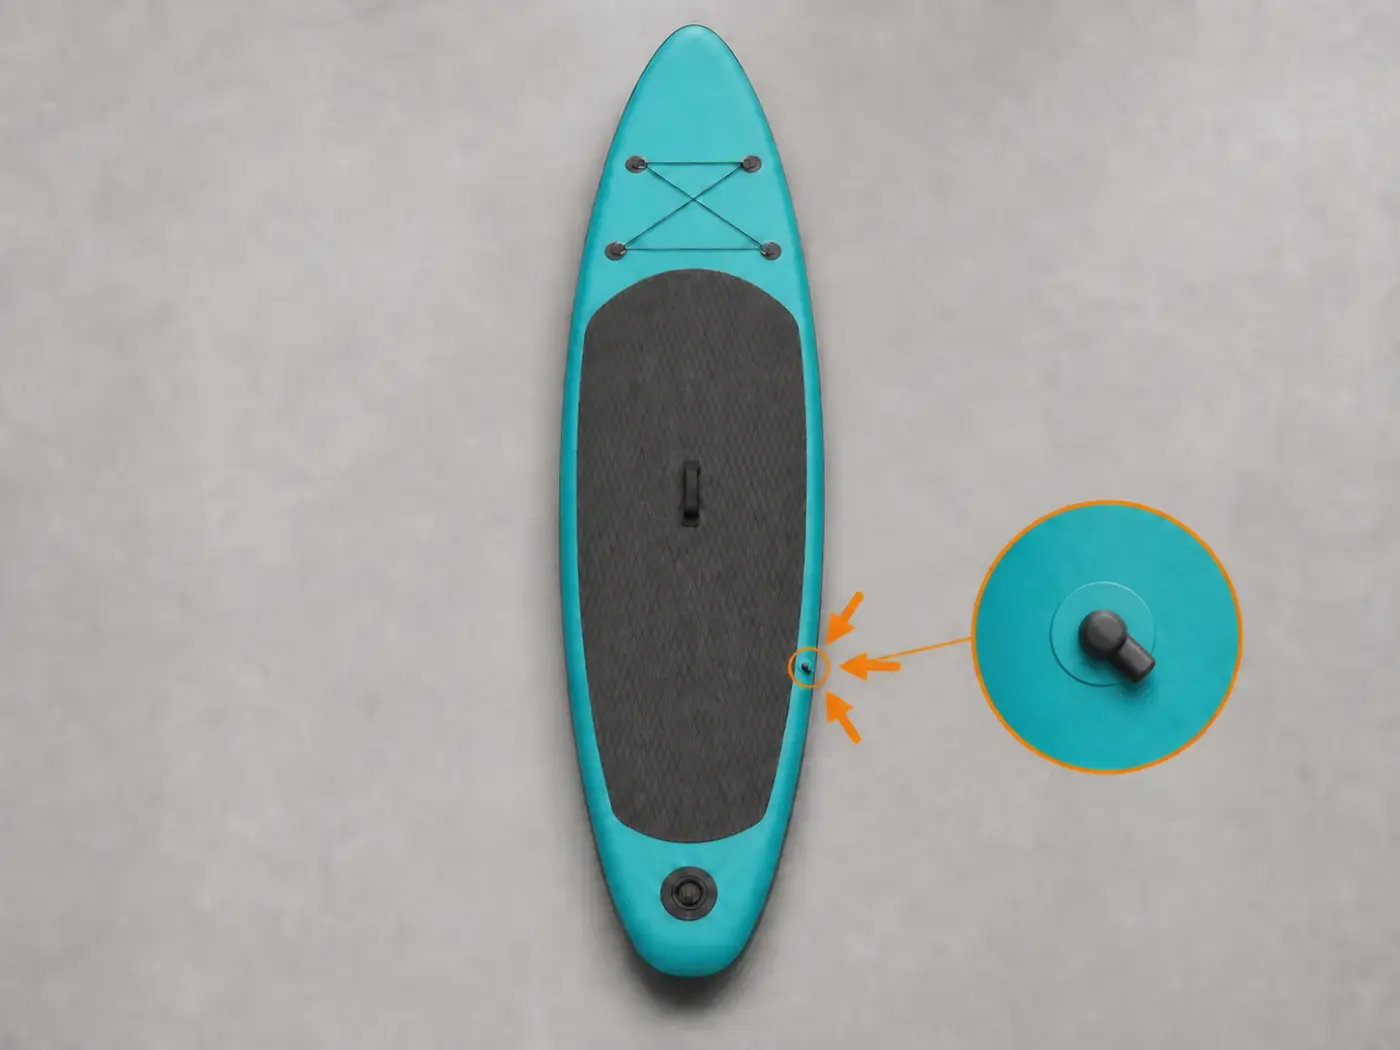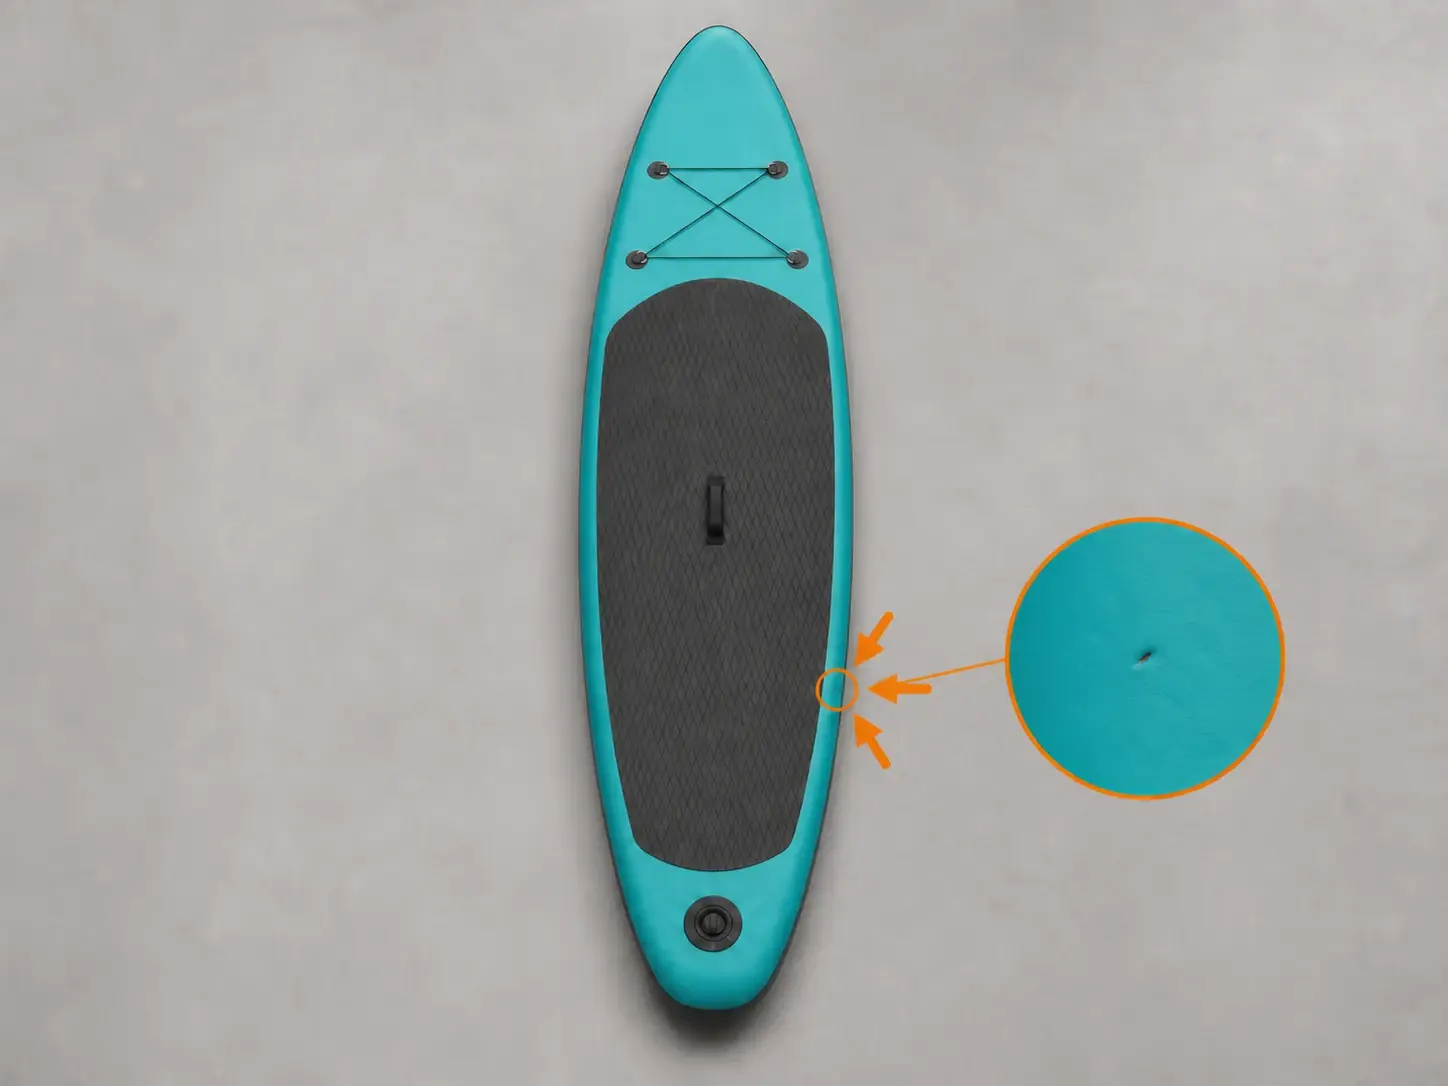
How to repair a puncture in a PVC SUP

An illustrated procedure for small punctures in a PVC skin. Confirm the material and the damage before applying adhesive; stop if you are unsure.

  • 9 steps
  • PVC only
  • 2 waits of 10 minutes
Start with the first step
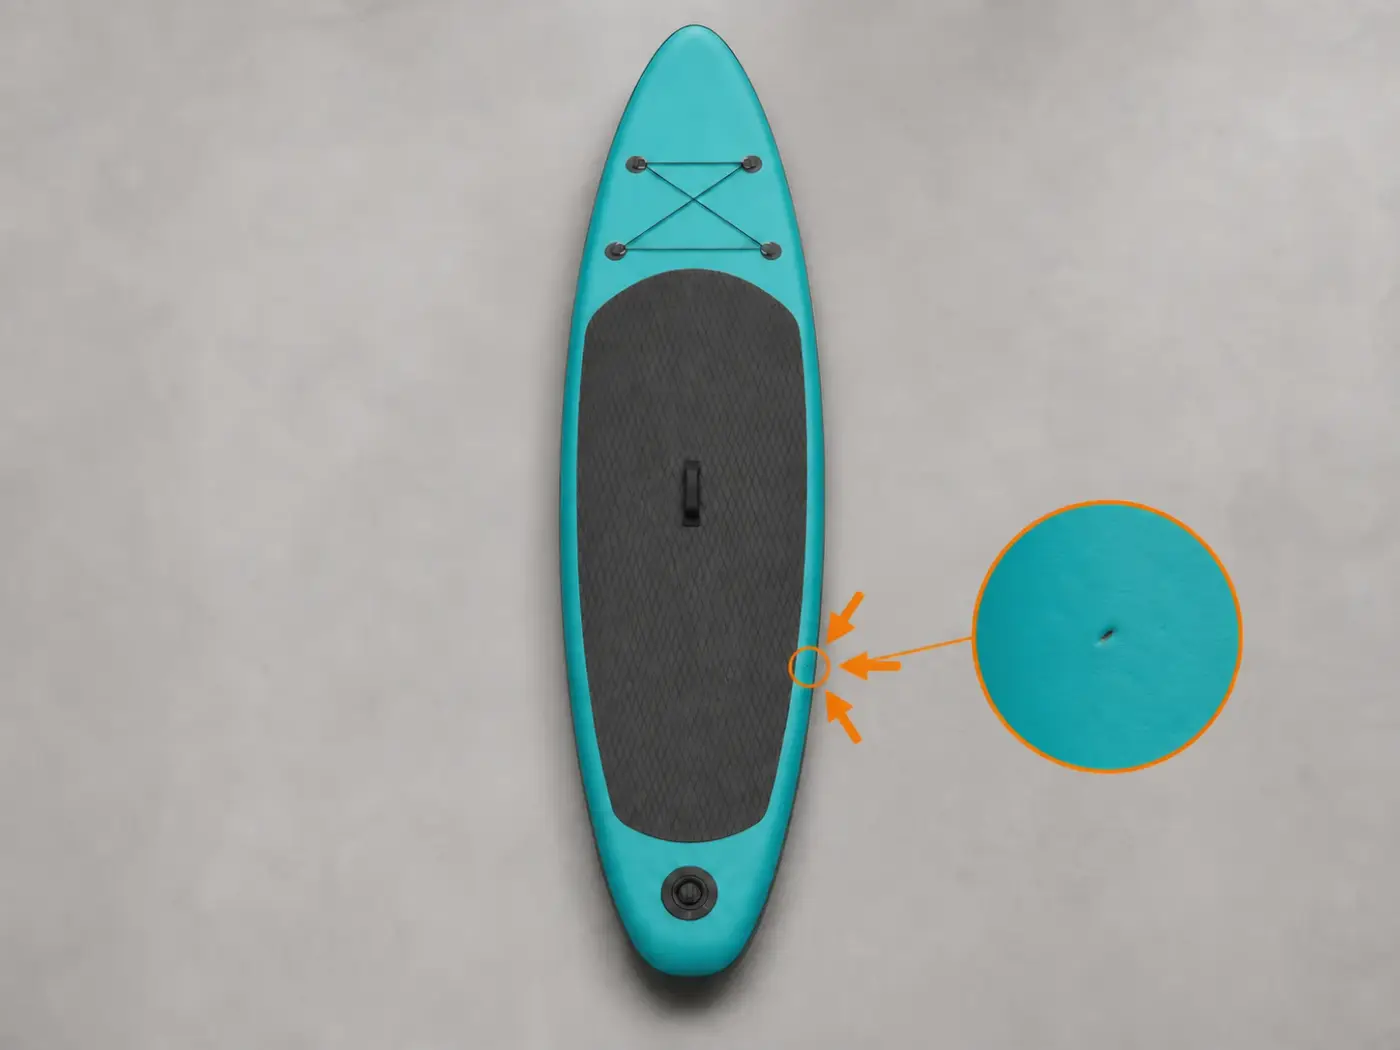
A gloved technician checking a small puncture in a PVC SUP

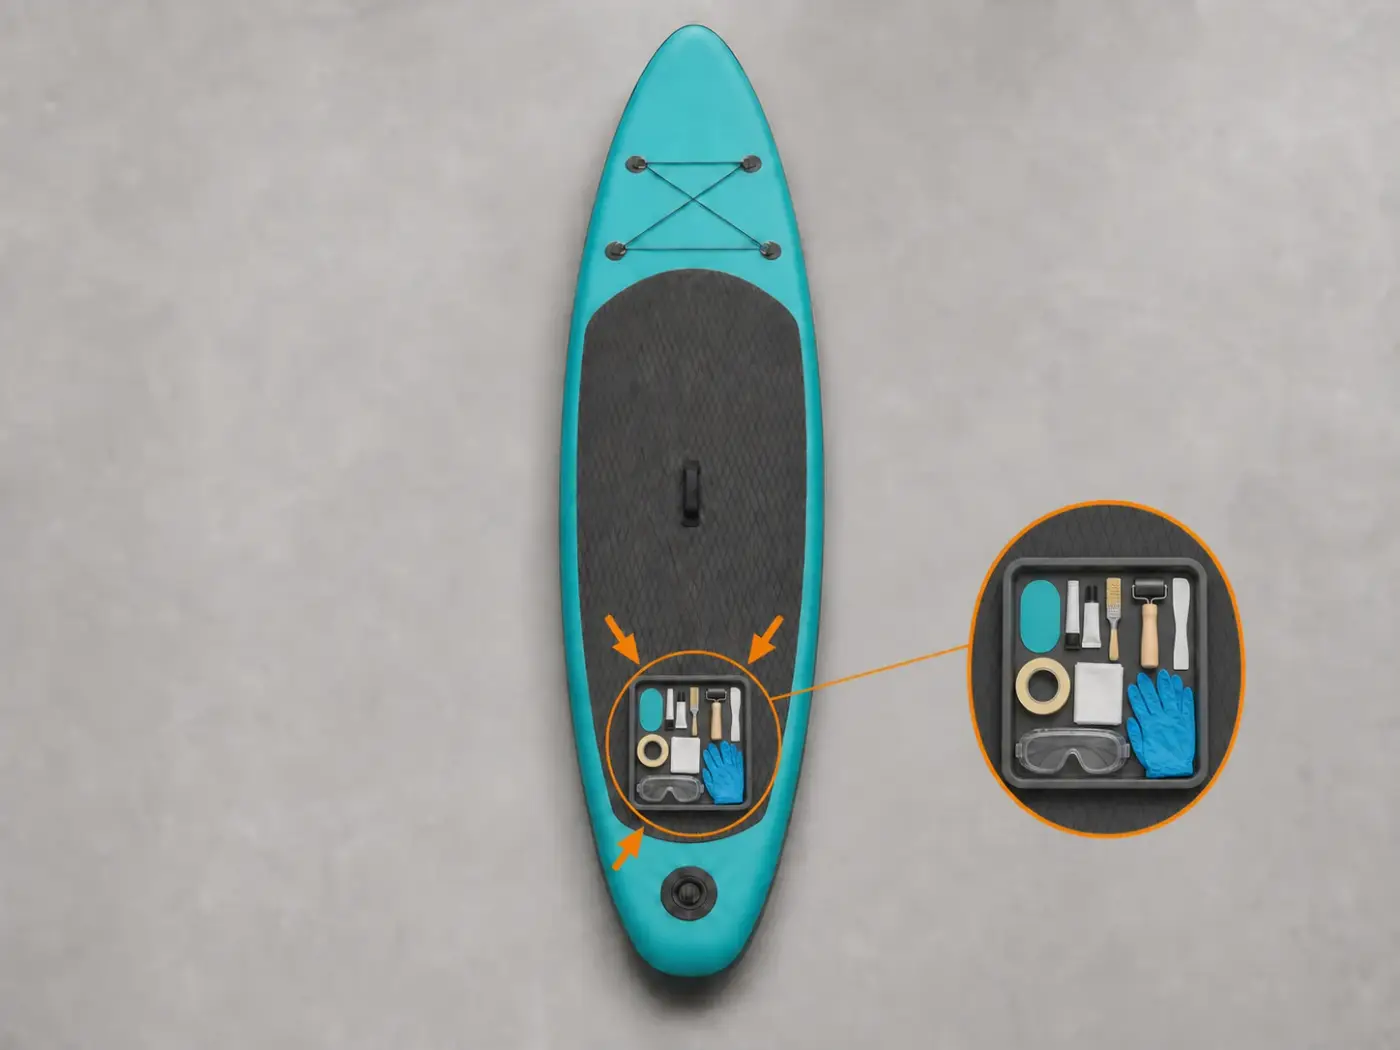
Prepare everything before opening the adhesive

An orderly workstation prevents interruptions while the two adhesive coats are drying.

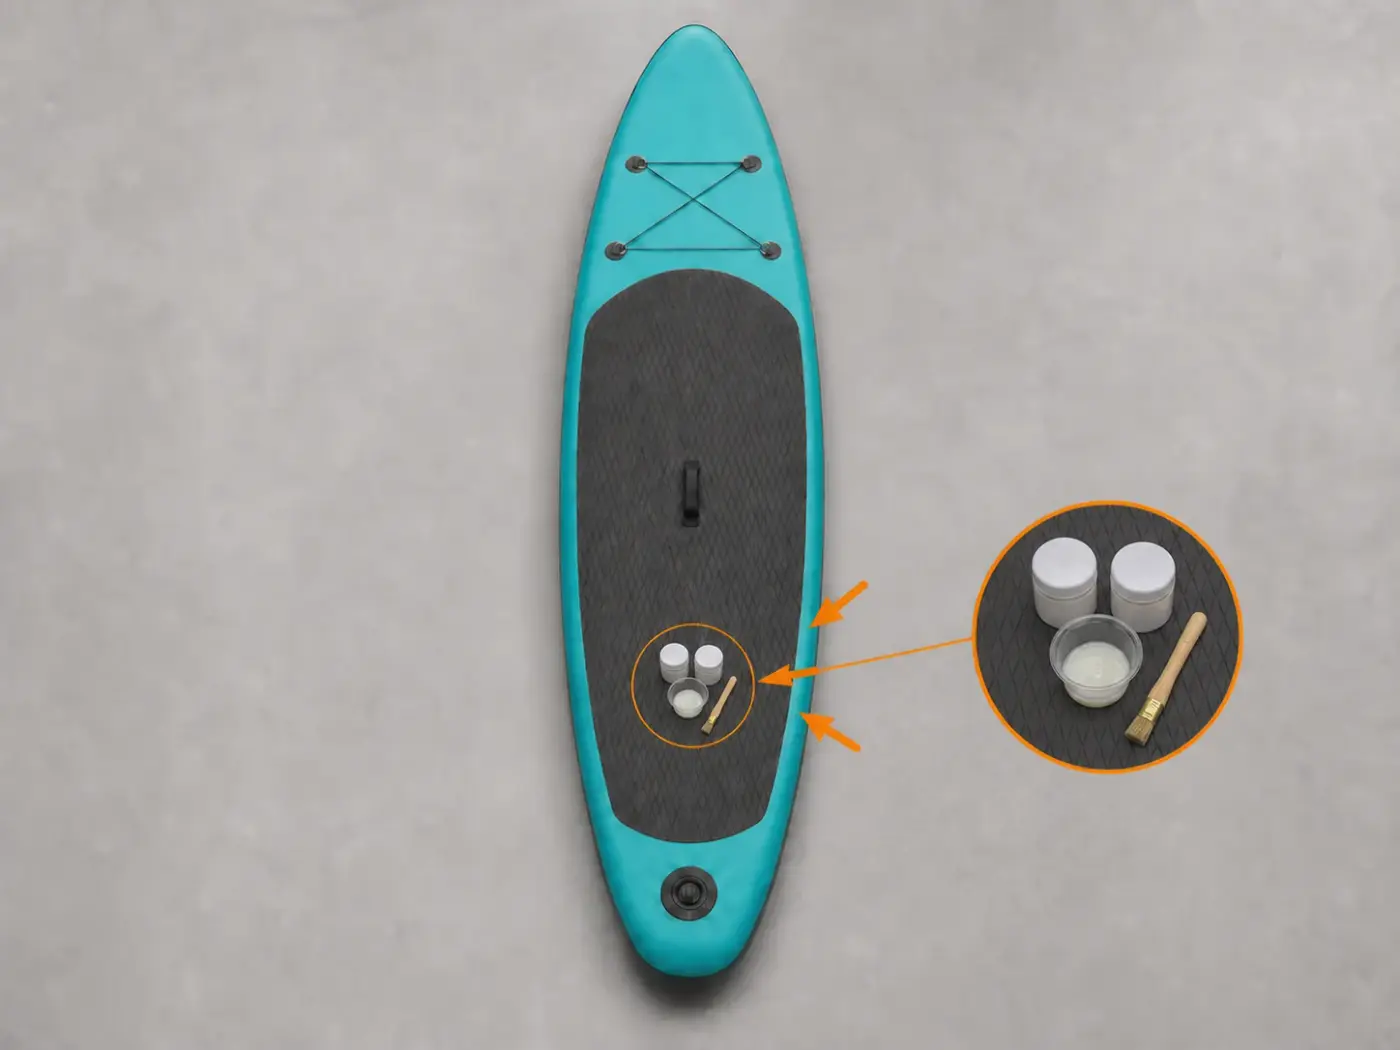
  • Two-part adhesive formulated for PVC and its dedicated catalyst
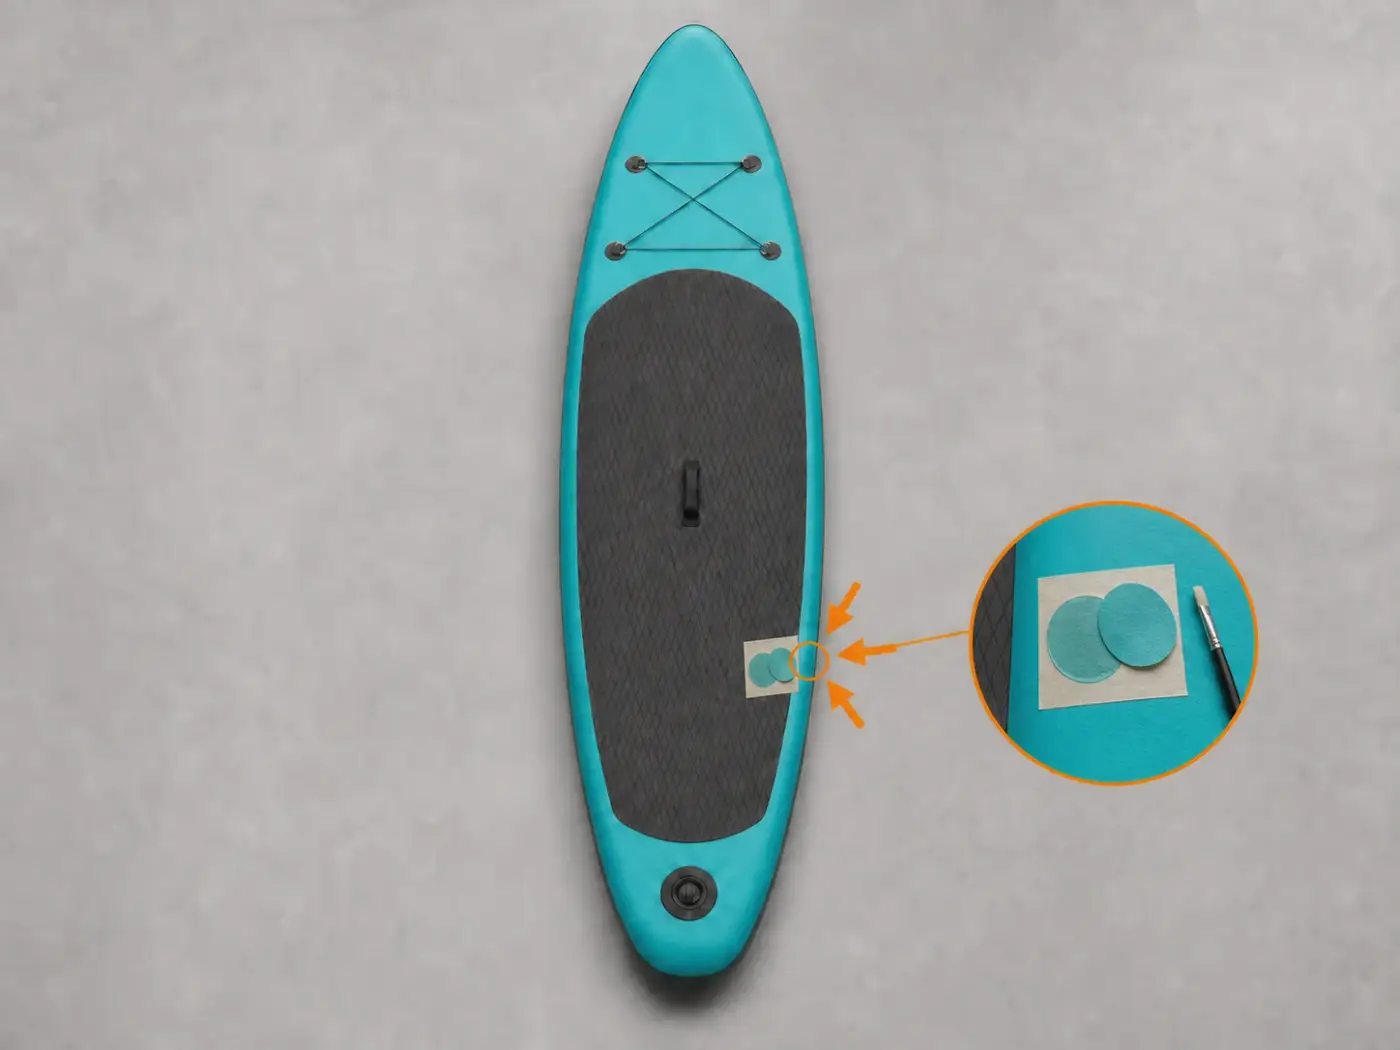
  • PVC patch with enough margin around the puncture
  • MEK cleaner and compatible cloths specified by its SDS
  • Graduated cup, mixing container and small brush
  • Scissors, masking tape and a suitable marker
  • Hand roller or spatula for applying pressure
  • Heat gun, only when required by the adhesive system
  • Solvent-resistant gloves and eye protection
  1. Confirm the material and damage

    This procedure is only for PVC skins and small, simple punctures. Identify the material with certainty and check that the damage does not involve a seam or the structural layers.

    Stop if the material is uncertain, the cut is extensive, there is delamination or an earlier repair has already failed.

    Technician identifying PVC and inspecting the puncture with a magnifier
  2. Organise the workstation

    Lay out every tool on a clean, stable surface. The SUP must be clean, dry and supported without creases around the repair area.

    Check the adhesive label first: proportions, waiting times, temperature and reactivation distance can vary between products.

    Orderly bench with PVC adhesive, patch, brush, spatula, tape and PPE
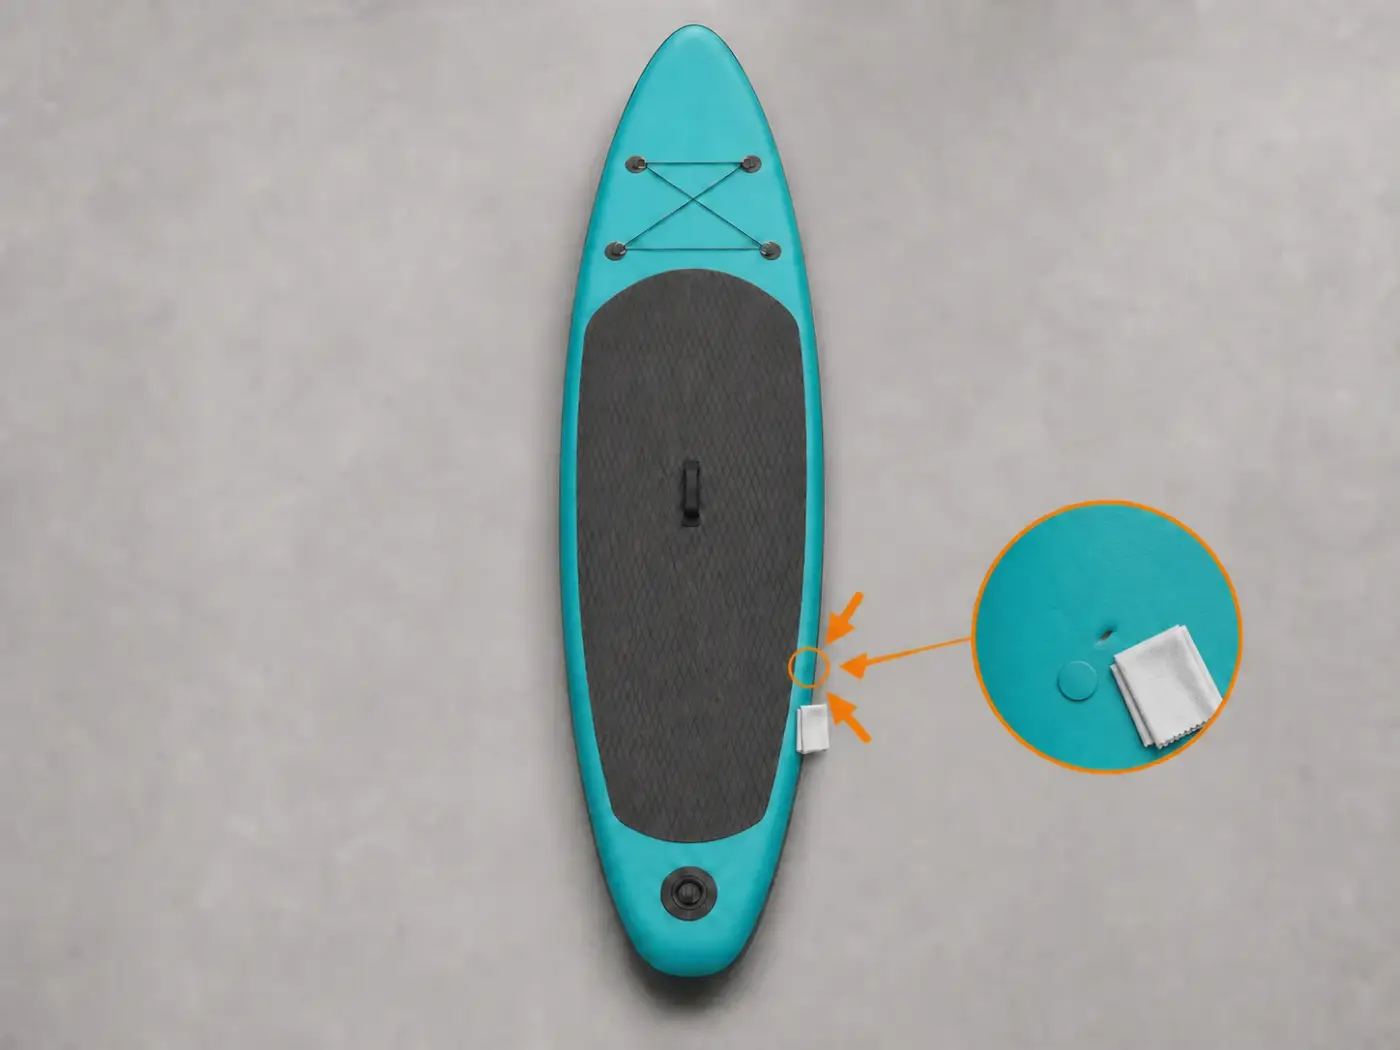
  3. Cut the patch and clean

    Cut a patch that extends beyond every side of the puncture and round all its corners. Clean the board and patch separately with the specified cleaner, following the SDS, then avoid touching the prepared surfaces.

    Rounded corners reduce lifting points; both surfaces must be dry and free from dust or grease.

    Rounded PVC patch and both surfaces being cleaned with a cloth
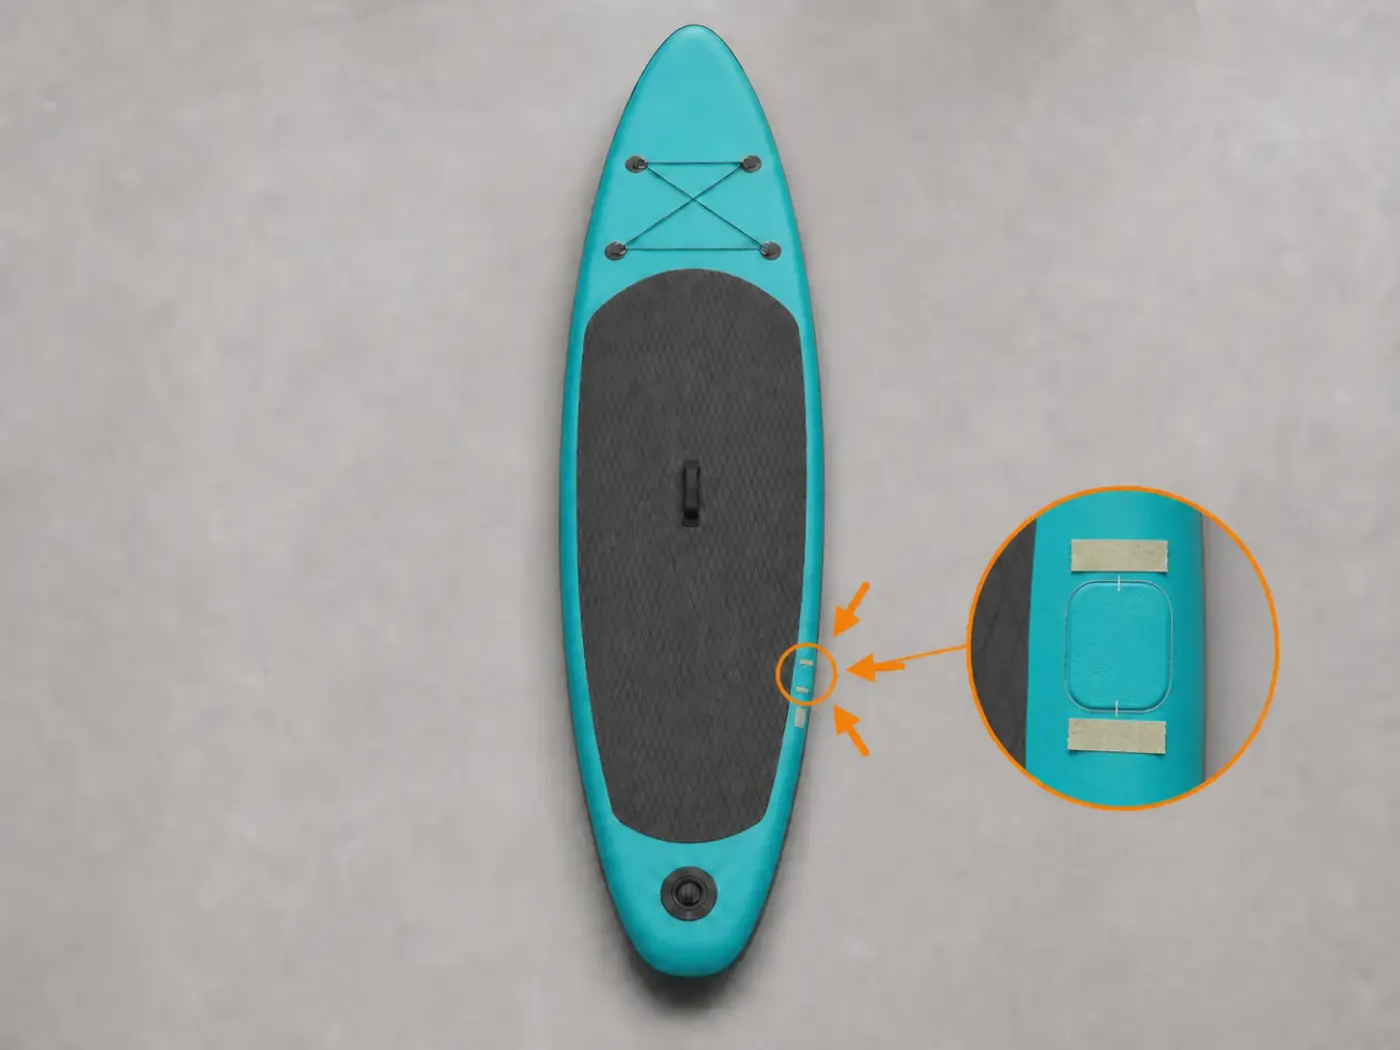
  4. Position, trace and mask

    Dry-fit the patch, centre the puncture and trace its perimeter. Add two small alignment marks and mask the area outside the outline.

    Test the alignment now: once reactivated surfaces touch, correcting the position becomes difficult.

    Patch centred over the puncture with outline, alignment marks and masking tape
  5. Mix the adhesive

    For an adhesive that specifies 6% catalyst, mix 50 ml of adhesive with 3 ml of catalyst. Use these amounts only when the product label or technical data sheet confirms them, and mix for one minute or for the time specified by the manufacturer.

    Trim a small brush’s bristles to roughly half their length. The stiffer brush helps spread a very thin film.

    Measured adhesive and catalyst mixed in a cup with a short brush
  6. Apply the first thin coat

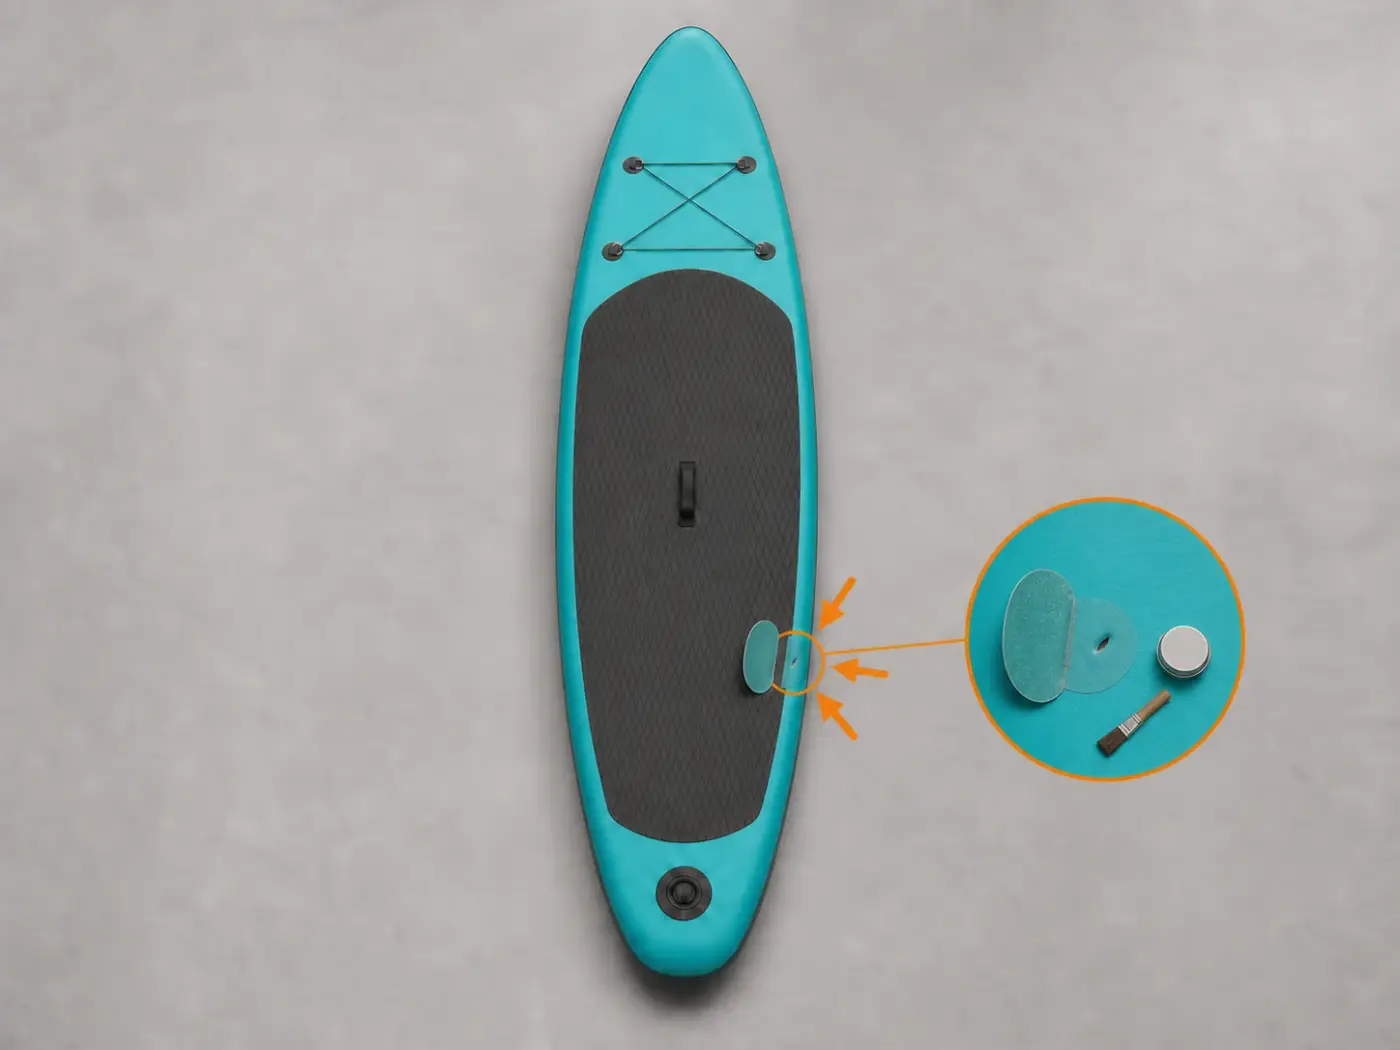
    Apply an extremely thin, even film to both the patch and the masked area of the SUP. Avoid pools, thick deposits and uncovered spots.

    Let both surfaces rest for 10 minutes unless the adhesive label or technical data sheet specifies a different time.

    First very thin adhesive coat applied to both the patch and SUP
  7. Repeat with a second coat

    After the first wait, apply another extremely thin film to both surfaces. Cover the adhesive container immediately to limit evaporation and contamination.

    After the second coat, wait another 10 minutes unless the product manufacturer specifies a different time.

    Second thin adhesive coat with the container covered on the bench
  8. Make the area safe and reactivate

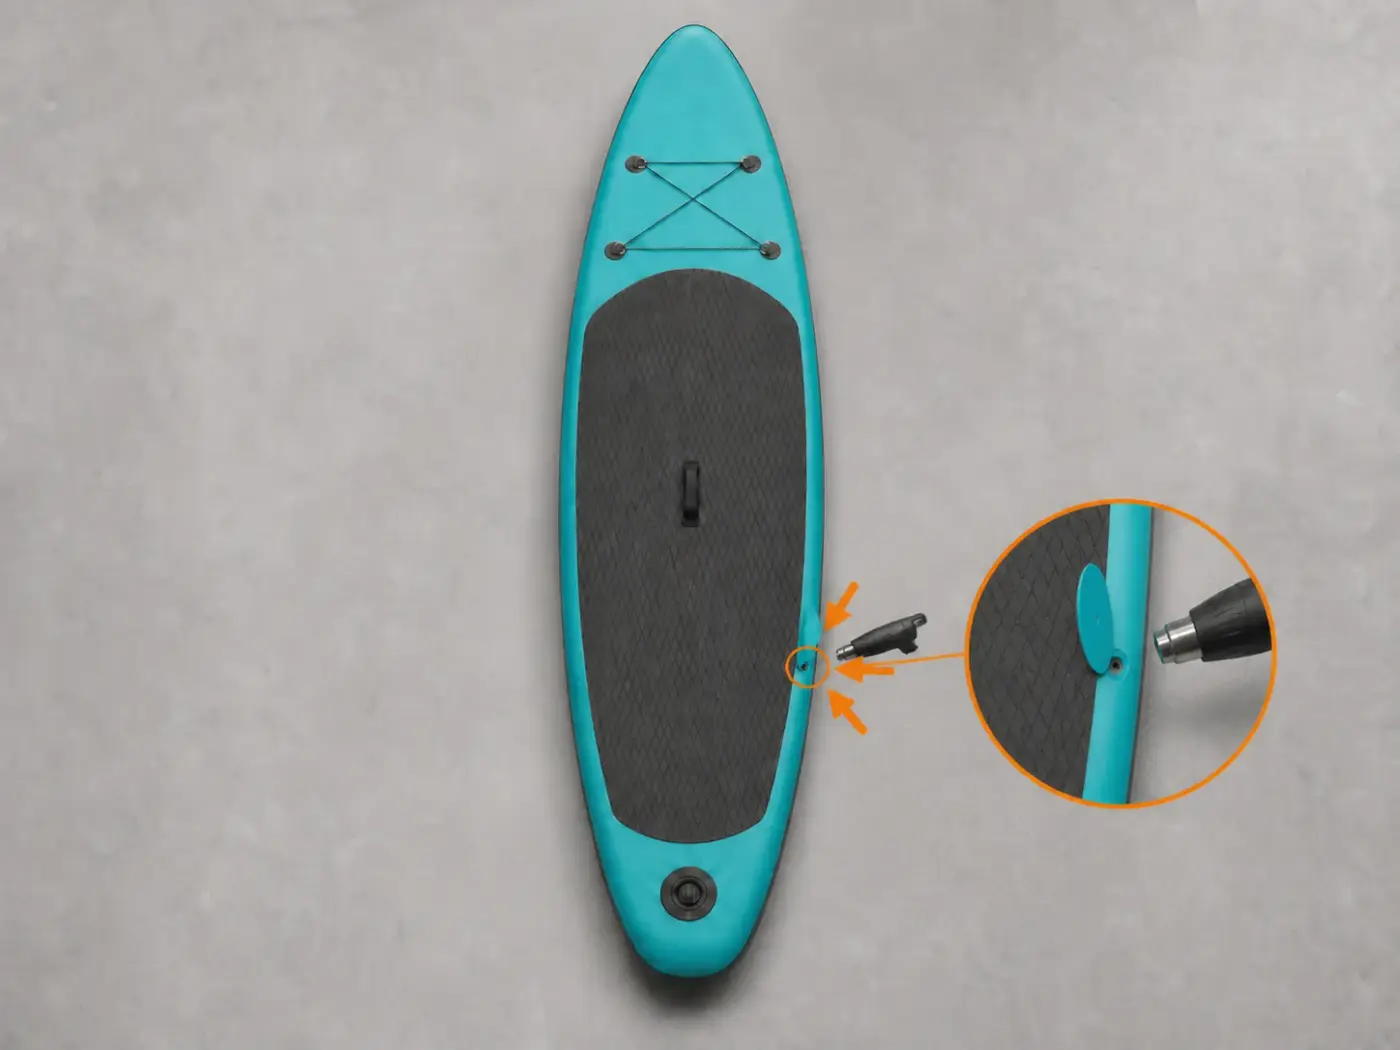
    Move all MEK, cloths, containers and solvent residue away. Ventilate until vapours have dispersed; only then heat both dry adhesive films using the temperature, distance and movement specified by the adhesive or repair-system manufacturer.

    Do not apply a standard temperature: use only the temperature and distance specified by the manufacturer and do not overheat the PVC. If your system does not require heat, do not use it.

    Dry adhesive films reactivated with a heat gun at a distance in a ventilated space
  9. Align, press and allow to cure

    Hold the patch by its edges, follow the reference marks and make the first contact lightly. Press with the spatula from the centre outwards, working around the full edge, then remove the masking tape.

    Wait for the adhesive manufacturer’s full curing time before inflating the SUP or taking it onto the water. Bubbles, open edges or a moving patch require professional assessment.

    Patch aligned and pressed from the centre outwards with a spatula

When not to continue on your own

A patch cannot solve every type of damage. Request an assessment before working if any of these cases applies:

  • uncertain material, neoprene/Hypalon or a degraded surface
  • seams, long cuts, tears, delamination or damage to a structural layer
  • a failed previous repair or an area contaminated with incompatible adhesives
  • no way to work outdoors or with suitable ventilation, PPE and safe solvent handling

Is the damage outside this guide’s scope?

Send the measurement and photographs to RiparoSUP. We will assess the case before you arrange shipping.