A small puncture in PVC
Confirm the material, prepare a patch and apply the adhesive made of two liquids without skipping waiting times, pressure or final checks.
Open the puncture guideNearly every kind of damage on an inflatable board falls into a handful of recurring cases. Here is how to recognise yours, what you need to work on it, and above all where it is wiser to stop.
Repairing the wrong thing is the fastest way to make the damage worse. Start from the symptom you recognise: each family leads to a different procedure.
It can be a puncture in the skin, a valve that no longer seals or a side seam that has opened. These are three distinct repairs: before choosing one, find out where the air escapes.
Three proceduresLifted D-rings and deck pads peeling at the edges do not leak air, but they get worse with every outing and can tear away a piece of the skin.
Two proceduresBent fixed fins or a damaged fin box change how the board behaves on the water. The first can often be straightened, the second has to be replaced.
Two proceduresSeparating layers, bulges, deformation under pressure or an earlier repair that has lifted are not patching jobs. This is where the guide stops.
When to stopInflate the board to the pressure stated by the manufacturer and brush heavily soapy water over the suspect area: where air escapes you get small, continuous bubbles. Check the skin, then the whole ring around the valve, then the side seams. Without this test you risk gluing a patch ten centimetres away from the real hole.
Each procedure has its own list. This is the common ground: without it, better not to start.
Every guide has its own stopping conditions. These apply to all of them, and they are not suggestions.
Seven illustrated guides, each with materials, precautions and the condition that tells you to stop.
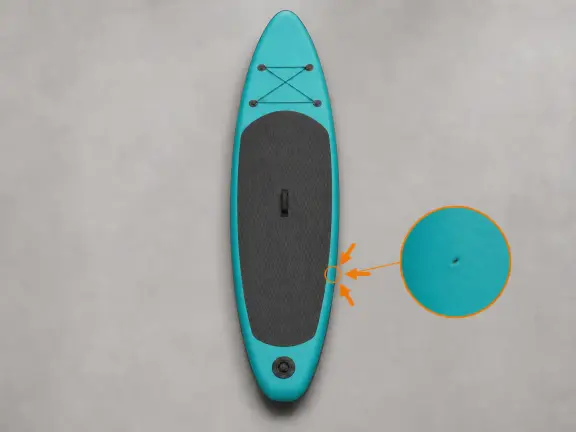
Confirm the material, prepare a patch and apply the adhesive made of two liquids without skipping waiting times, pressure or final checks.
Open the puncture guide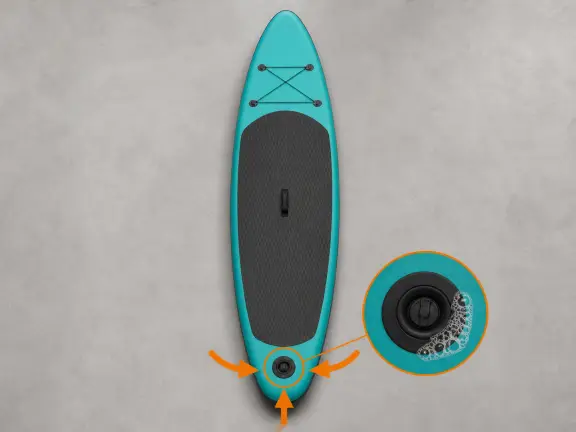
Locate the leak with soapy water, try the least invasive correction and replace the valve only when it is genuinely required.
Open the valve guide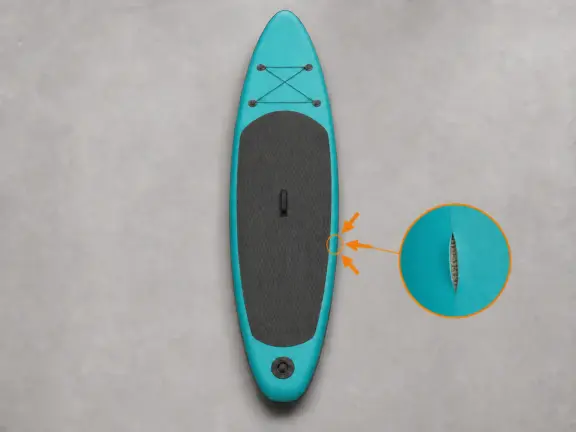
Check that the structure is intact, rebuild the joint and add an external reinforcement only when materials and working conditions are suitable.
Open the seam guide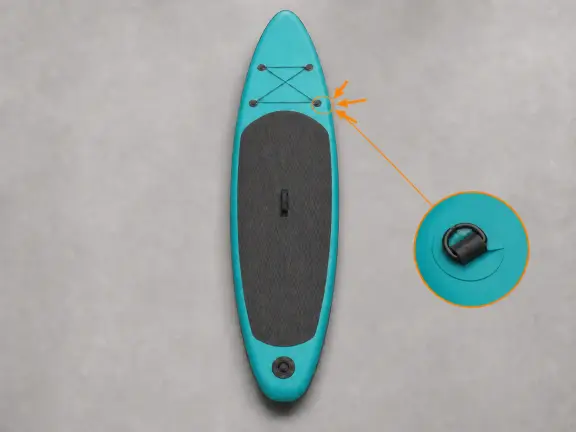
Check the D-ring base, the skin beneath it and what the ring is used for. Bond only materials stated to be compatible.
Open the D-ring guide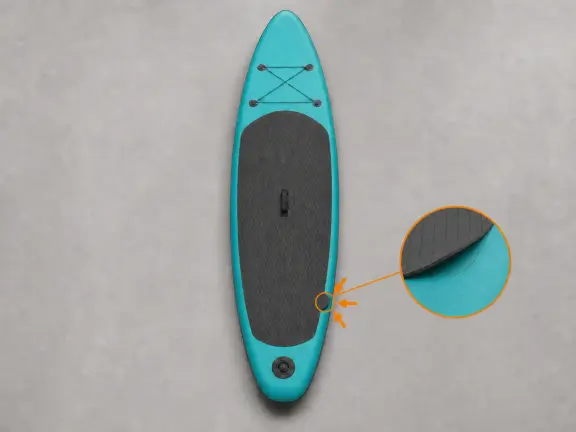
Distinguish a surface bond failure from structural damage, clean the support and hold the EVA under even pressure for the required time.
Open the deck-pad guide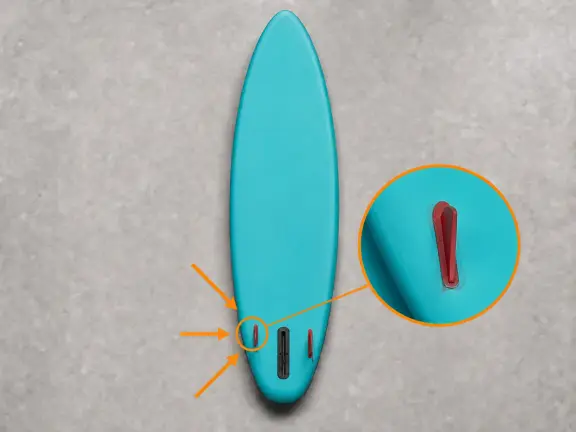
Check for cracks and use hot, never boiling, water to bring an intact moulded fin gradually back into line.
Open the fixed-fin guide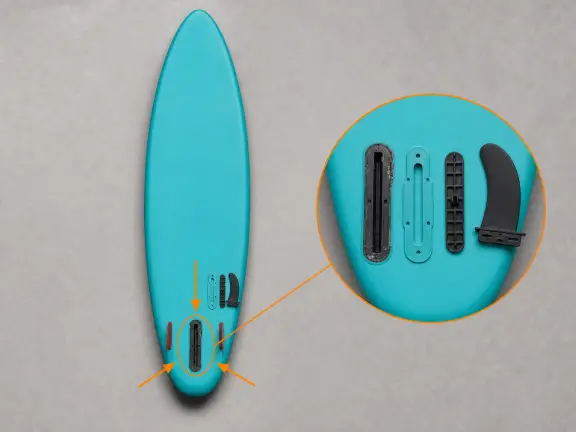
Identify the system, retain the base plate where required and replace the box without guessing compatibility or timing.
Open the fin-box guideYou measure the damage, send three photographs and know the price before shipping. If the analysis shows the SUP cannot be repaired, we keep only the €5 diagnosis and release the rest.
If your case is not covered here, write to us before buying materials or arranging the shipment.
A small puncture, detached D-ring or lifting deck pad can be tackled calmly with suitable materials. Stop if layers are separating, a seam has failed or the valve area is damaged: you could make the board unusable.
With the board at the pressure stated by the manufacturer, brush heavily soapy water over the surface: where air escapes you get small, continuous bubbles. Check the skin, then the valve, then the side seams, in that order.
Use an adhesive made of two liquids and stated to suit your material. Amounts, waiting and use of heat vary: follow the package of the product you have.
With us, €49 for a puncture up to 2 cm and €79 above 2 and up to 5 cm. Beyond 5 cm we quote from the photographs. You arrange and pay for the shipment both ways.
Yes. A glued patch stays visible: the point is that it holds pressure and lasts, not that it disappears. Anyone promising an invisible repair on an inflatable is promising the wrong thing.
Yes, deflated and rolled in its own bag. Before closing it, take the photographs we ask for: they confirm the price band before the board leaves.
Valves, adhesives and fabrics are not all the same. Compatibility, amounts, waiting, drying and any use of heat must follow the instructions for the product in front of you.