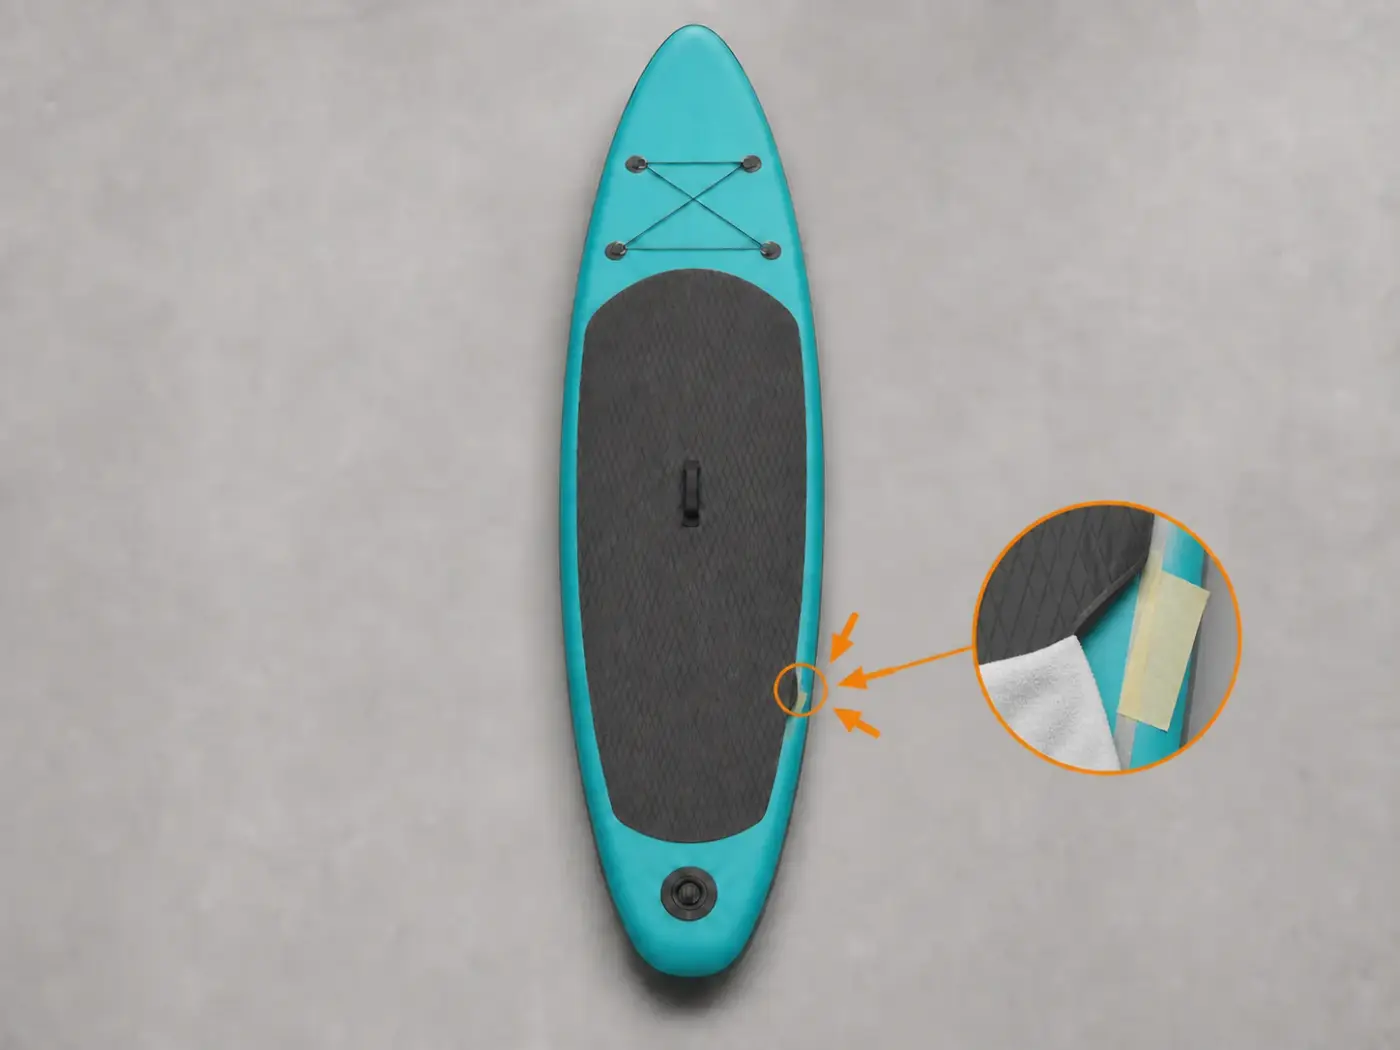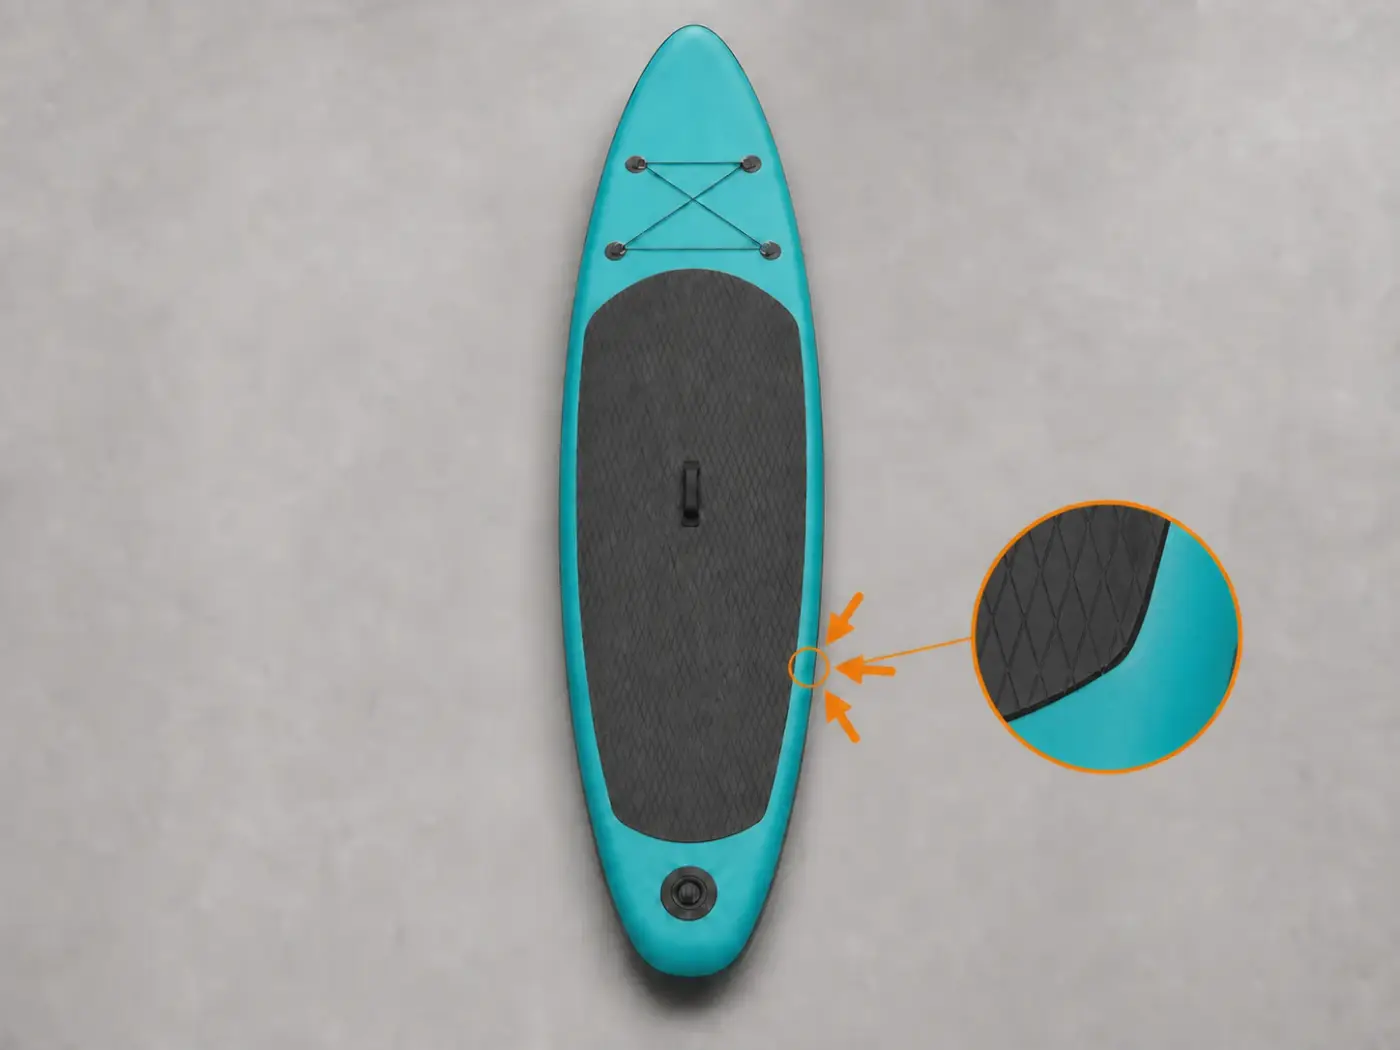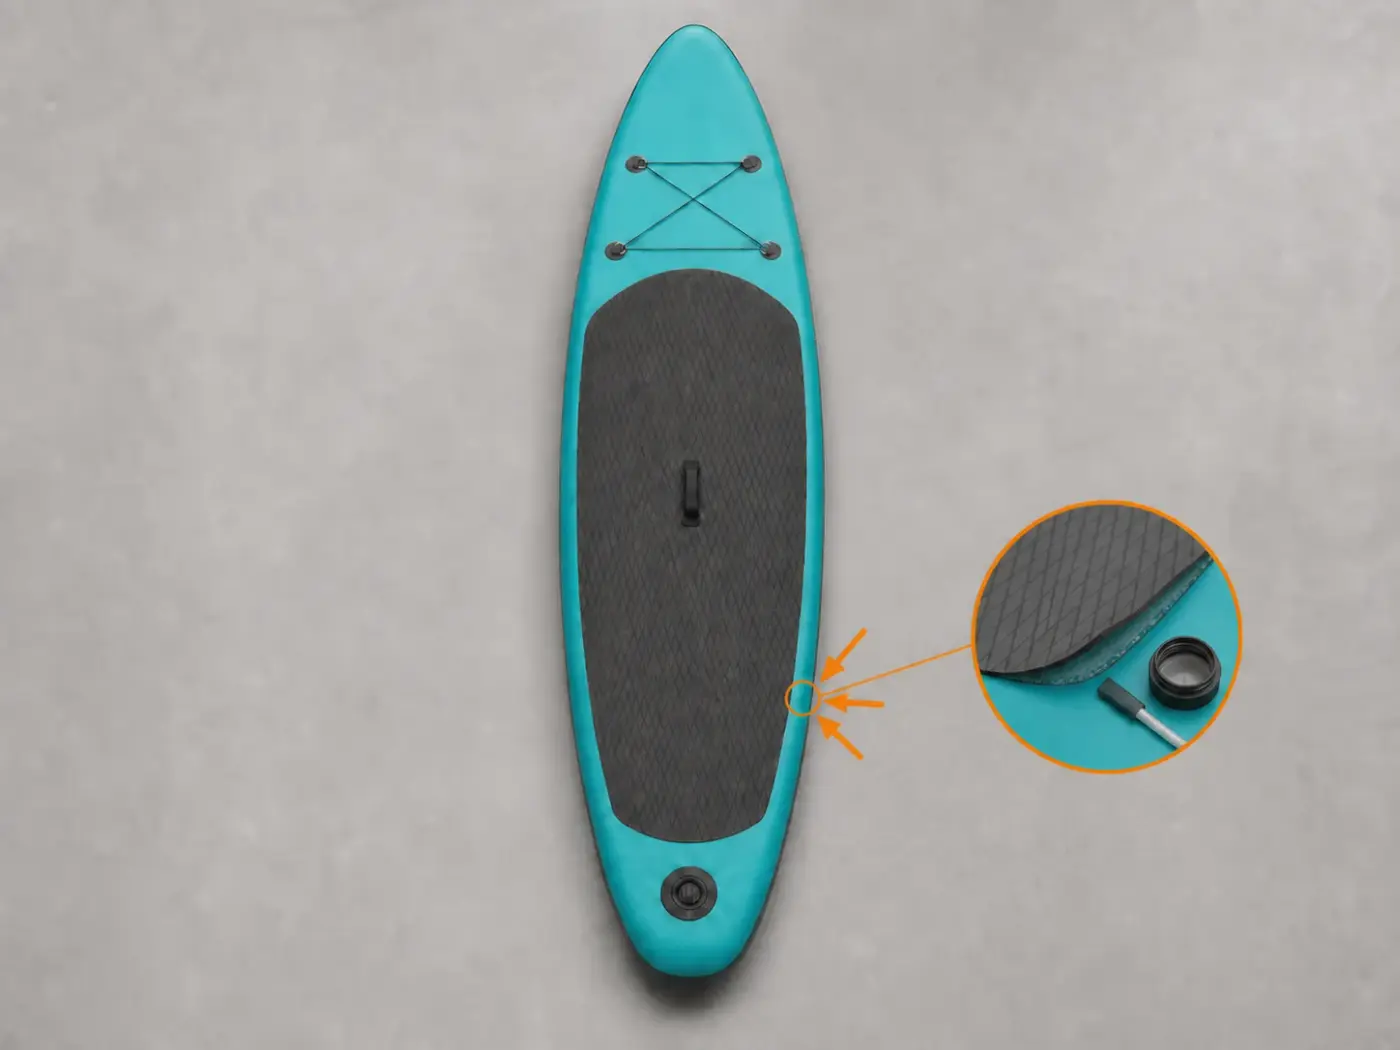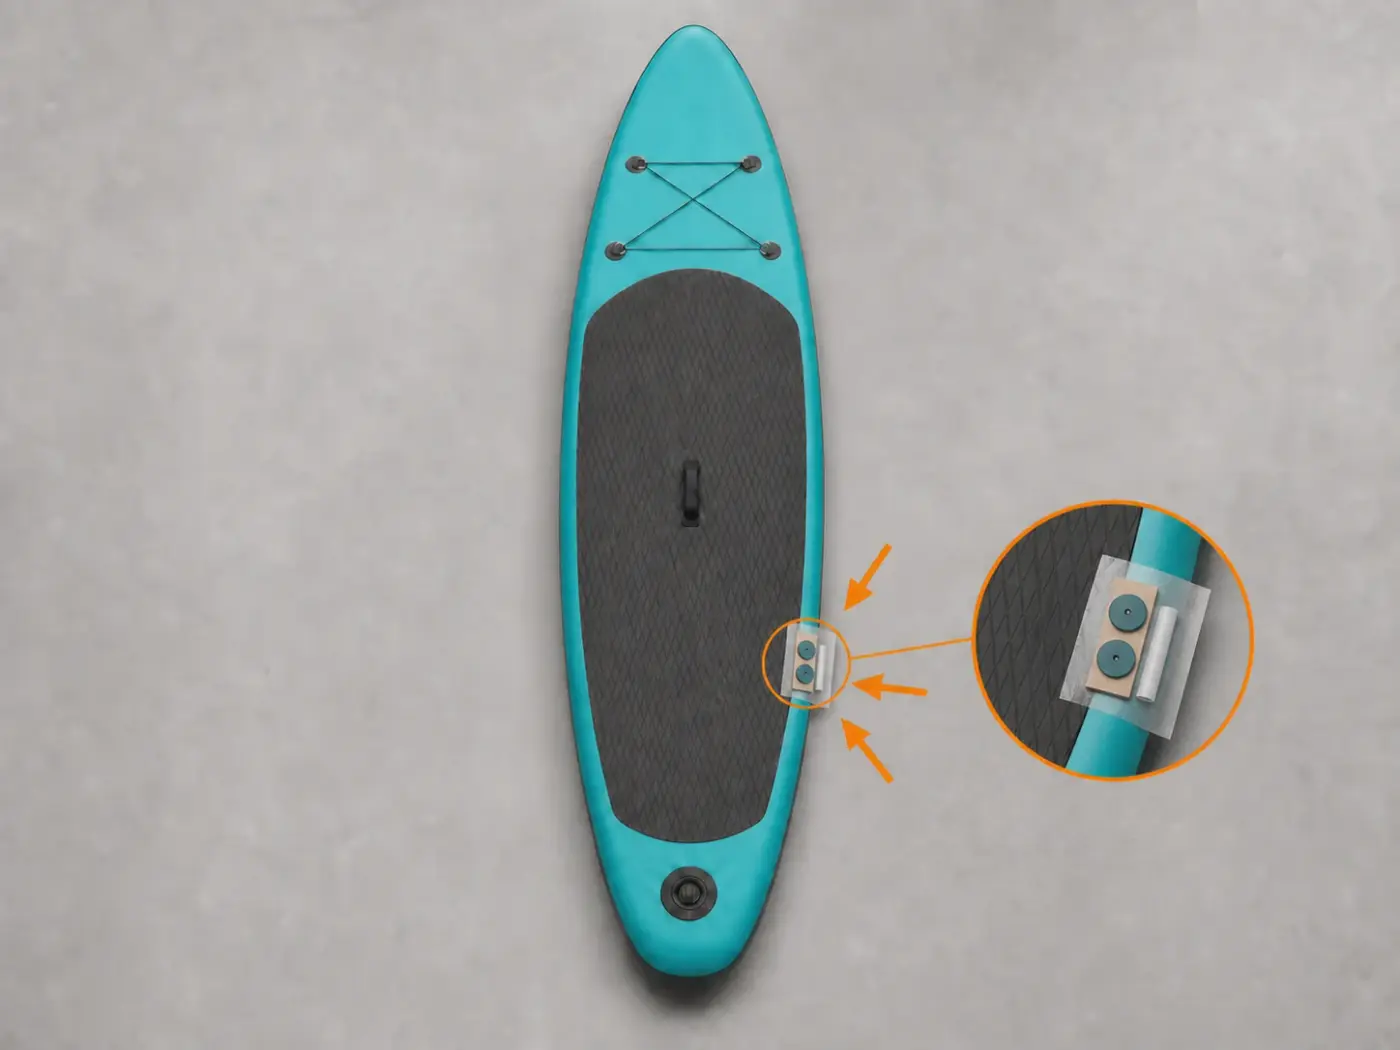
How to reattach a SUP EVA deck pad

A procedure for reattaching an edge of the deck pad, the non-slip mat made from EVA foam. Continue only when the mat has lifted and the SUP skin is intact.

  • 7 steps
  • EVA on a compatible support
  • Keep it pressed until fully dry
Start by diagnosing the lift
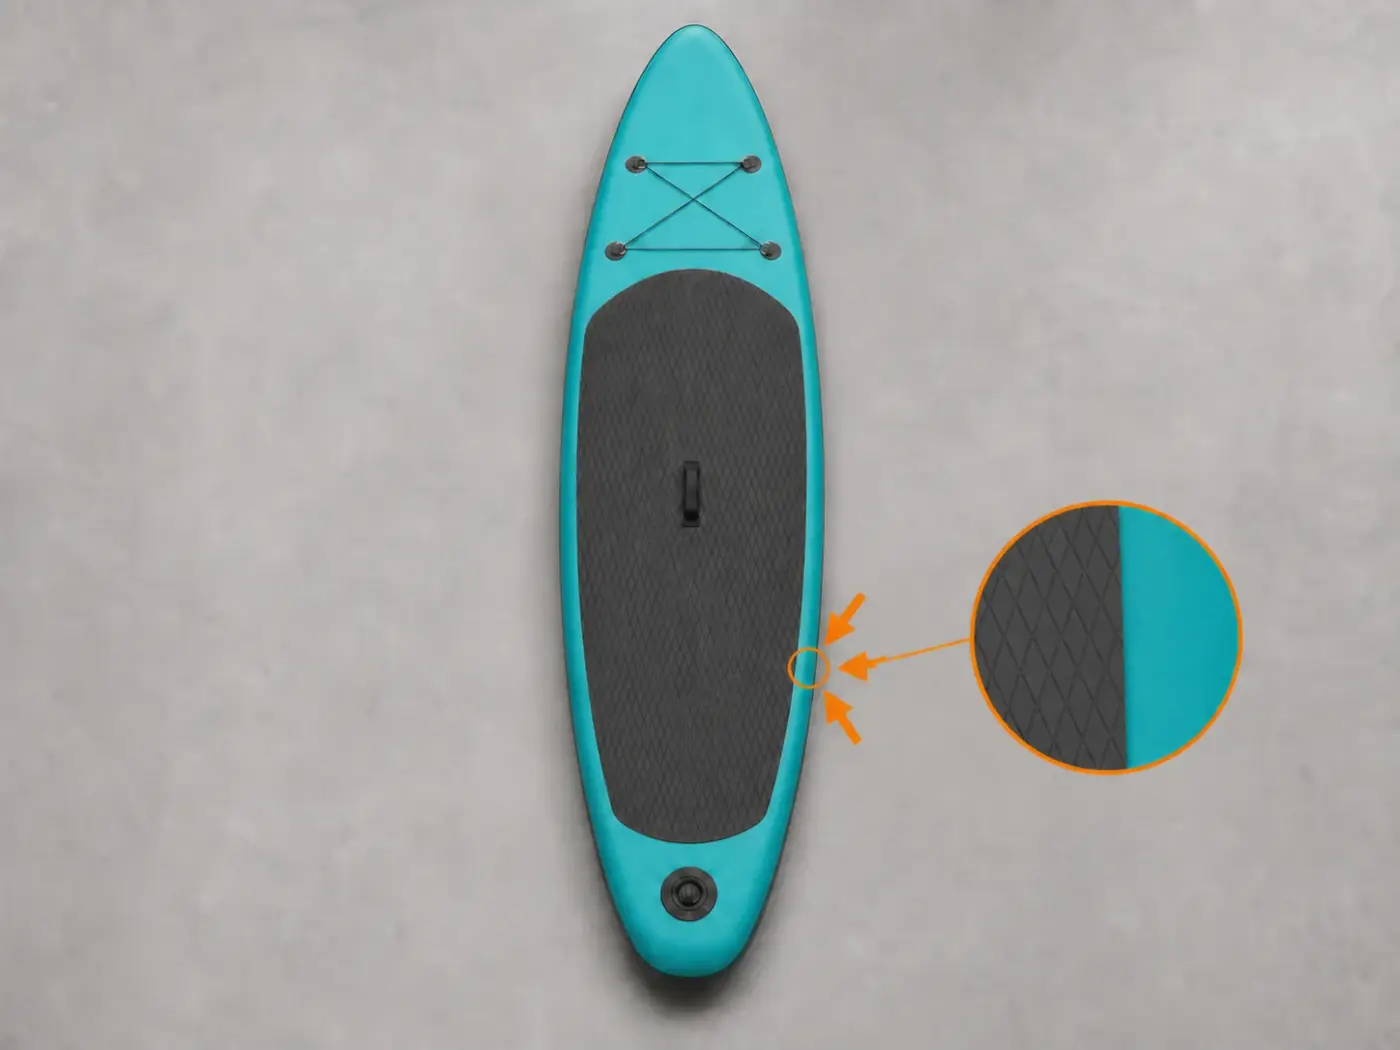
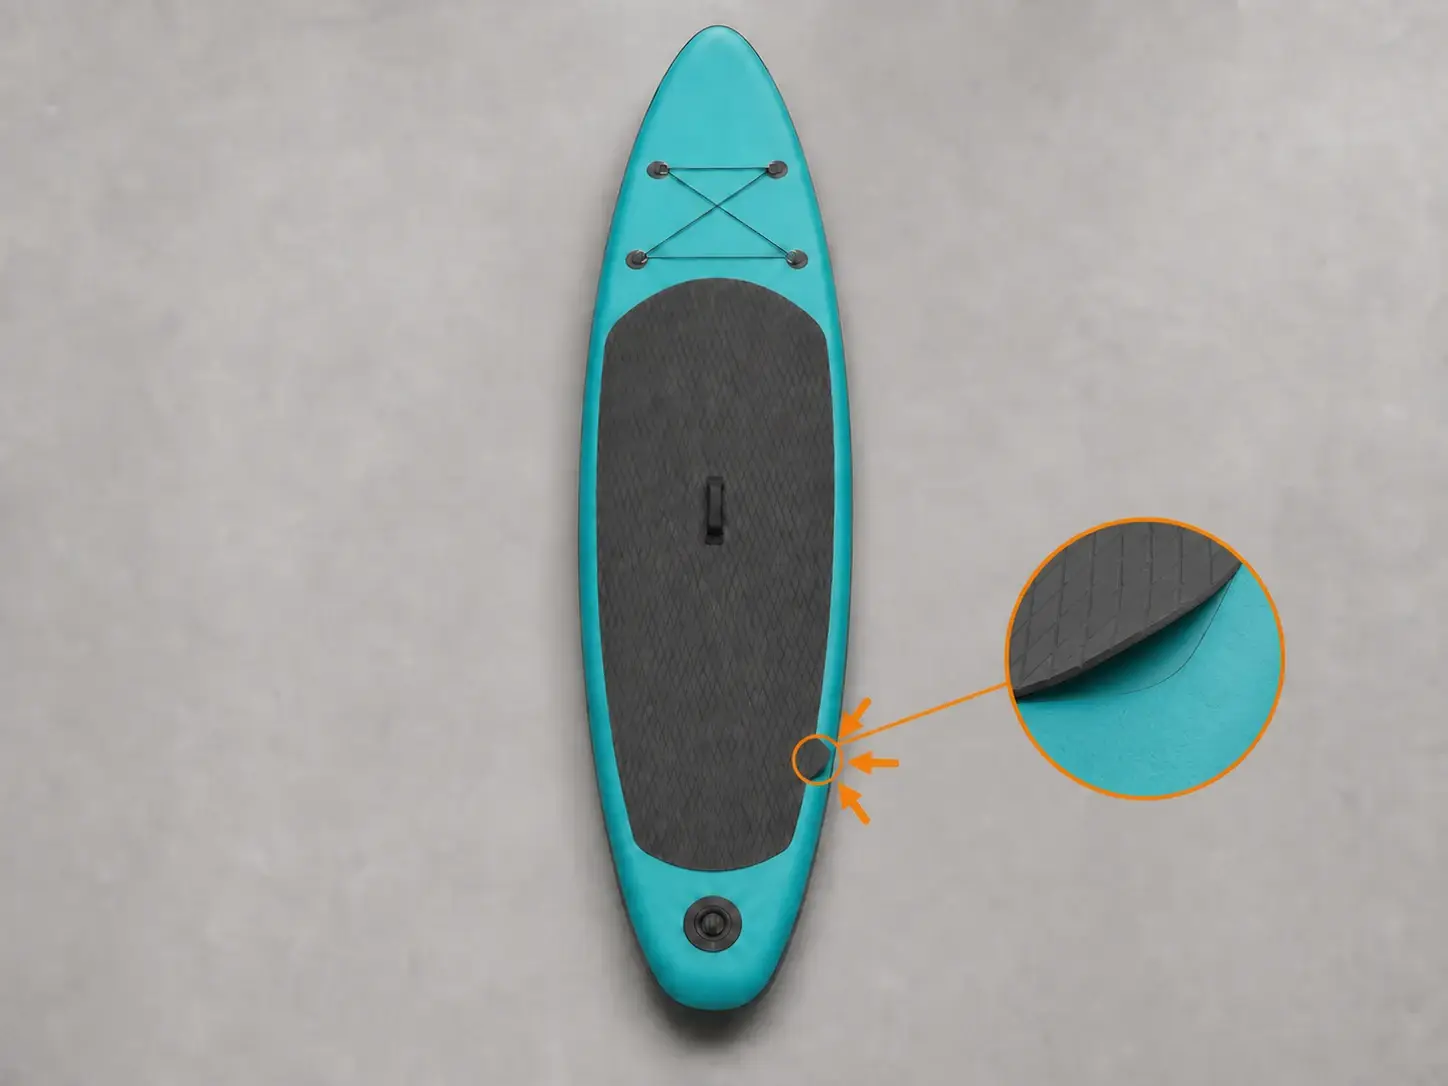
Corner of a graphite EVA deck pad lifted from a light-grey SUP on a clean bench

Choose an adhesive for both EVA and its support

Confirm that the product states compatibility with the EVA foam and the skin beneath it. Do not replace the manufacturer's instructions with generic timing.

  • Flexible waterproof adhesive compatible with EVA and the SUP material
  • Non-aggressive cleaner specified by the manufacturer and lint-free cloths
  • Masking tape to protect the outline
  • Compatible small brush or applicator
  • Hand roller for closing the flap from the attached area towards its edge
  • Flat board and an evenly distributed weight with no sharp edges
  • Gloves suitable for the product and eye protection

The steps, one by one

  1. Distinguish the pad from the structure

    Bring the board to the minimum pressure stated by its maker that keeps the area firm. Lift only the edge that is already detached. Check that the EVA foam has lifted, not the board skin or a seam.

    If air escapes, the support separates in layers, a bubble or soft area appears, or the EVA is friable and torn, stop: this procedure is not suitable.
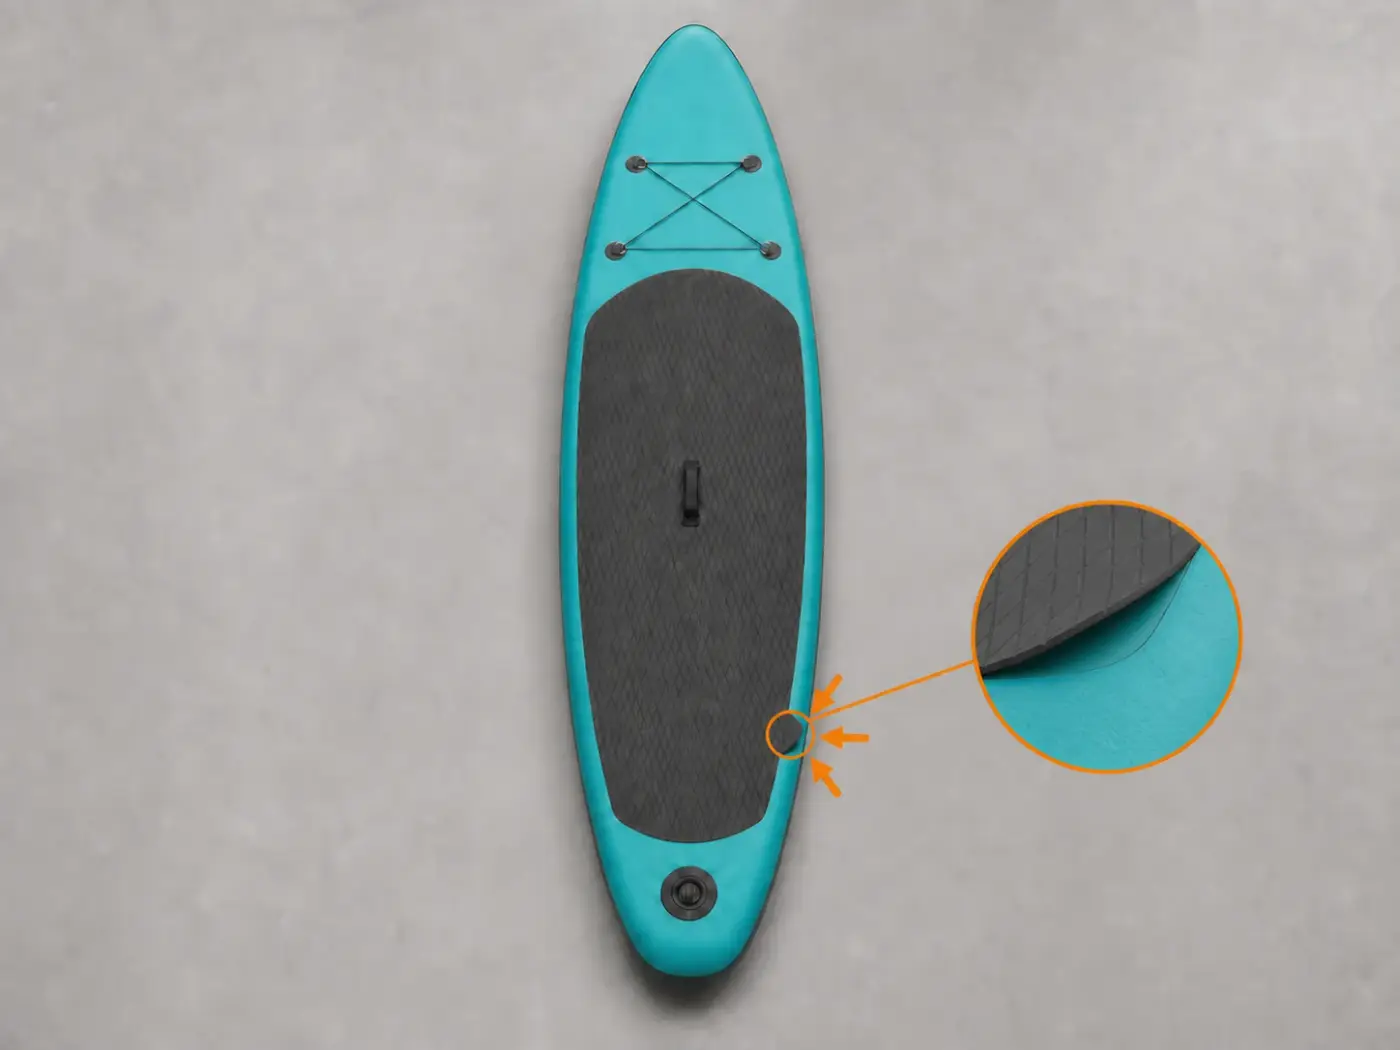
    Lifted EVA flap exposing a small area of intact grey support
  2. Stabilise a clean, dry board

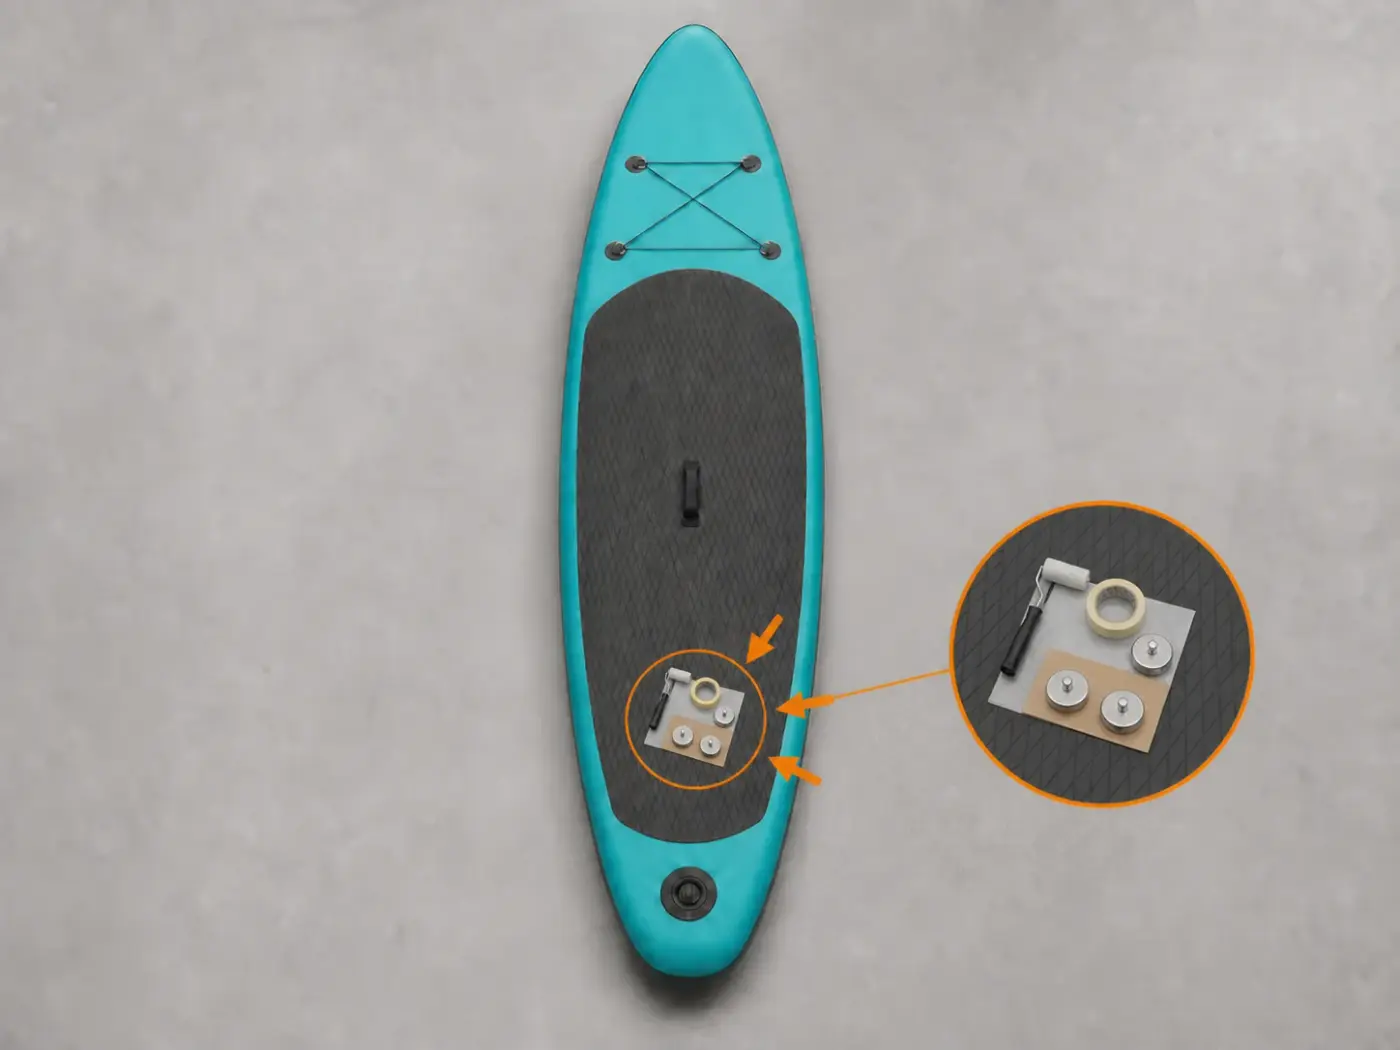
    Place the SUP at its specified working pressure on a surface that supports the entire area without creases. Remove sand and moisture, then prepare ventilation, tools and weight before opening the adhesive.

    The flap must return to position without tension. Do not bond outdoors when wind, sunlight or humidity prevents compliance with the product instructions.

    Grey SUP stabilised on a light bench with deck pad, roller, tape and flat board arranged nearby
  3. Remove unstable residue and mask

    Gently remove only old adhesive that is flaking away. Clean the EVA and support using the compatible method specified by the manufacturer, then mask the outer edge.

    Test a hidden area first: aggressive solvents can attack foam, print or PVC. Allow everything to dry fully and do not contaminate the surfaces.

    Area beneath the deck pad cleaned and masked around its outline with loose residue removed
  4. Test the closure dry

    Return the flap slowly to its position and check that grooves, edges and graphics align. Plan to lay it from the still-attached area outwards without trapping air.

    If the pad has shrunk, changed shape or no longer covers its original area, replacement may be more reliable than gluing it back.

    Deck-pad flap placed without adhesive, with its edges and grooves aligned
  5. Spread a thin layer of adhesive

    Spread the adhesive in the amount and on the surfaces stated on its label. Wait for the time printed on the package before joining the parts.

    Do not saturate the EVA or leave deposits that could escape onto the standing surface. Close the container immediately and maintain the specified ventilation.

    Thin layer of adhesive beneath the EVA edge with the container closed
  6. Close, roll and distribute the weight

    Lower the flap from the still-attached area towards its edge and roll in several directions to push out air. Add a clean protective sheet, a flat board and an evenly distributed weight without changing the SUP shape.

    Maintain pressure for the time specified by the product. The weight must act on the repaired edge without creating a crease or compressing a nearby valve.

    Deck pad held beneath a flat board and even weight with the hand roller resting nearby
  7. Let it dry and check the edge

    Do not deflate, bend, wet or use the SUP until the full time stated on the package has passed.

    Remove the weight, inspect the whole edge and test it only lightly. Soft areas, bubbles or renewed lifting require a fresh diagnosis.

    Flat glued deck pad after drying, with its clean edge ready for inspection

When the deck pad should not simply be glued back

Stop before applying solvent or adhesive if any of these cases applies:

  • air leak, affected seam, separating layers or lifted board skin
  • degraded, shrunken or contaminated EVA, or support of uncertain material
  • bubble, soft area, extensive lift, several moving areas or incompatible previous adhesives
  • not enough fresh air, gloves, eye protection or a readable product label

Does the lift extend beyond the pad itself?

Send RiparoSUP photographs of the flap, exposed support and whole area. We will distinguish a cosmetic problem from structural damage.